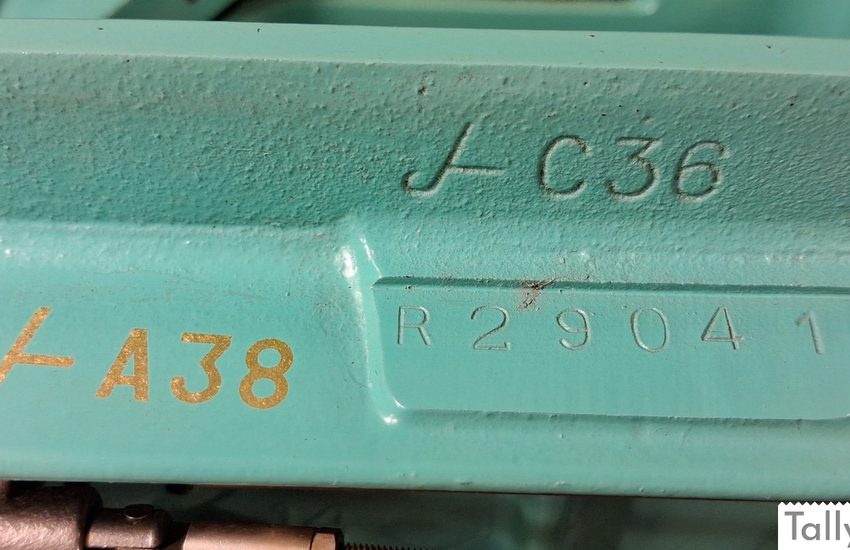
Singer 201-2 Lamp Rewire Guide (Step-by-Step with Photos)
The integrated lamp on the Singer 201-2 is one of those small details that makes a big difference in everyday use. When working properly, it throws a surprising amount of light right where you need it. The problem is, most of these machines are still running on 70+ year-old wiring, and that insulation is often brittle, cracked, or completely failing.
If your light is flickering, cutting out, or not working at all, the wiring is usually the culprit.
Rewiring the lamp on the Model 201-2 is somewhat involved, and it’s not a beginner-level project. It takes patience and a careful approach, especially the first time through. Removing the lamp, wiring, and protective sheath can be tedious, especially if you plan to reuse the original sheath. The contacts in the lamp holder will need to be desoldered, with new wires soldered in their place. From there, the wiring is fed back through the arm and down the pillar, ending at the sheath clamp in the base.
What follows is a step-by-step walkthrough of how I handle a typical Singer 201-2 lamp rewire. This isn’t the only way to do it, but it’s a straightforward, reliable approach that keeps the machine functional while staying true to its original design.
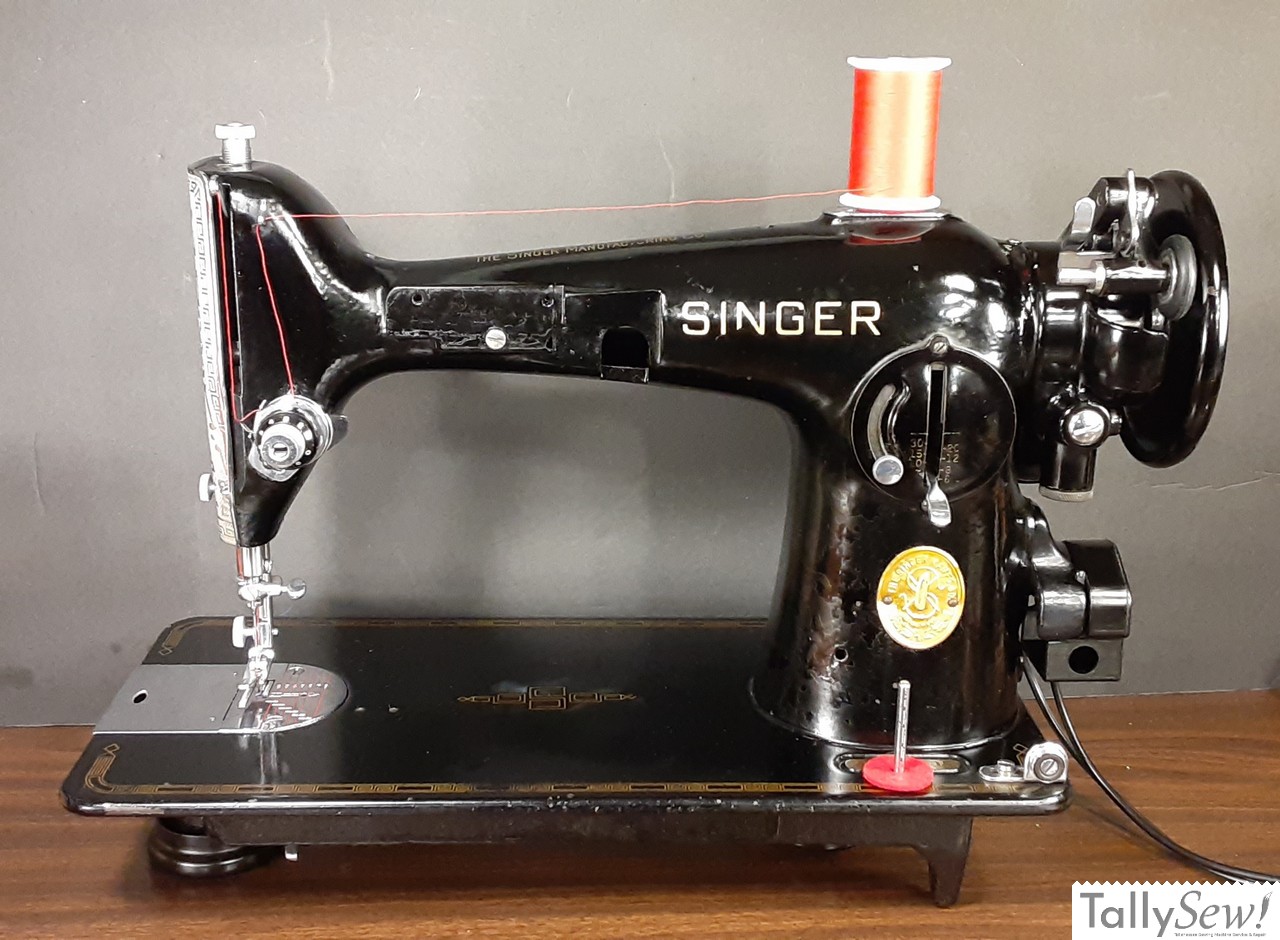
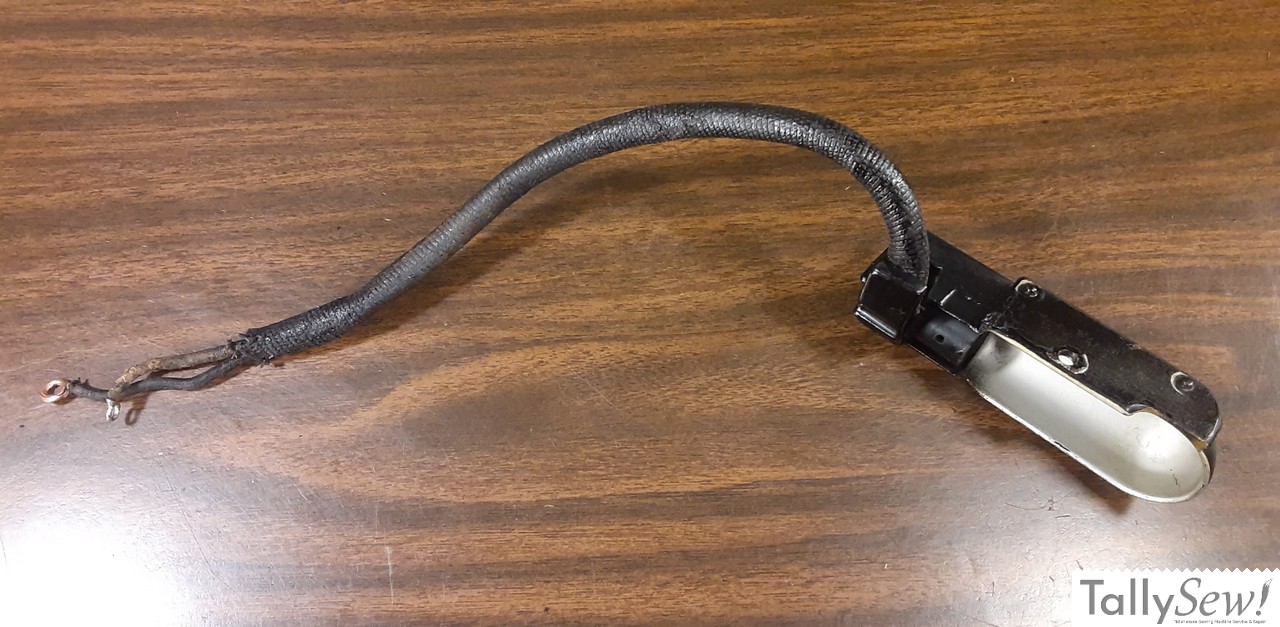
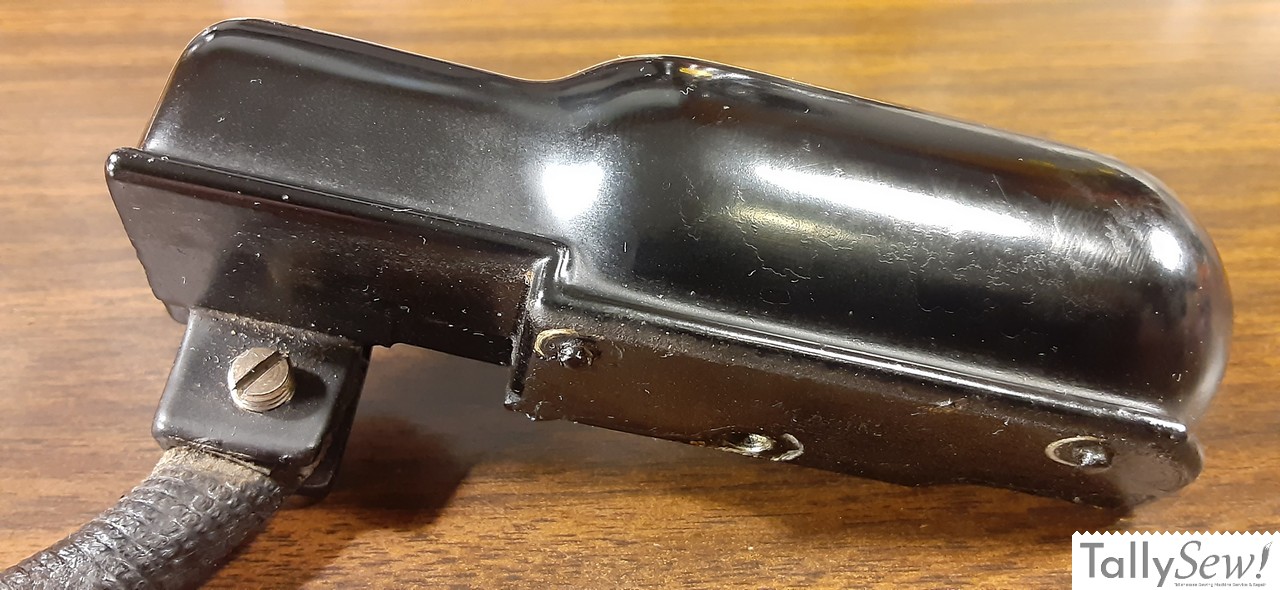
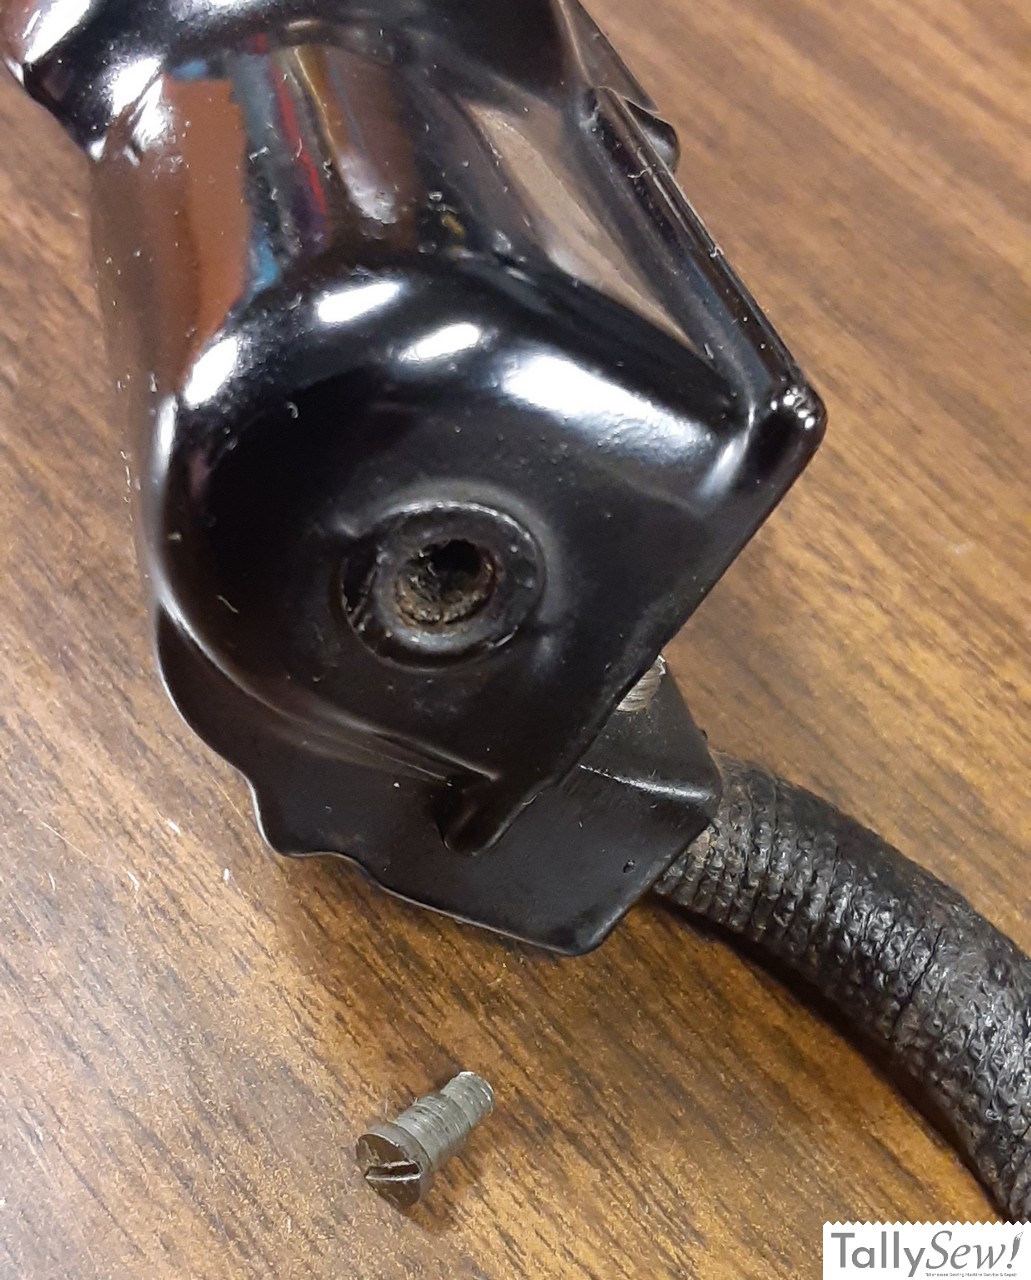
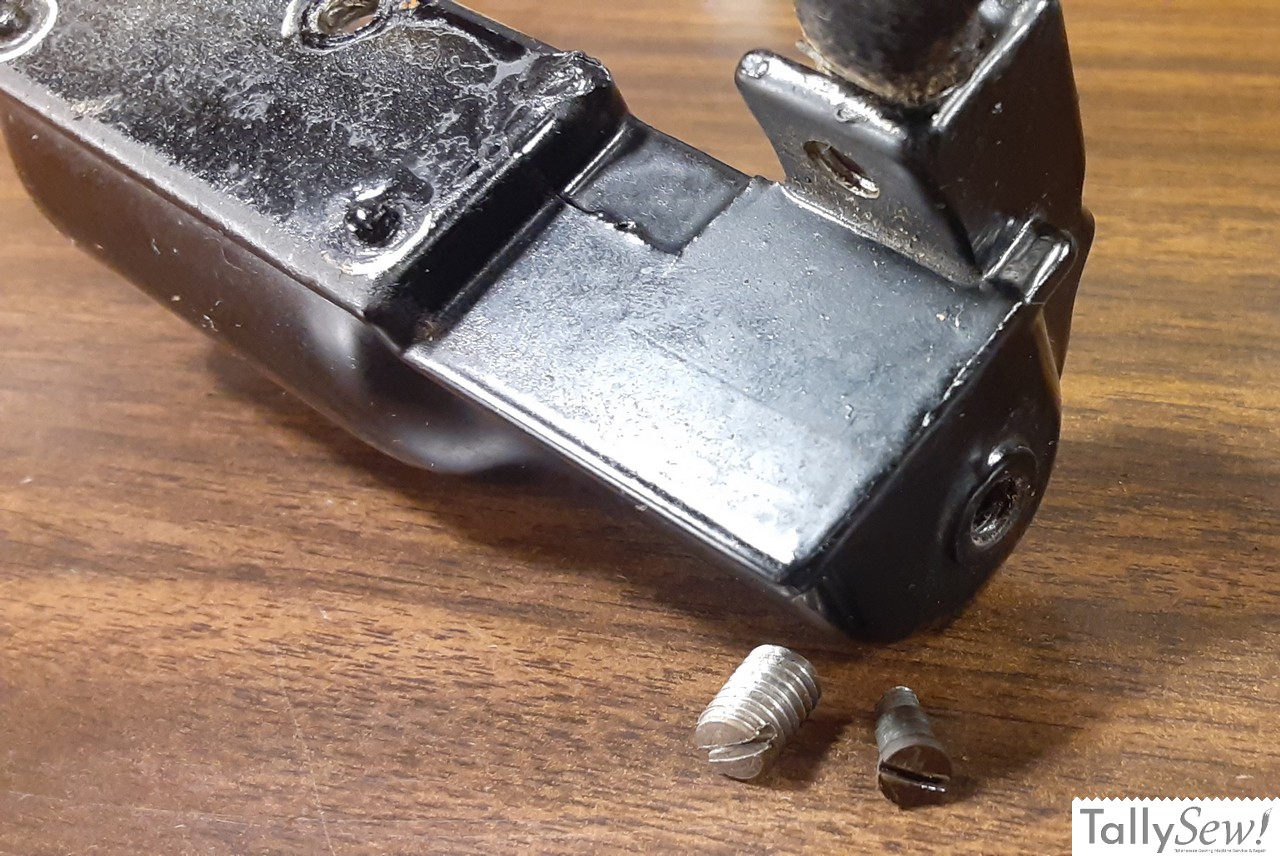
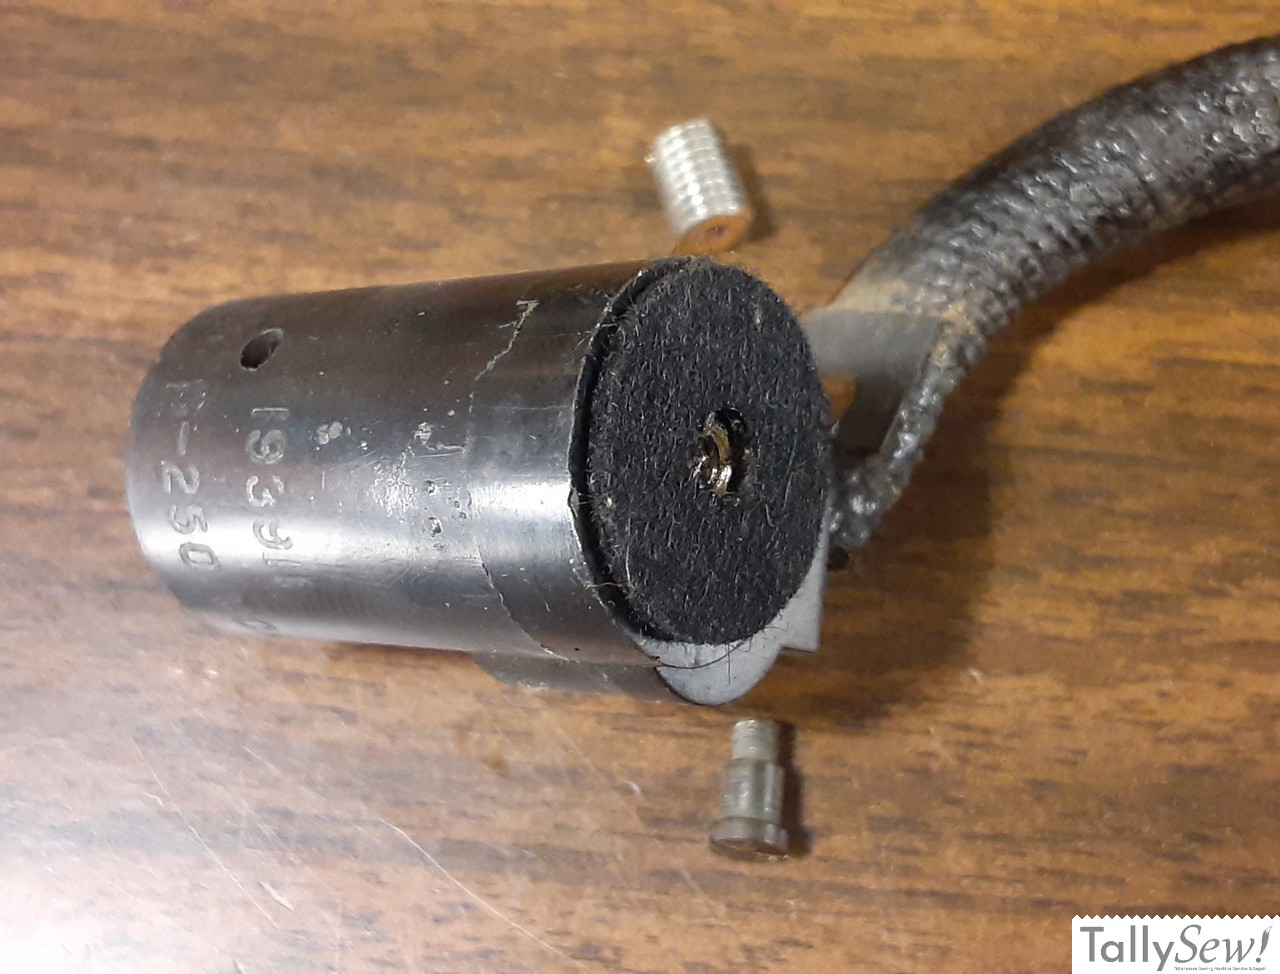
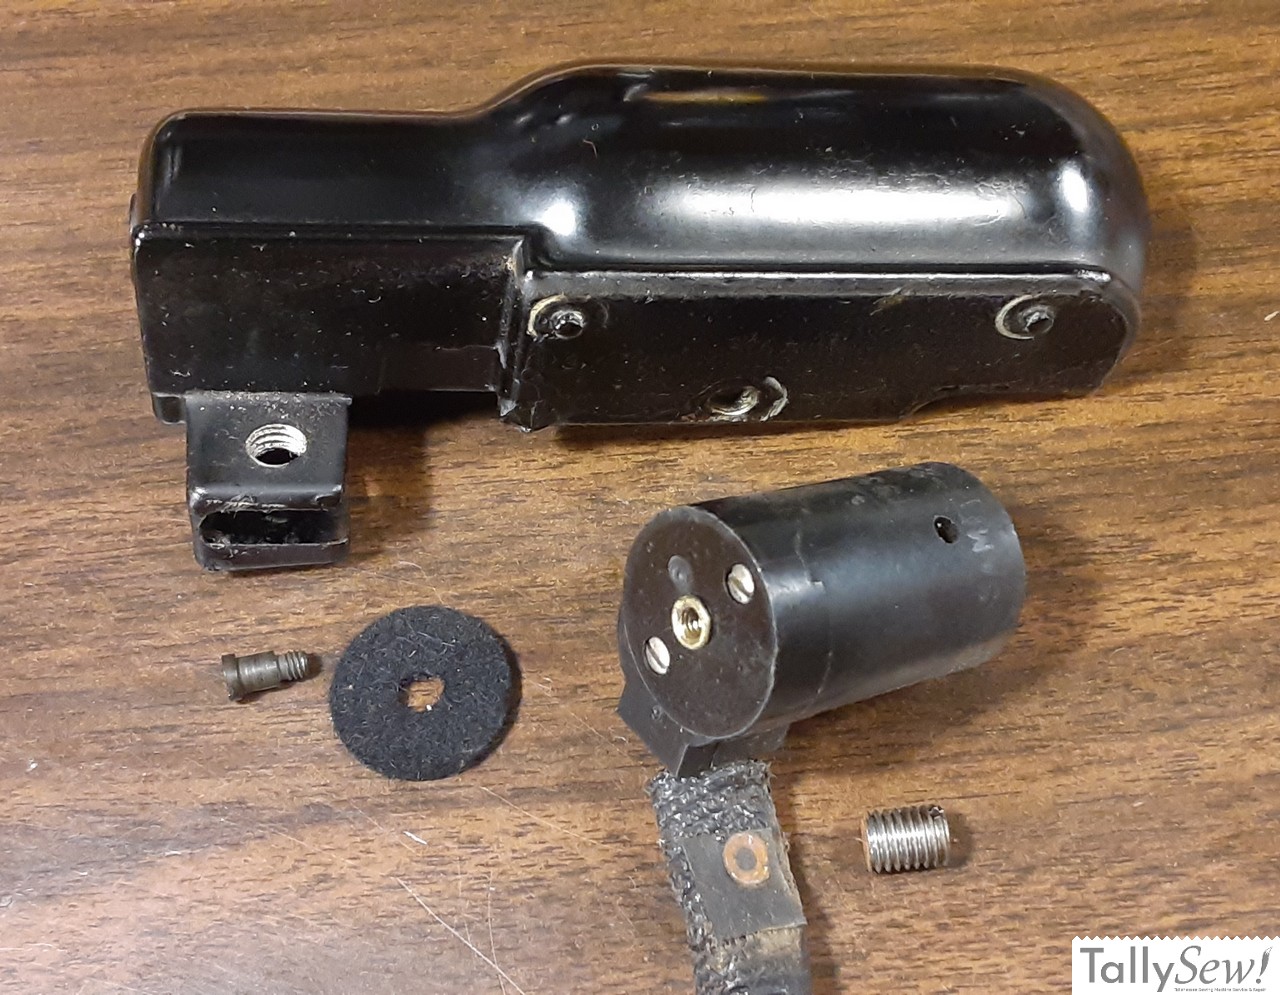
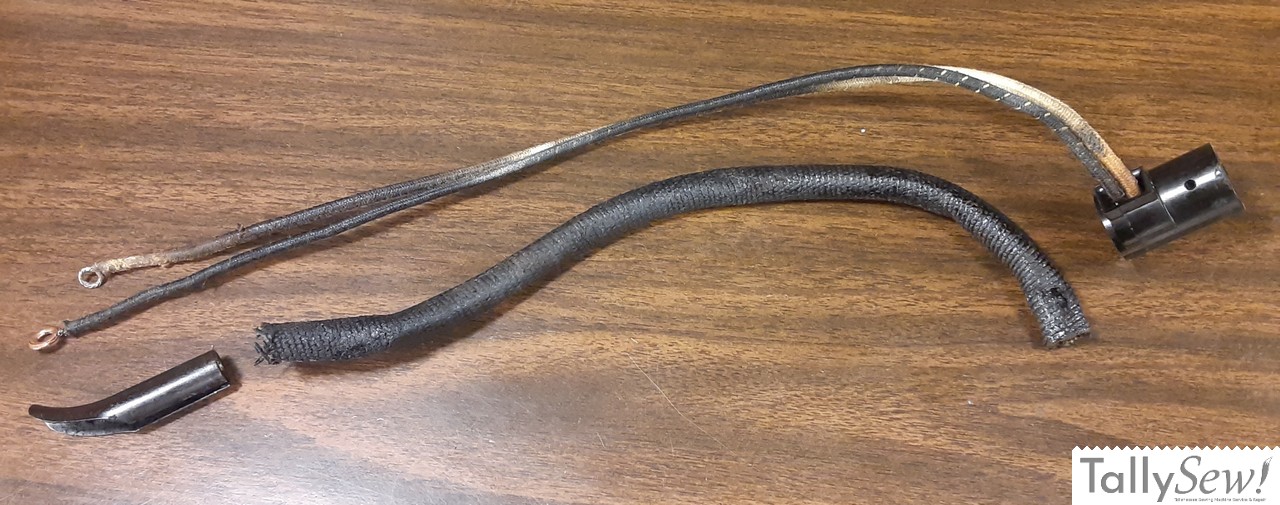
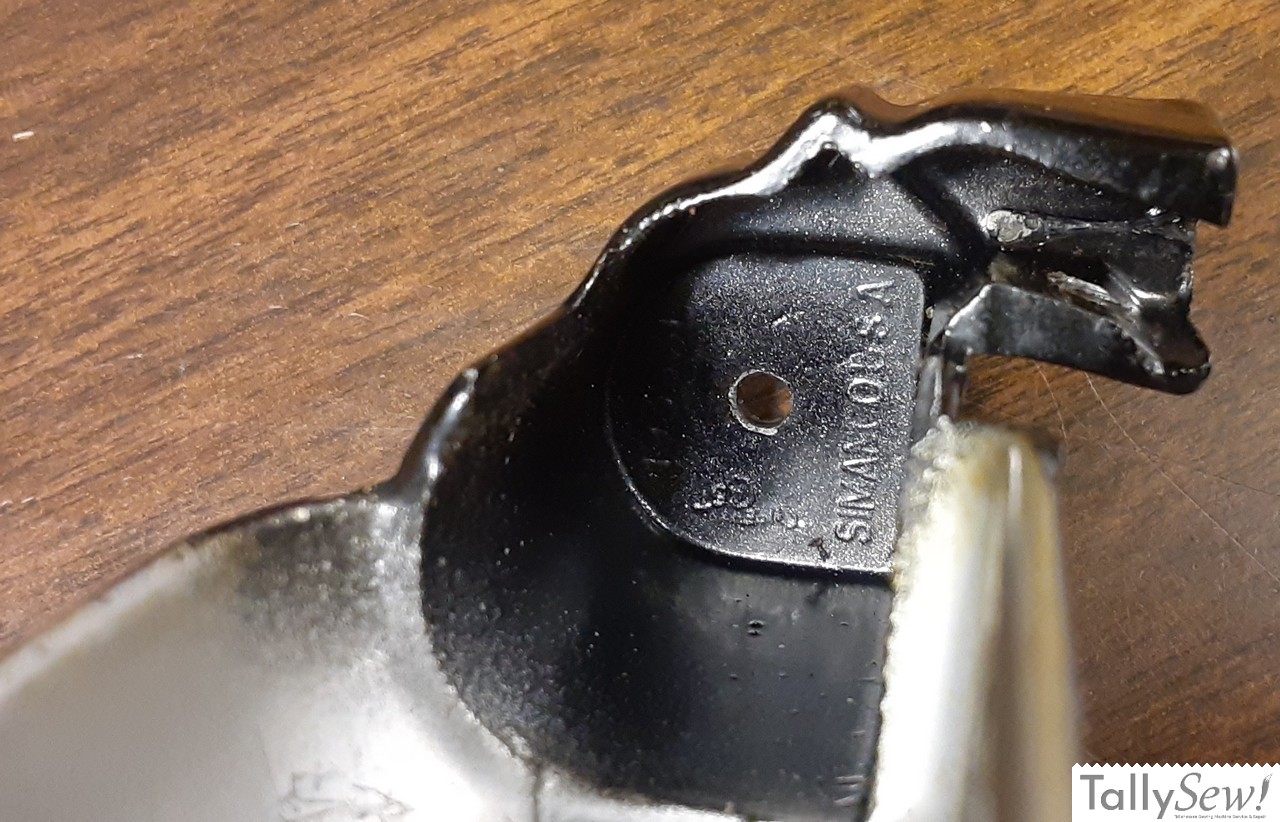
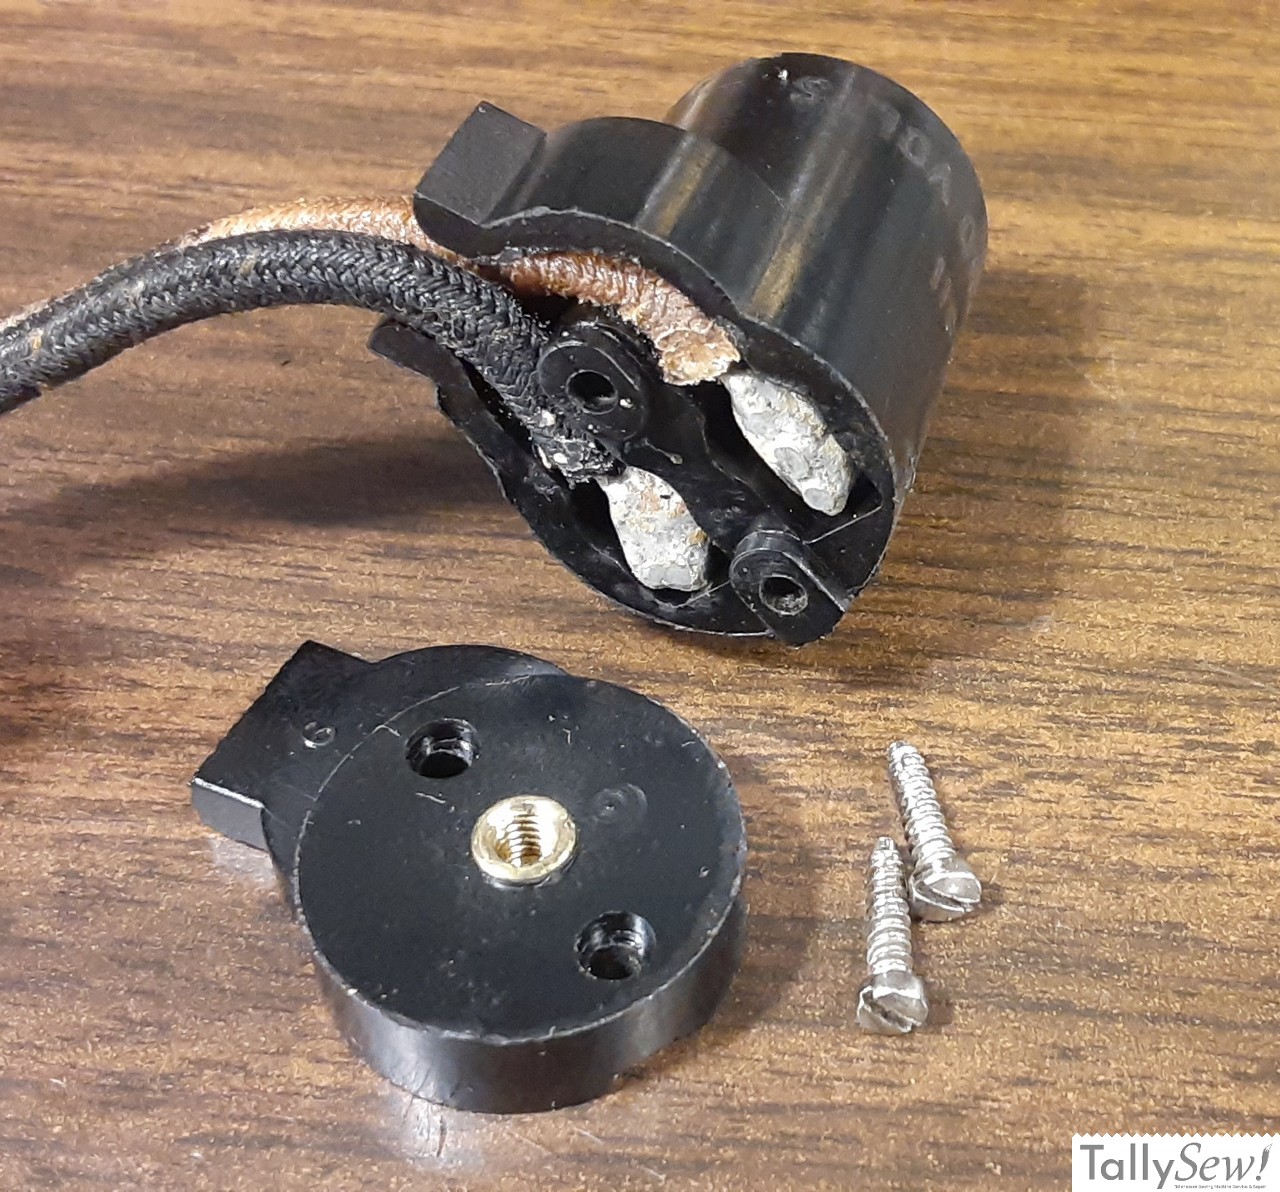
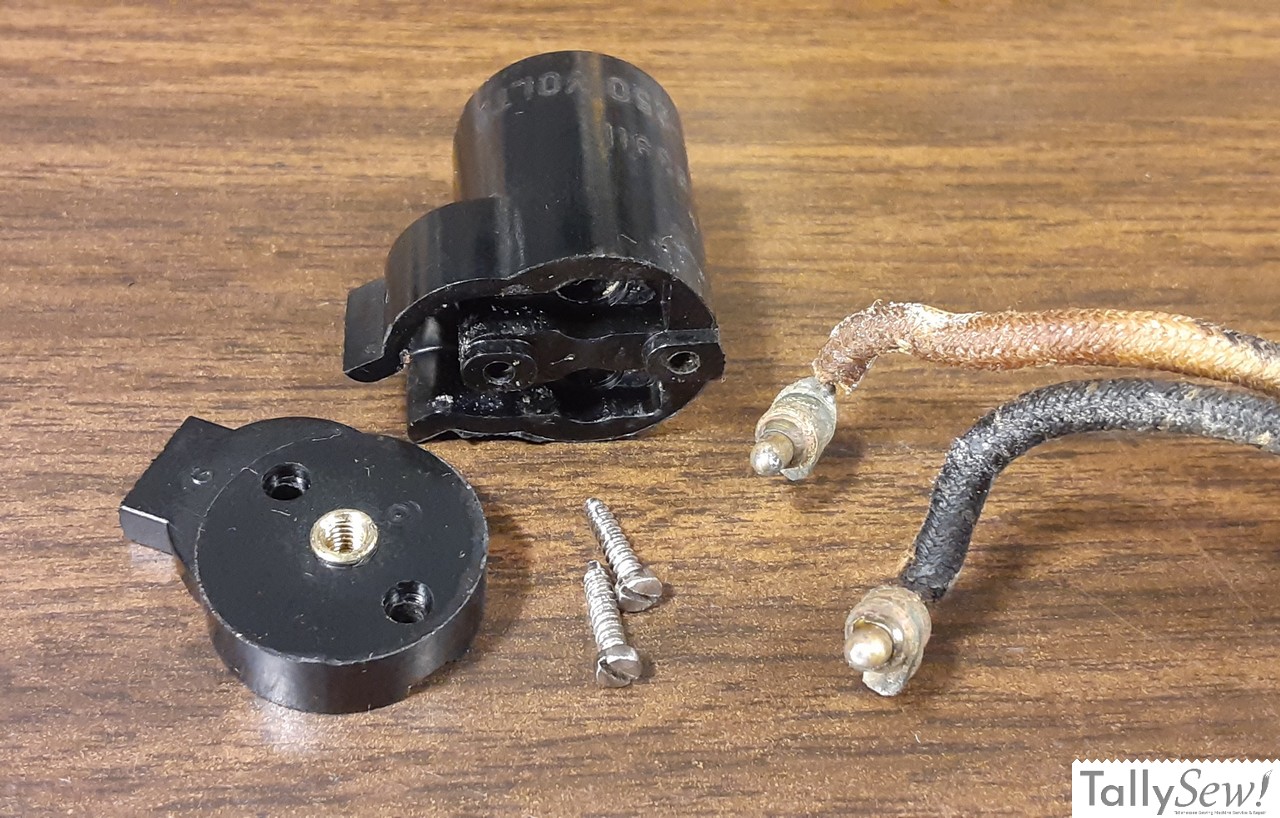
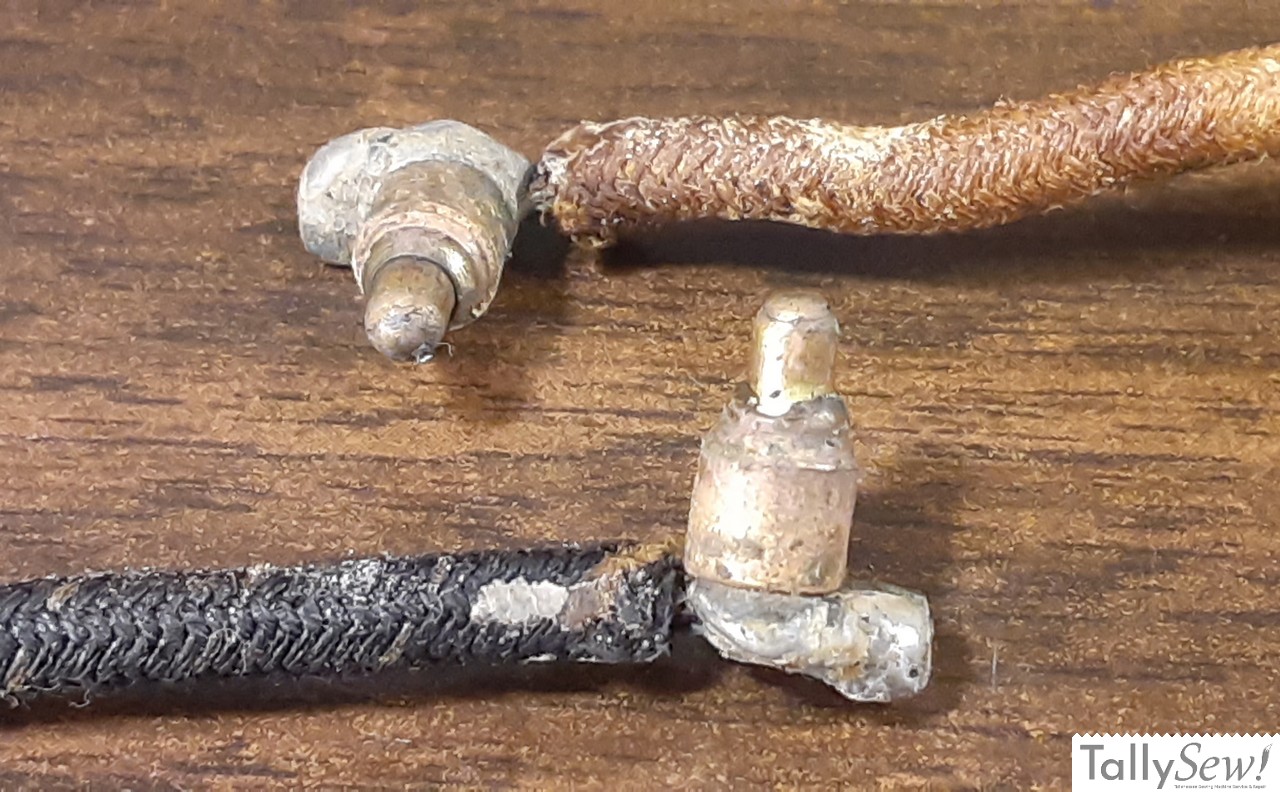
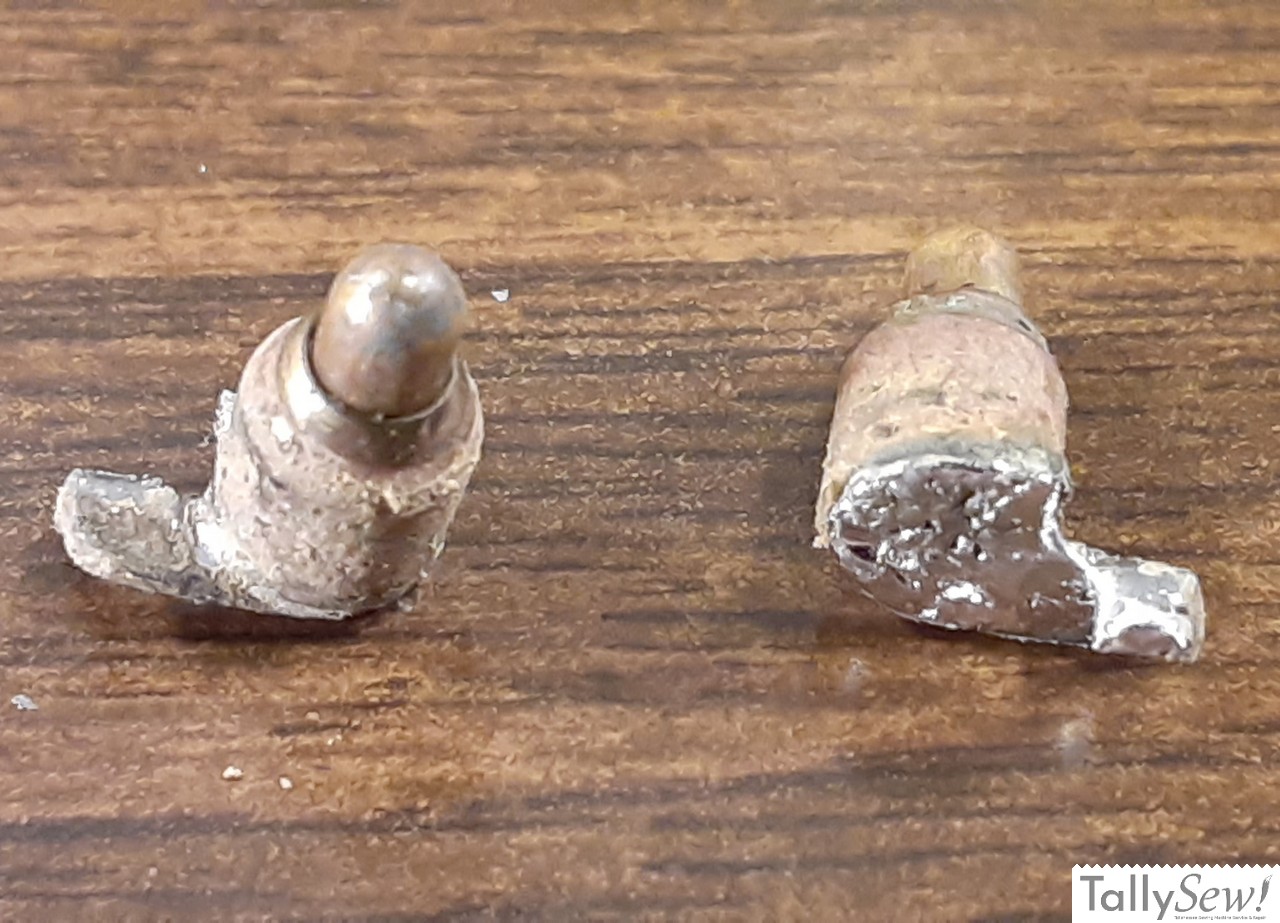
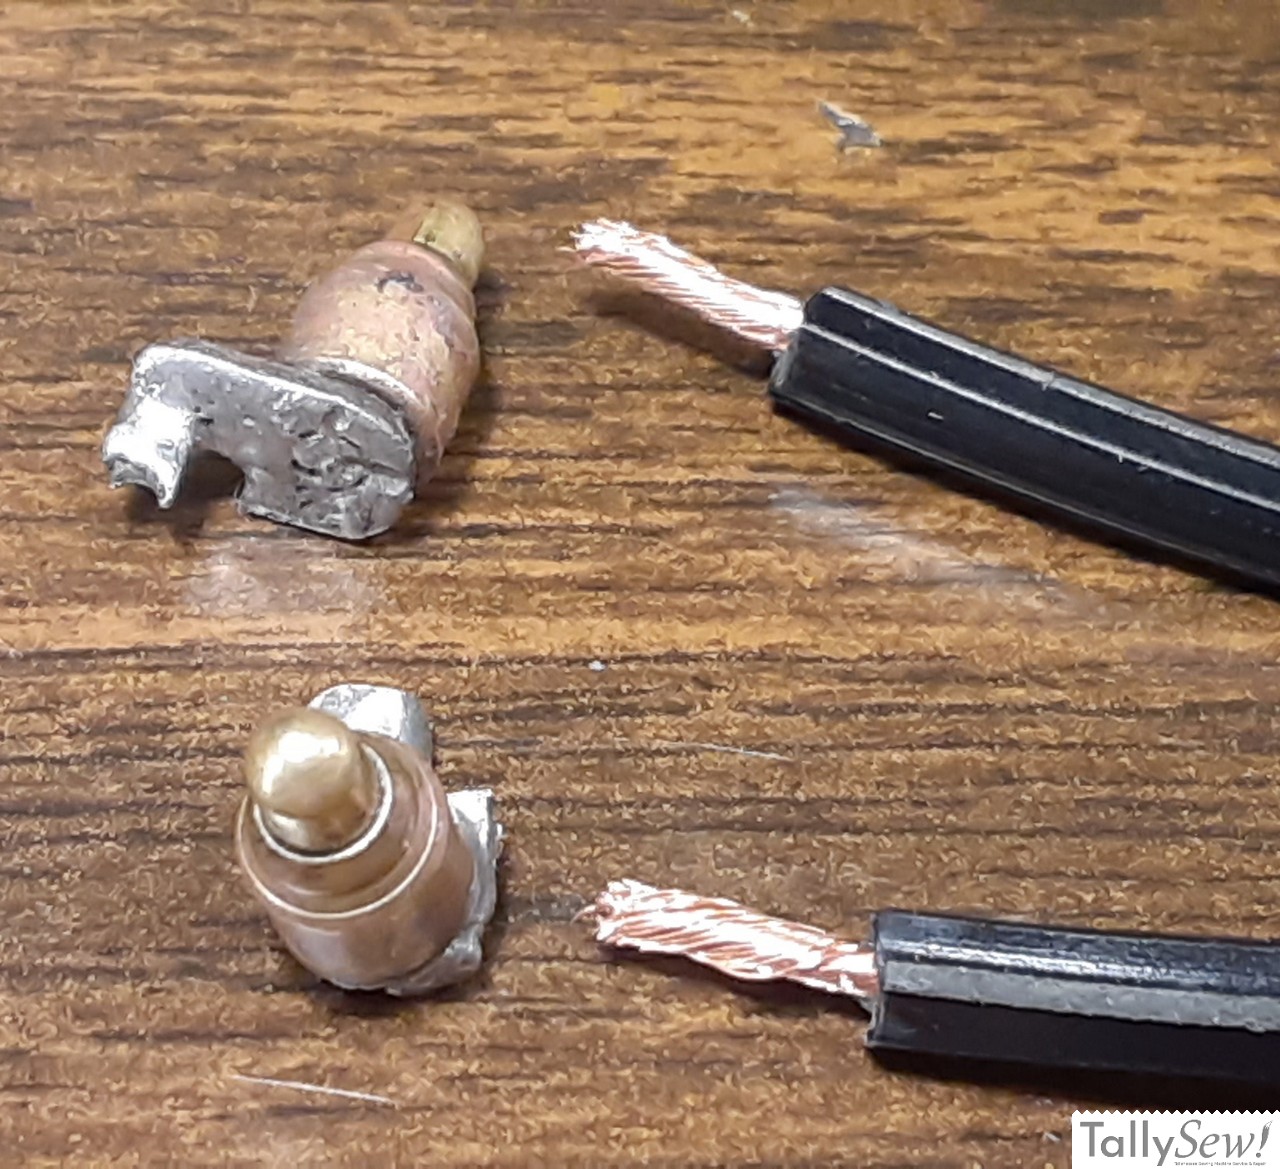
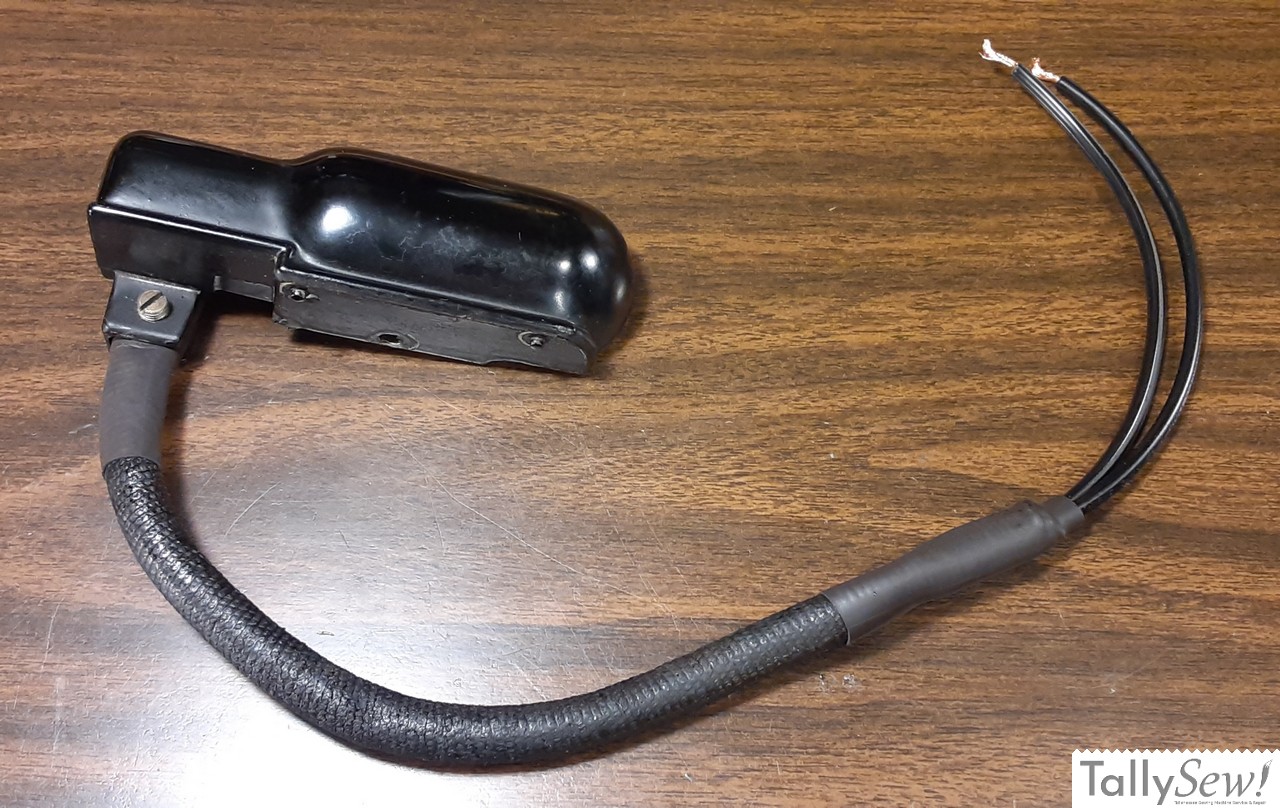
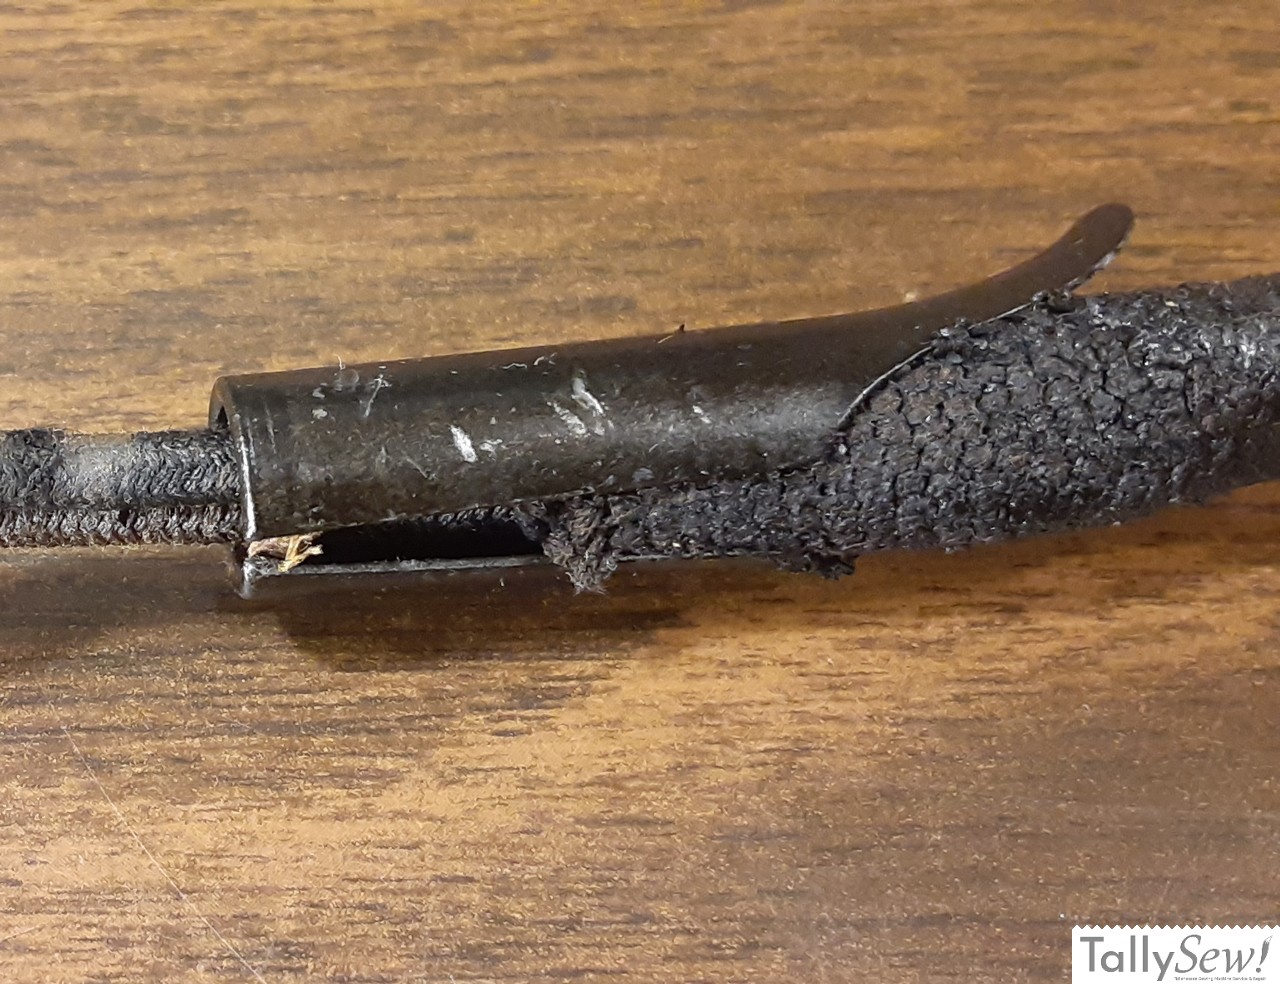
The gallery above walks through the process I use to rewire a Singer 201-2 lamp assembly step by step. Each photo is captioned to show what’s happening at that step, and you can click any image to view it full size.
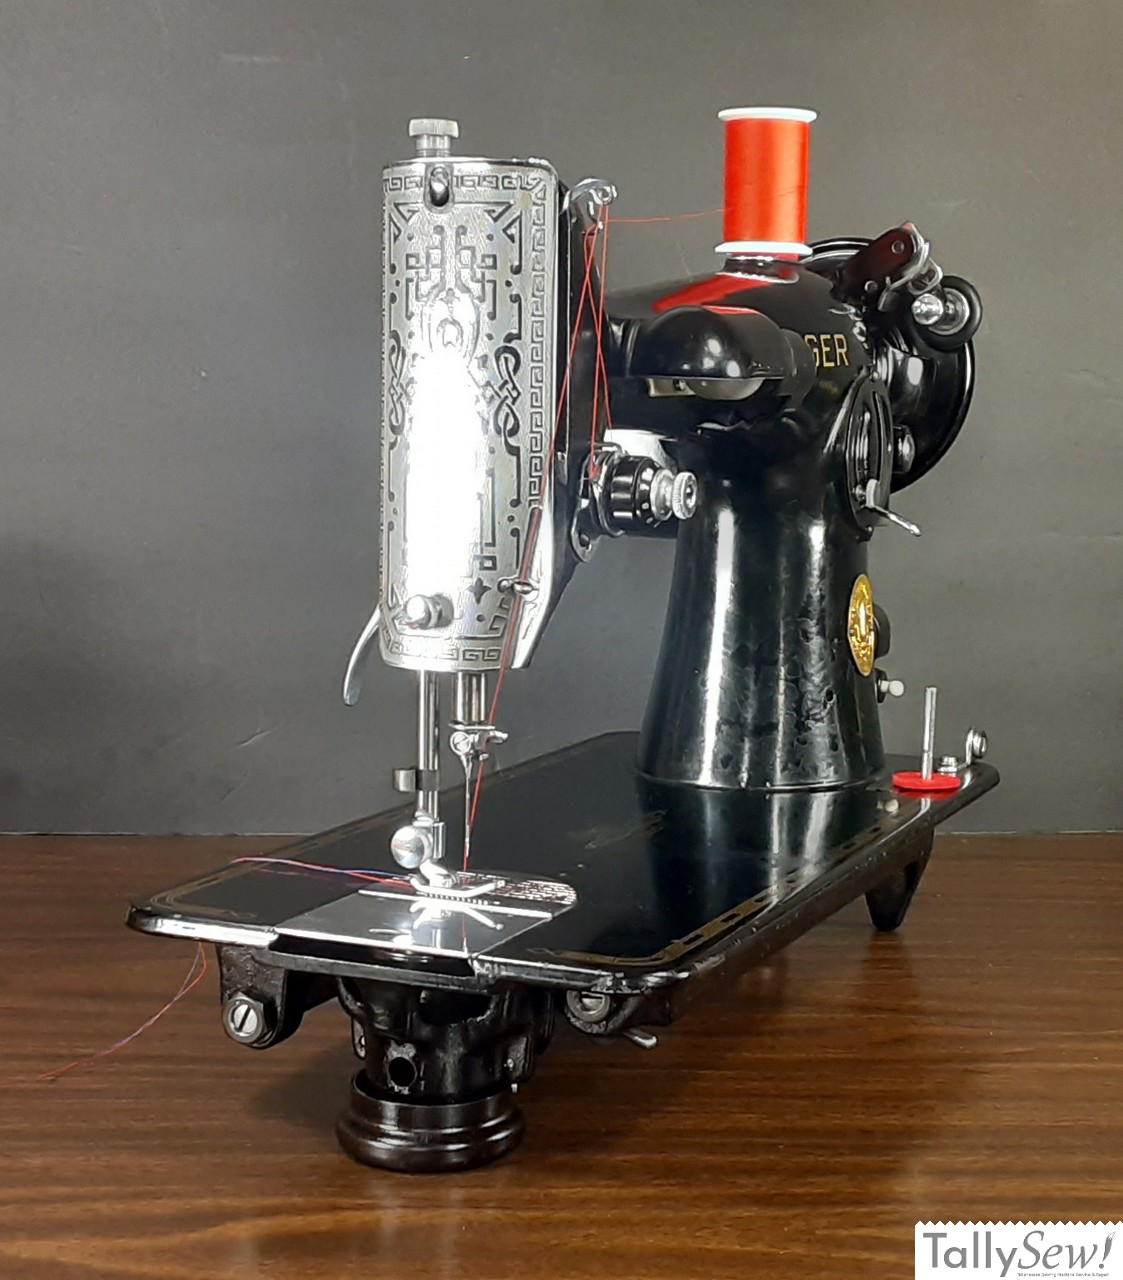
Learn more about the Singer 201-2’s history, identification, value, and performance
Is the Singer 201-2 really the best straight-stitch machine? Our in-depth review covers its history, power, and performance to answer that question.