Morse 600 Sewing Machine
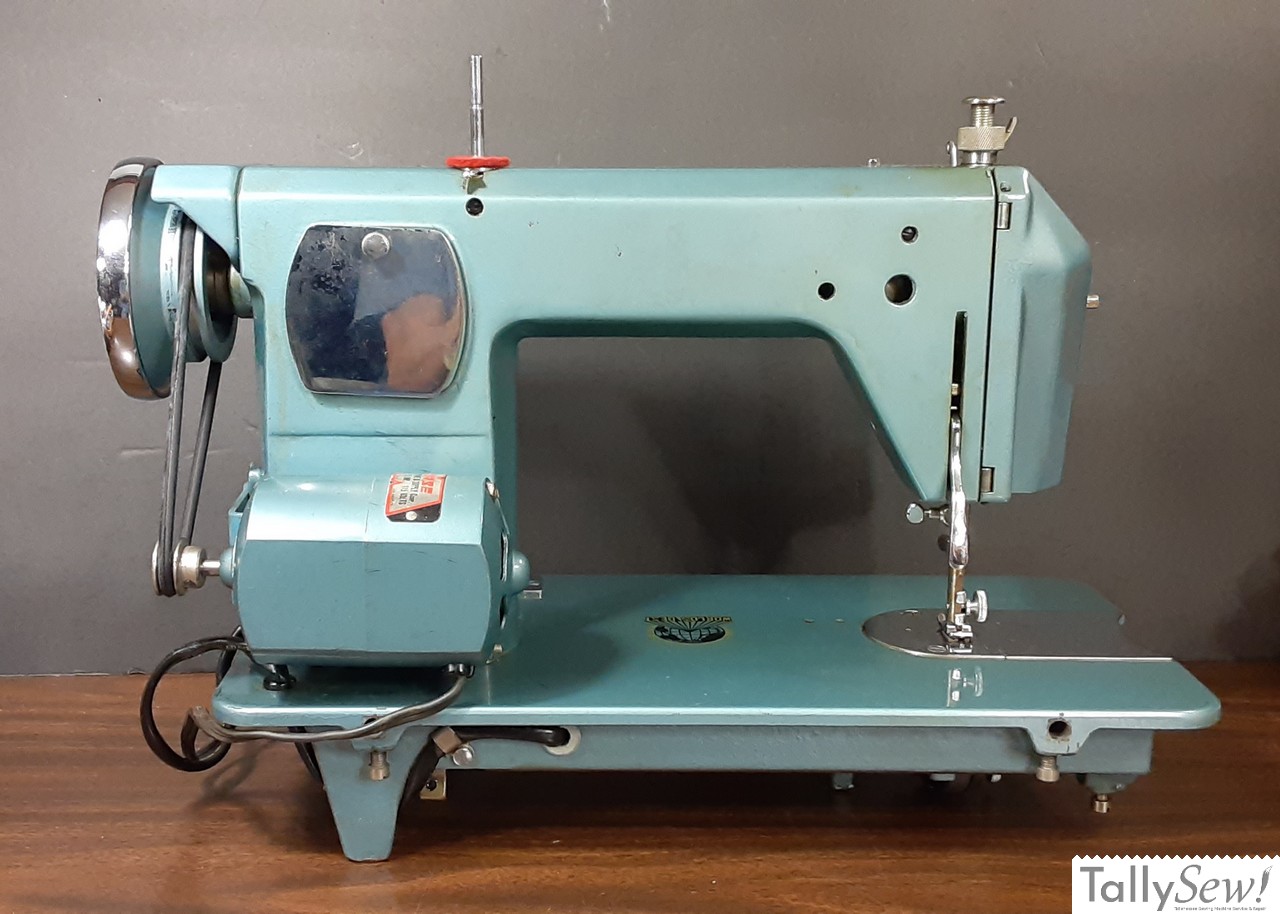
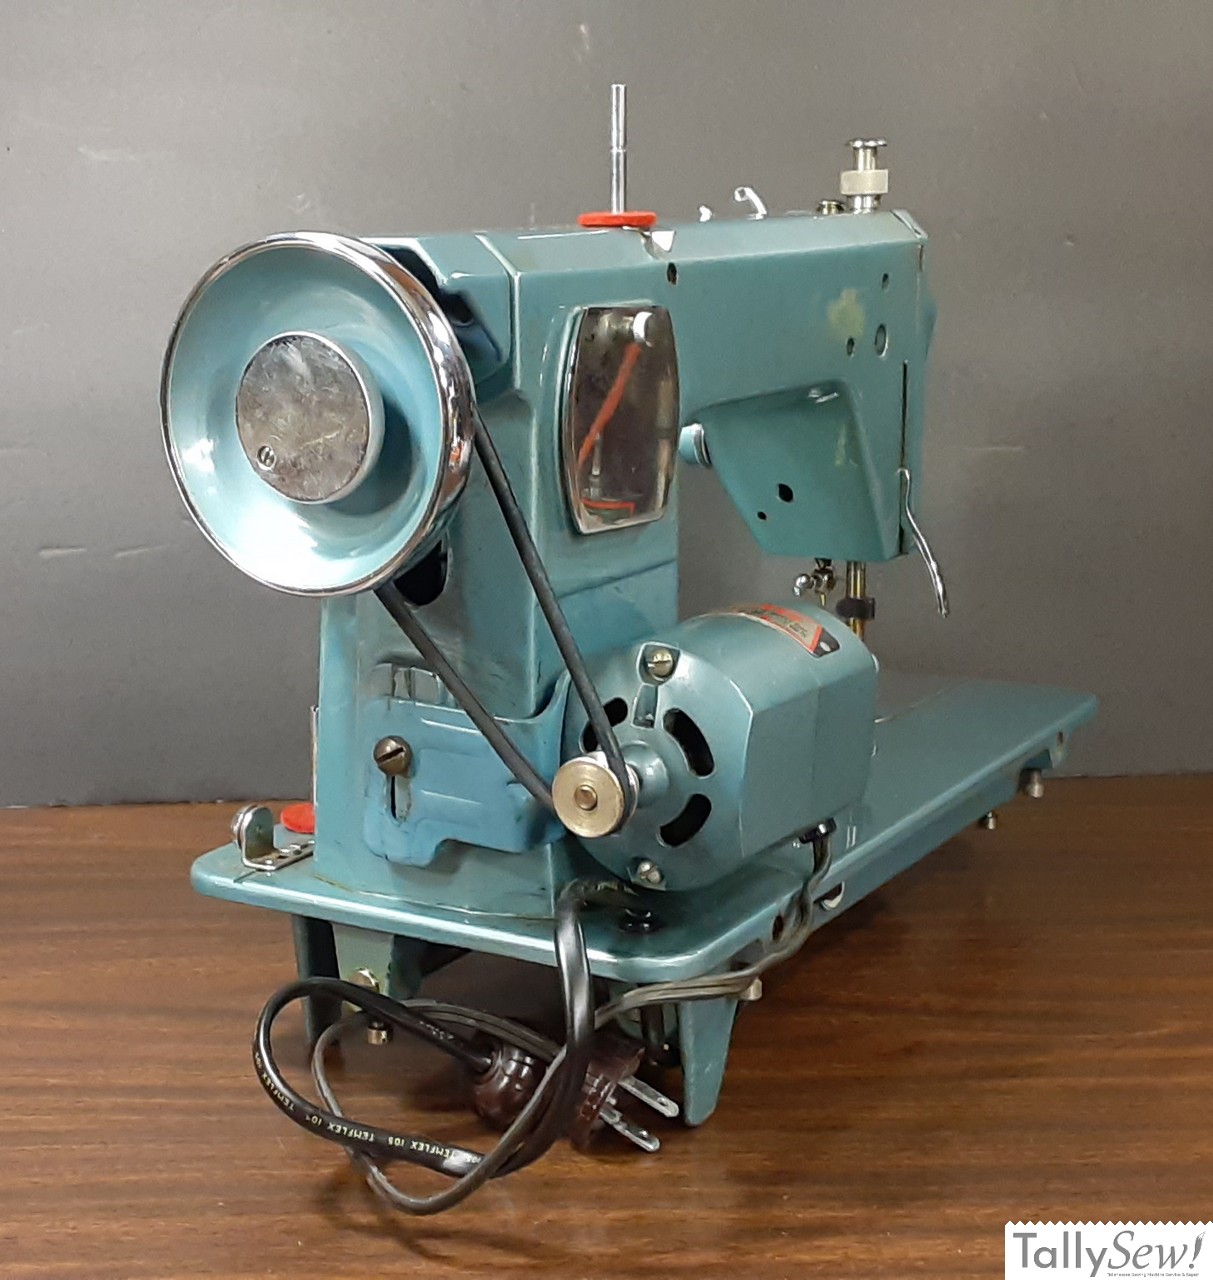
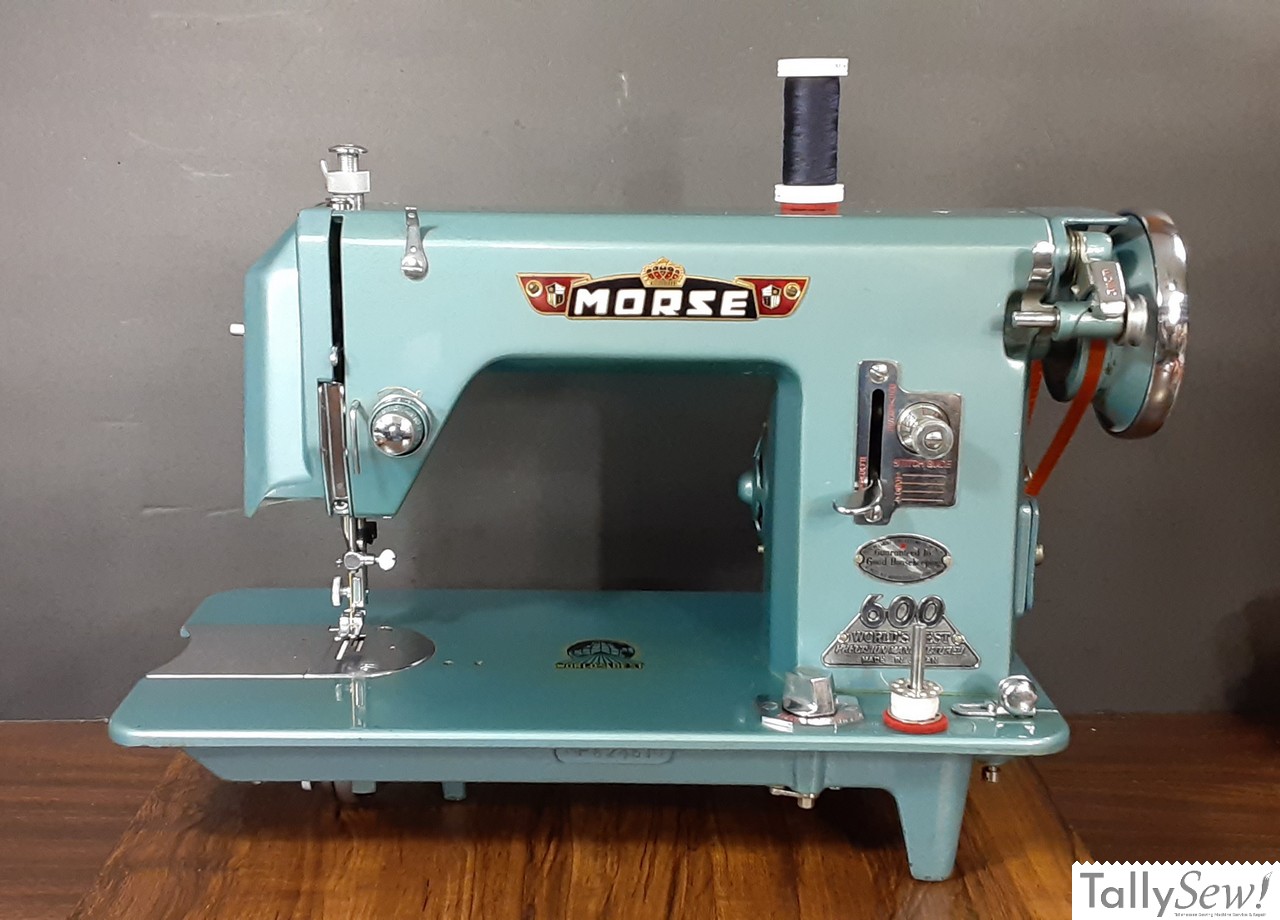
Sold by Morse of New York, the Model 600 was built in Obu, Japan by Toyota Steel Works. Finished in teal enamel it’s a pretty machine, but at 35 pounds of cast iron it’s a backbreaker. Produced from about 1952 to 1956, most models made before 1954 omit the country of origin. It’s a good example of the Singer Class 15 based machines that came out of postwar Japan.
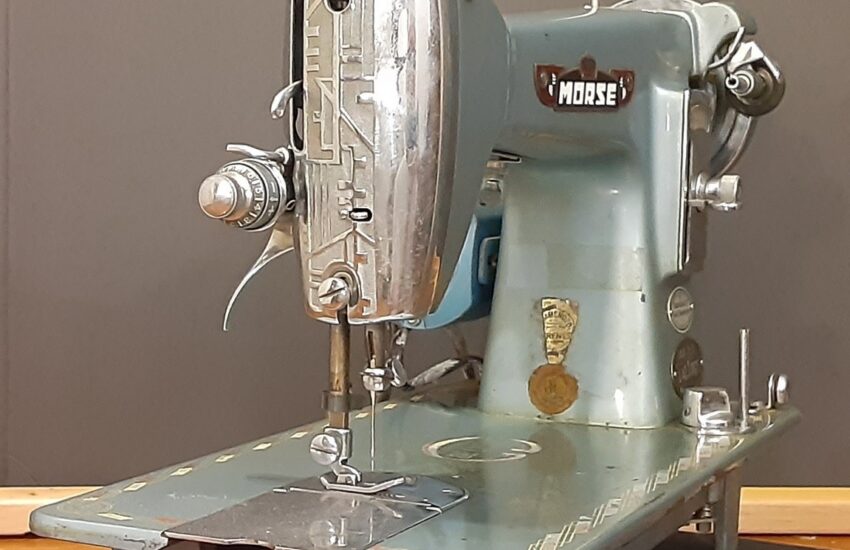
Badging

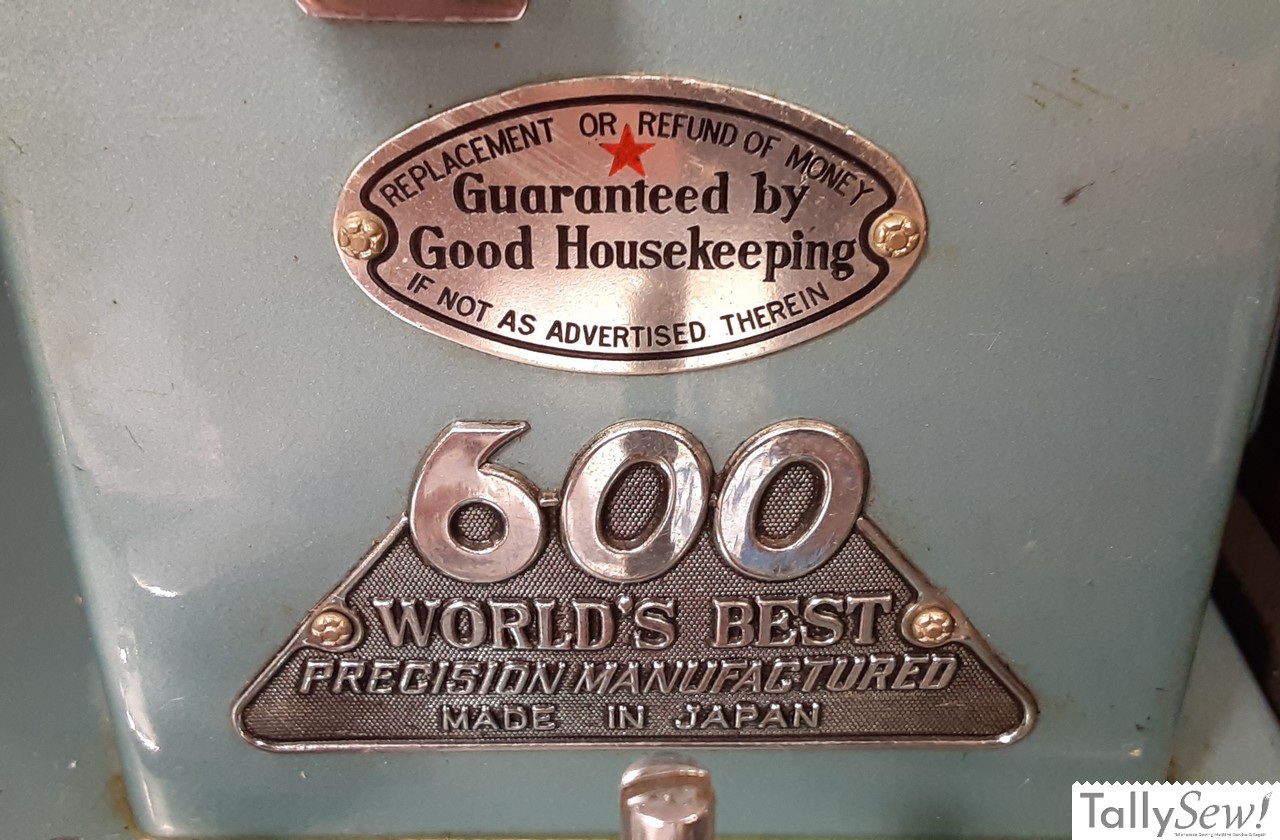
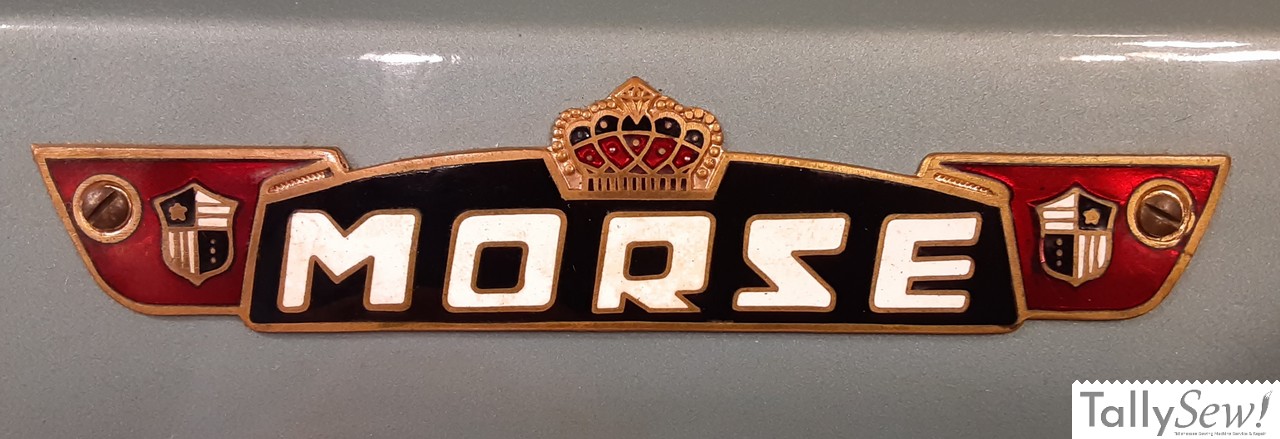
The badging on the machine looks great, but it isn’t subtle. Notice the Made In Japan on the lower column badge, that suggests that this is a post 1954 machine.
Timing the Morse 600
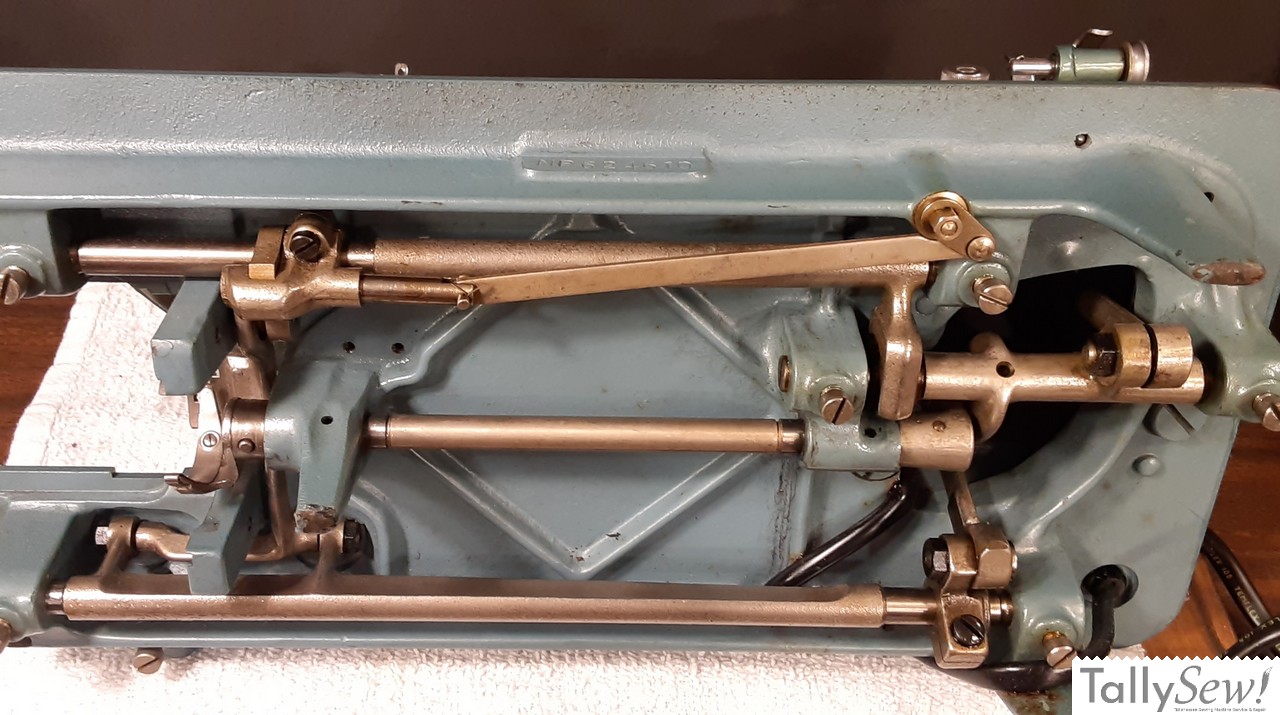
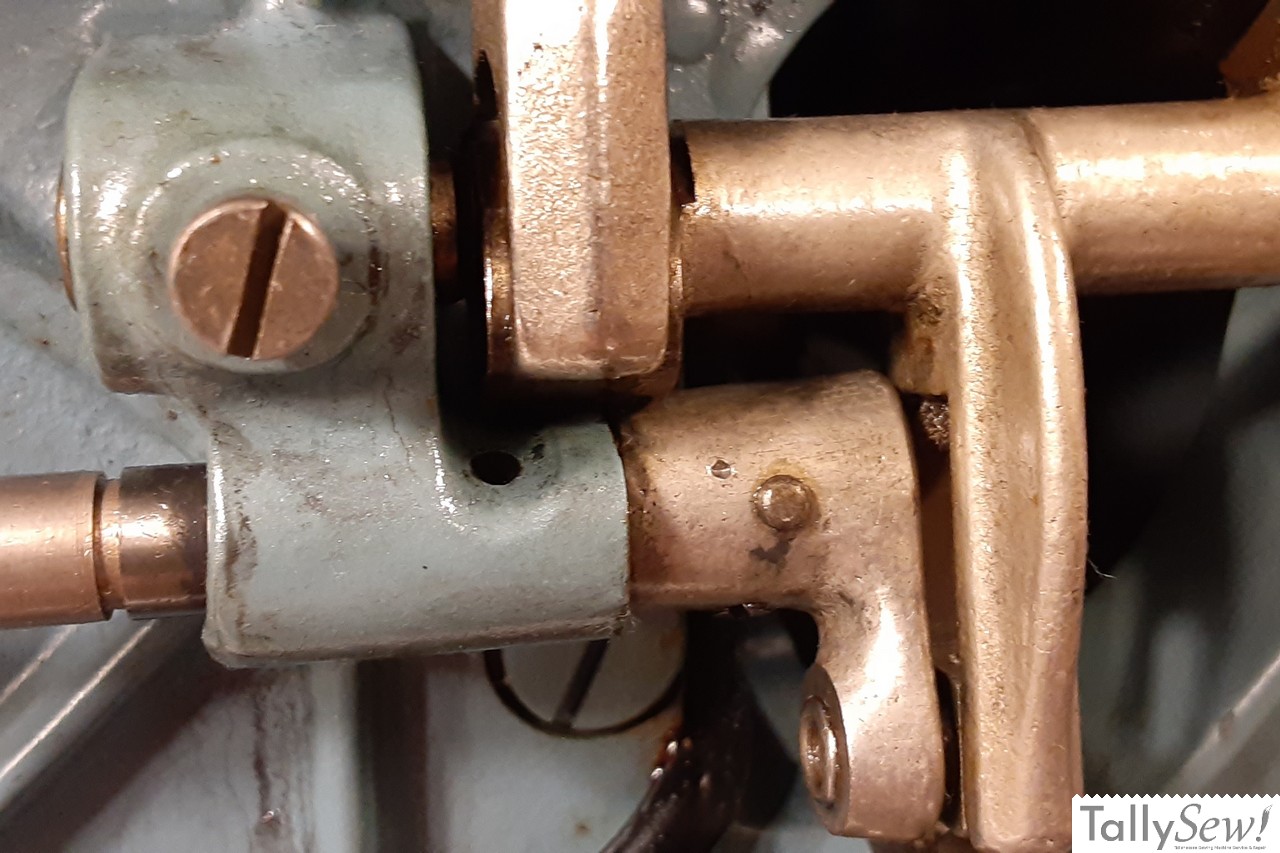
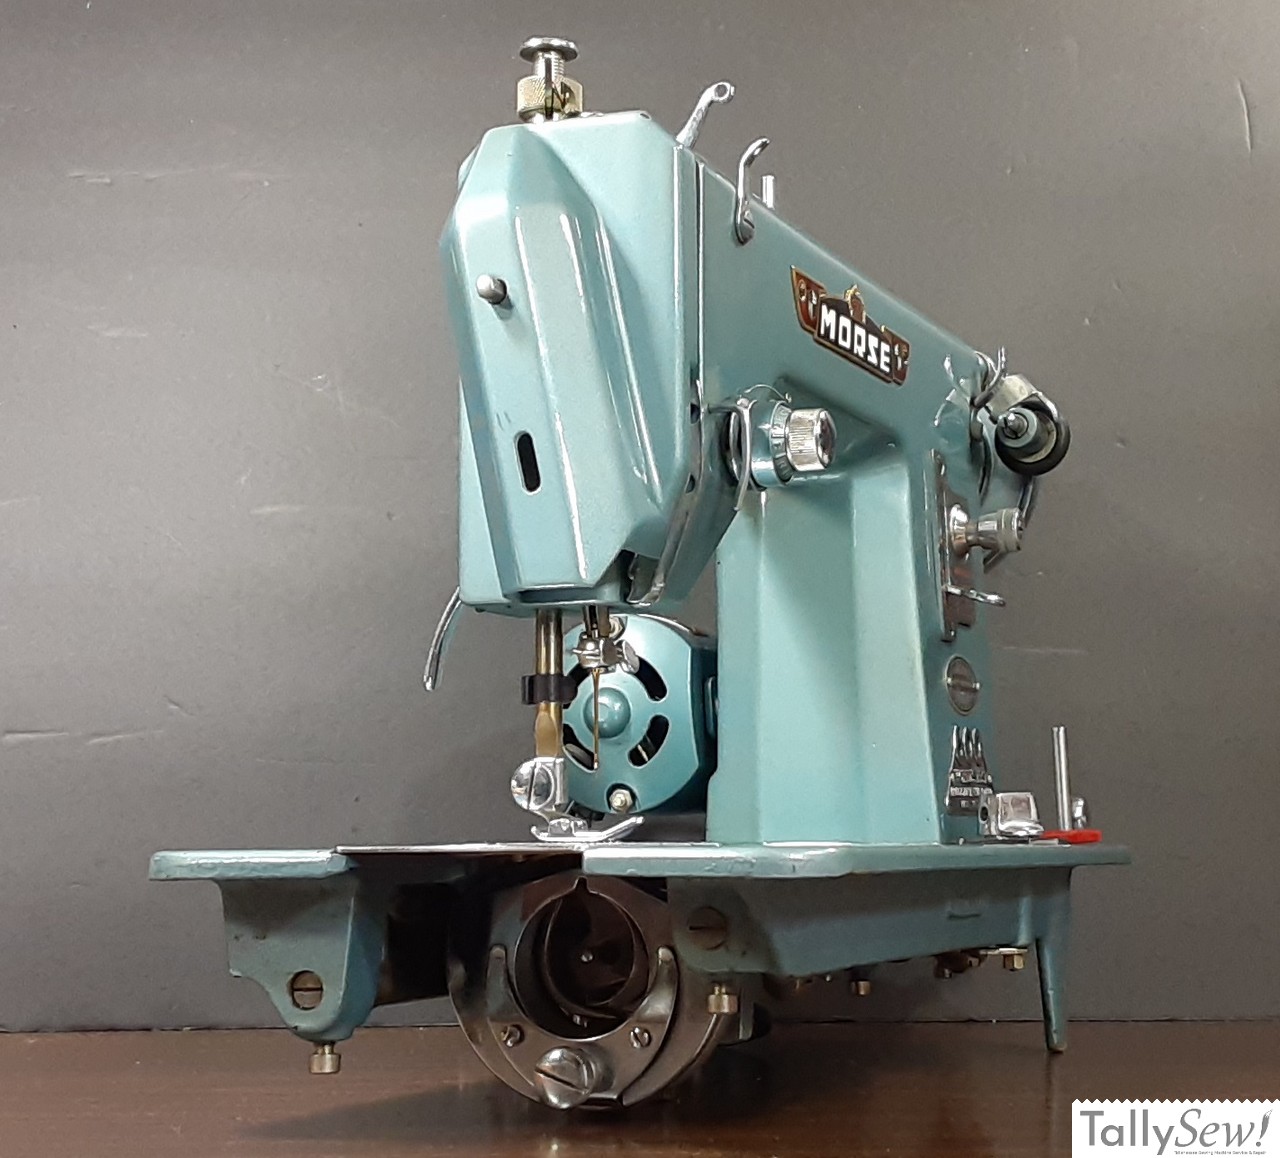
As is typical of both the Singer 15 and post war copies thereof, the hook driver and drive arm are pinned to the hook drive shaft, so timing is a matter of setting the needle bar to the correct height.
Setting the needle bar height / Timing the machine
Prep first
- Unplug the machine before you touch anything.
- Pull the head. It’s easiest if you lift the machine head out of the cabinet or case bottom so you can work on a bench.
- Open it up. Remove the needle bar area cover plate, and remove the hook race cover. The hook will want to fall out once that cover is off, so keep a hand on it while you work.
Position and get access
- Set the machine on end. Turn it so the left end faces you, then lift (the left end). until the machine is almost vertical. The base and the handwheel will rest on the workbench.
- Watch the balance. This is not stable. Keep one hand on the pillar and keep your feet clear. Cast iron wins every argument with toes.
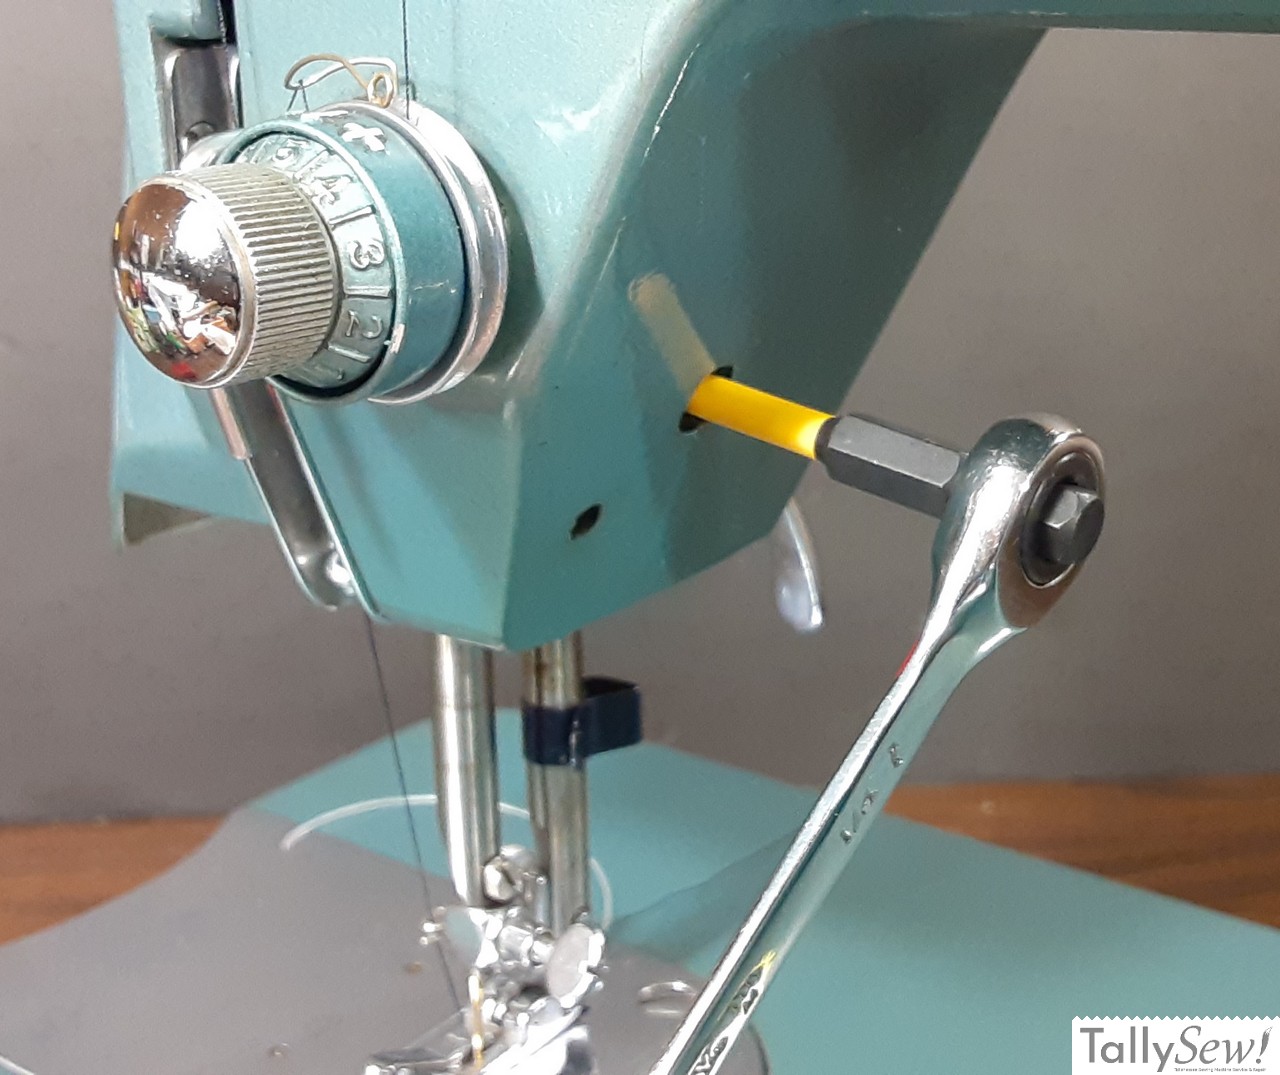
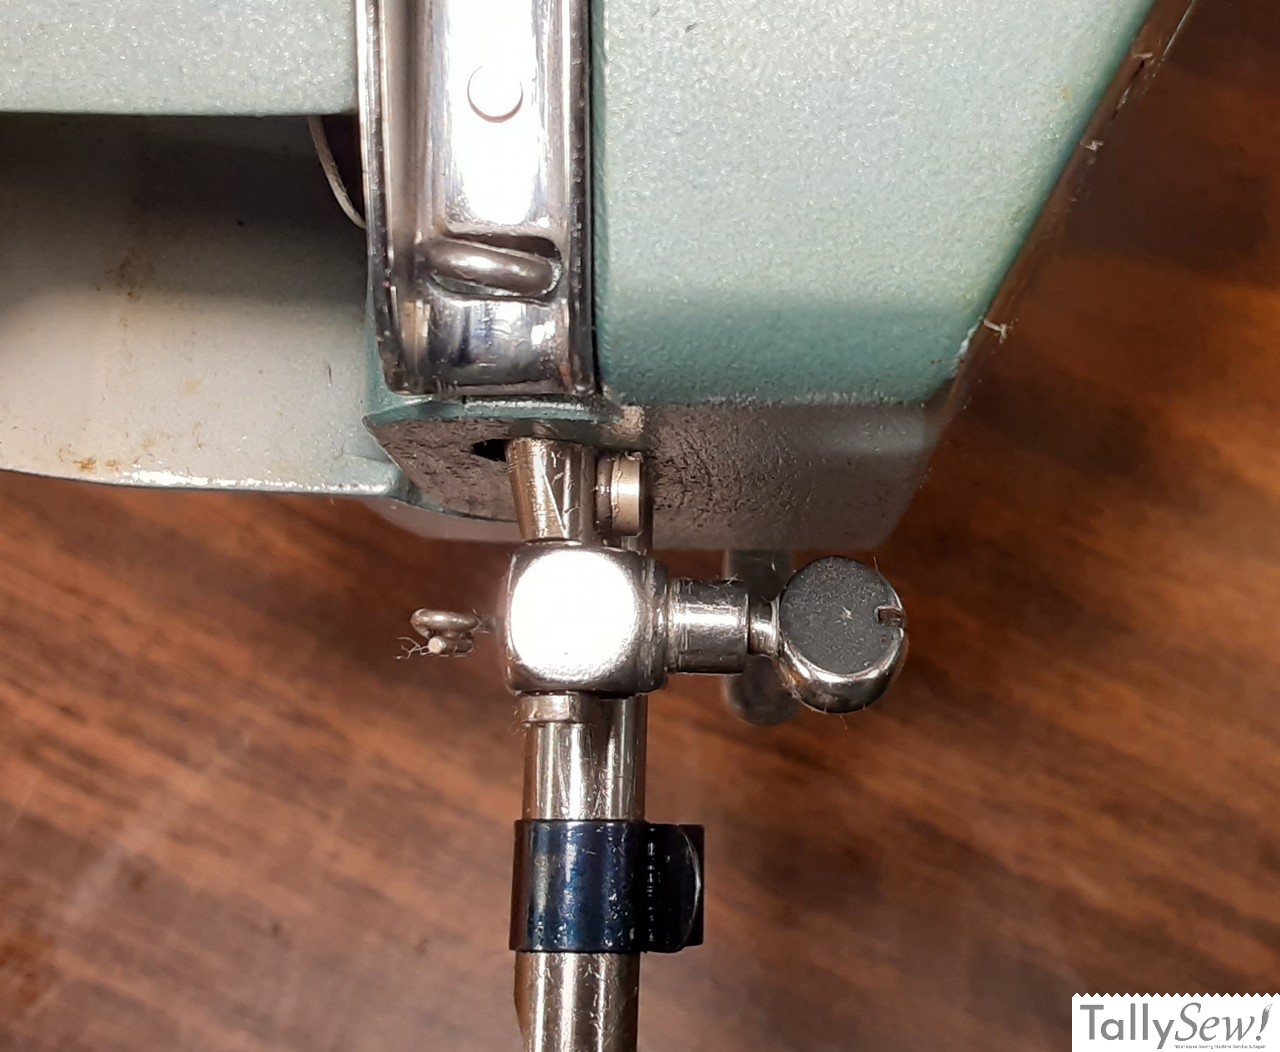
- Find the clamp screw. The needle bar clamping screw is accessed from the right side of the needle bar box through the adjustment hole (see photos above). Turn the handwheel until the needle bar is at its lowest point, then you access the screw through that hole.
- Loosen just enough. Back the screw off only until you can slide the needle bar with light pressure. Leave it snug enough that the bar won’t drop on its own.
Set the timing point
This machine has no timing marks, so you’ll work by sight and feel.
- Get a sight line. From the tipped-up position you can see both the hook and the needle bar. Lean the machine slightly forward so you can turn the handwheel freely.
- Bring it to bottom. Rotate the handwheel until the needle is at its lowest travel.
- Find 12 o’clock. At that point the hook should be very close to the 12:00 position, pointing straight up toward the needle.
- Line up the heights. Turn the handwheel a little more until the needle is even with the tip of the hook. Now slide the needle bar down until the hook point sits about 1/16 inch above the top of the needle eye. For most industrial lockstitch machines that 1/16″ gap is the standard target, with the hook passing as close as possible without touching.
Lock it and test
- Tighten. Hold the alignment and snug the needle bar clamping screw through the access hole.
- Rotate and watch. Turn the handwheel through a full cycle. The hook should meet the needle just above the eye every time around, with that same 1/16″ clearance.
- Adjust again if needed. If it’s hitting low, high, or missing, loosen the screw a touch and nudge the bar. No marks means a little trial and error is normal.
Put it back together
- Lower the machine carefully back to flat.
- Reinstall the hook race cover, then the needle bar cover plate.
- Remount the head in the cabinet, plug in, and sew a test seam.
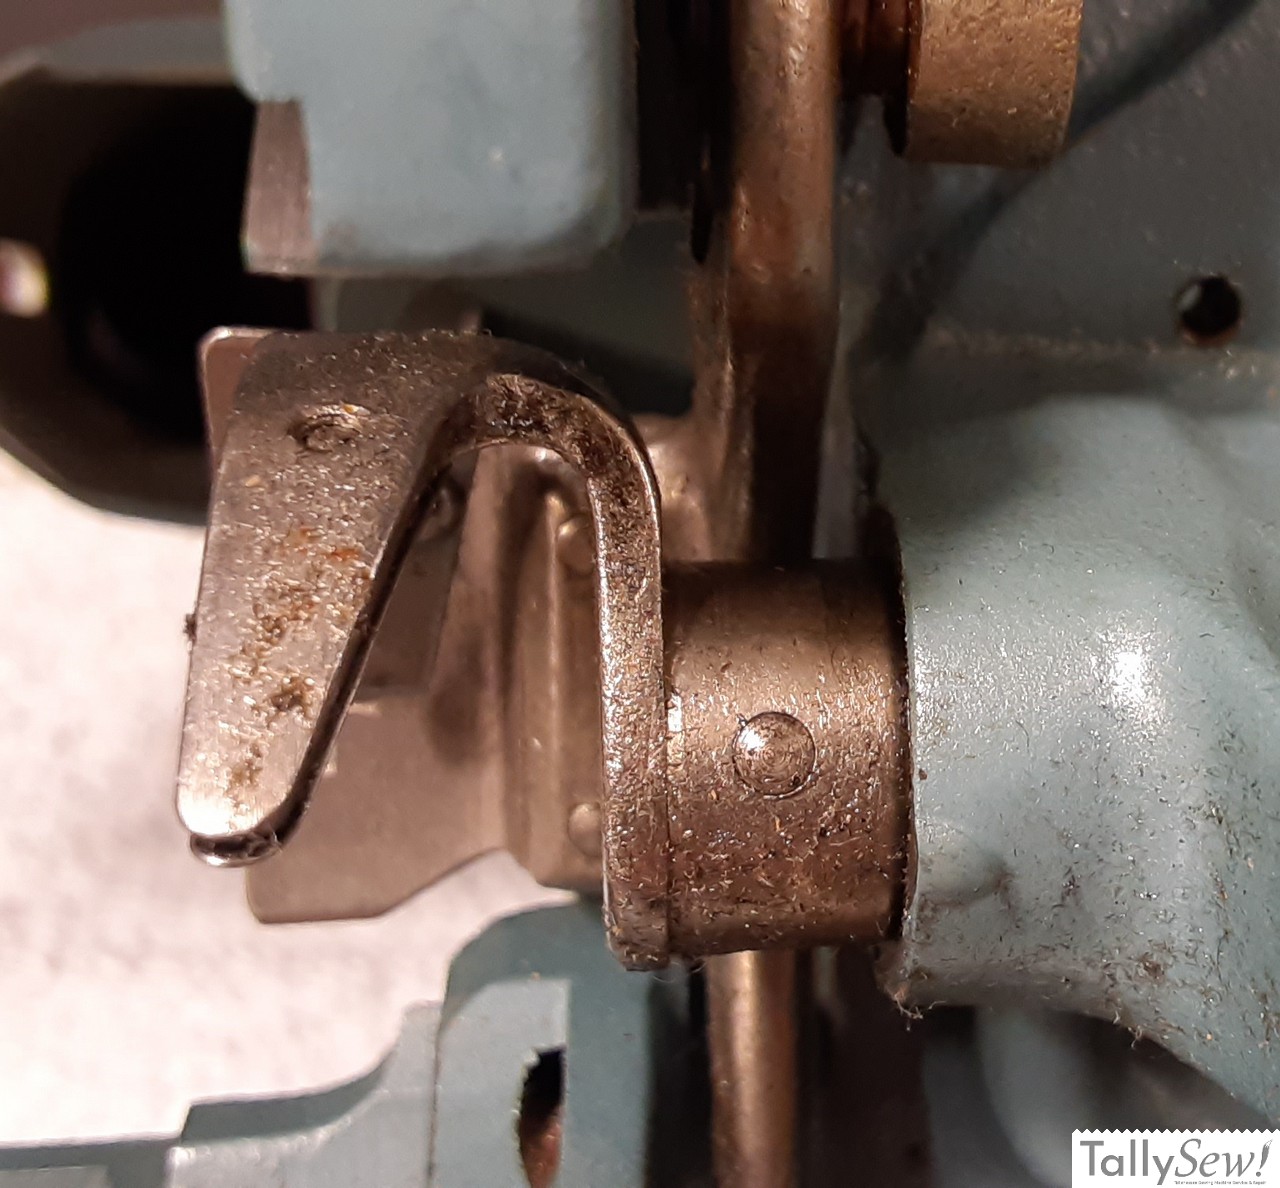
Feed Dog Control (EMBR / SILK / NORM)
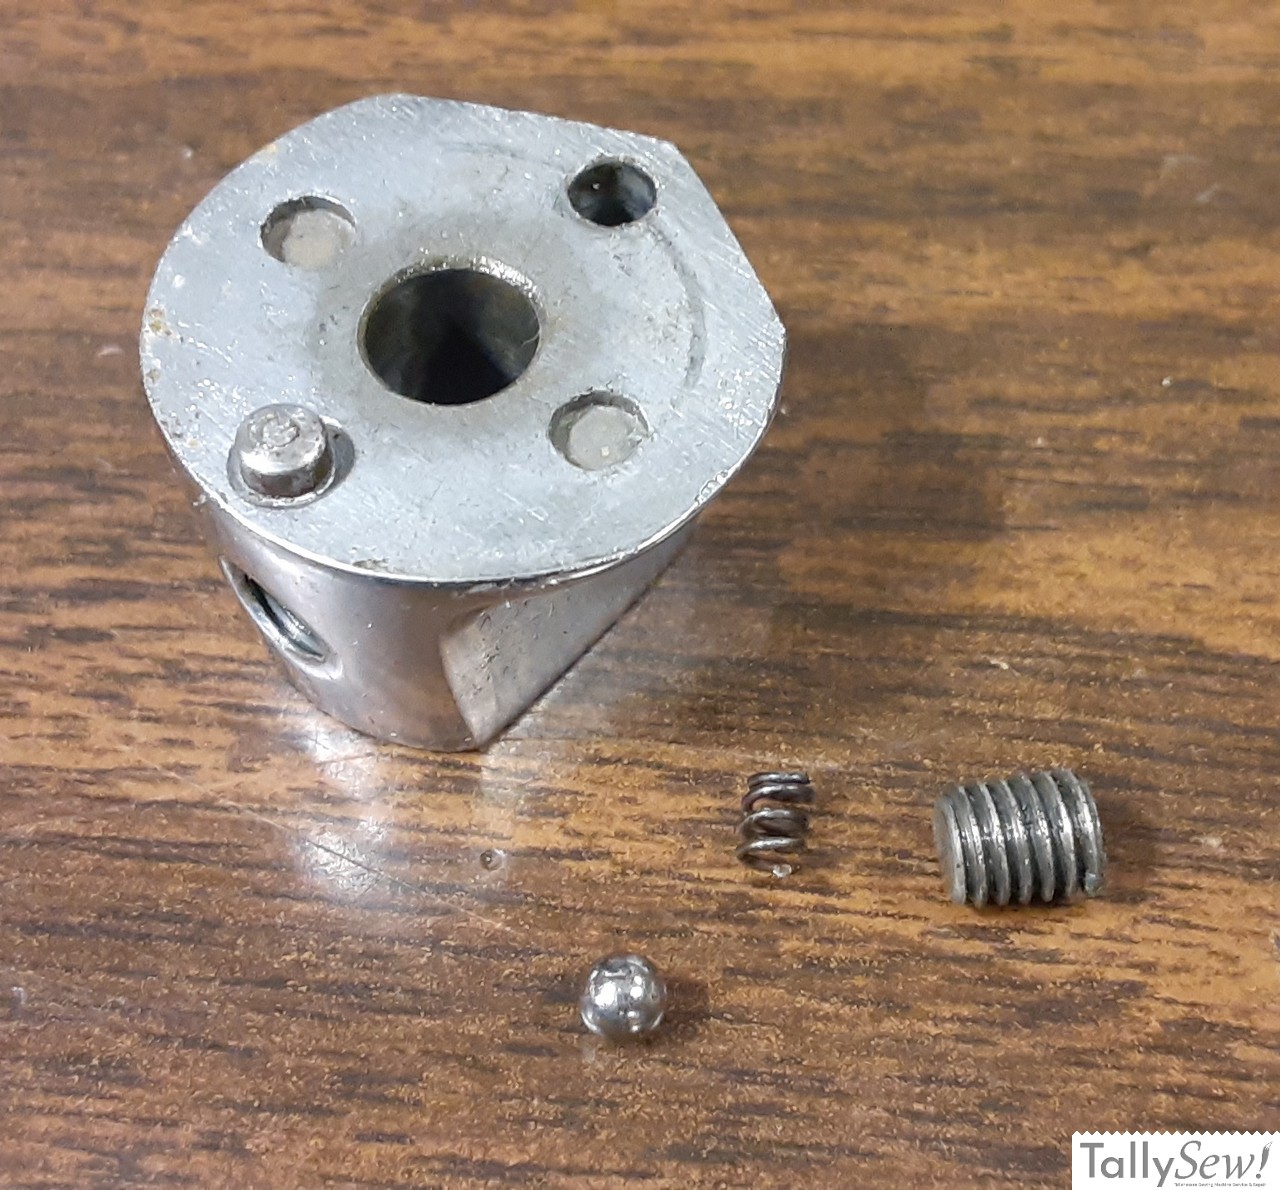
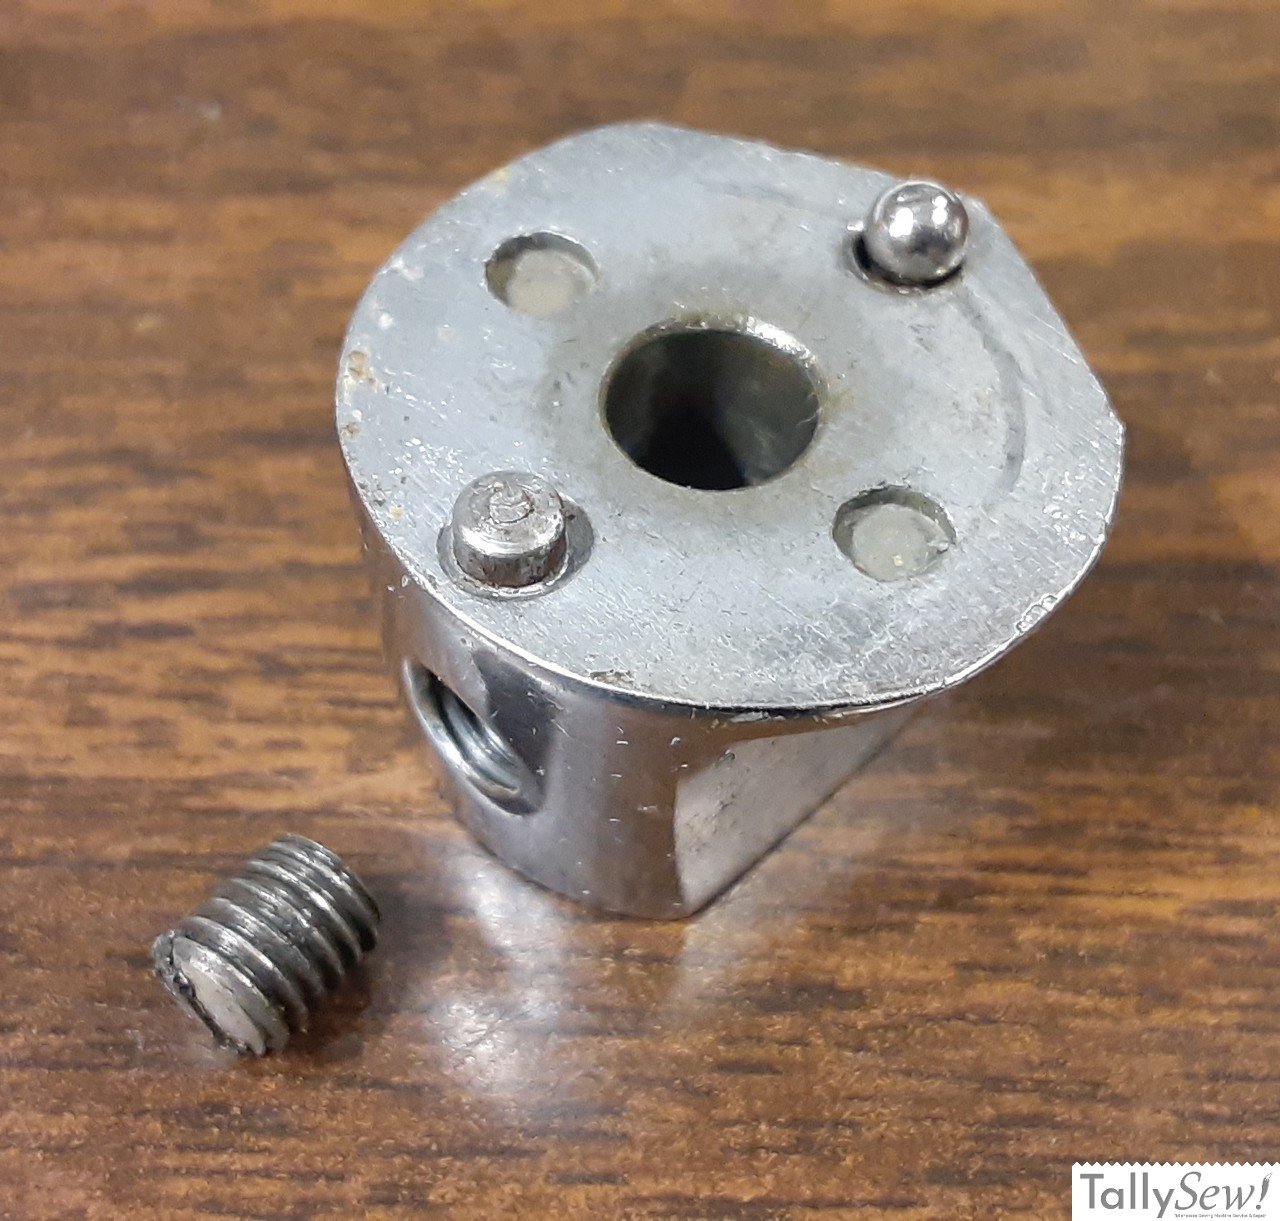
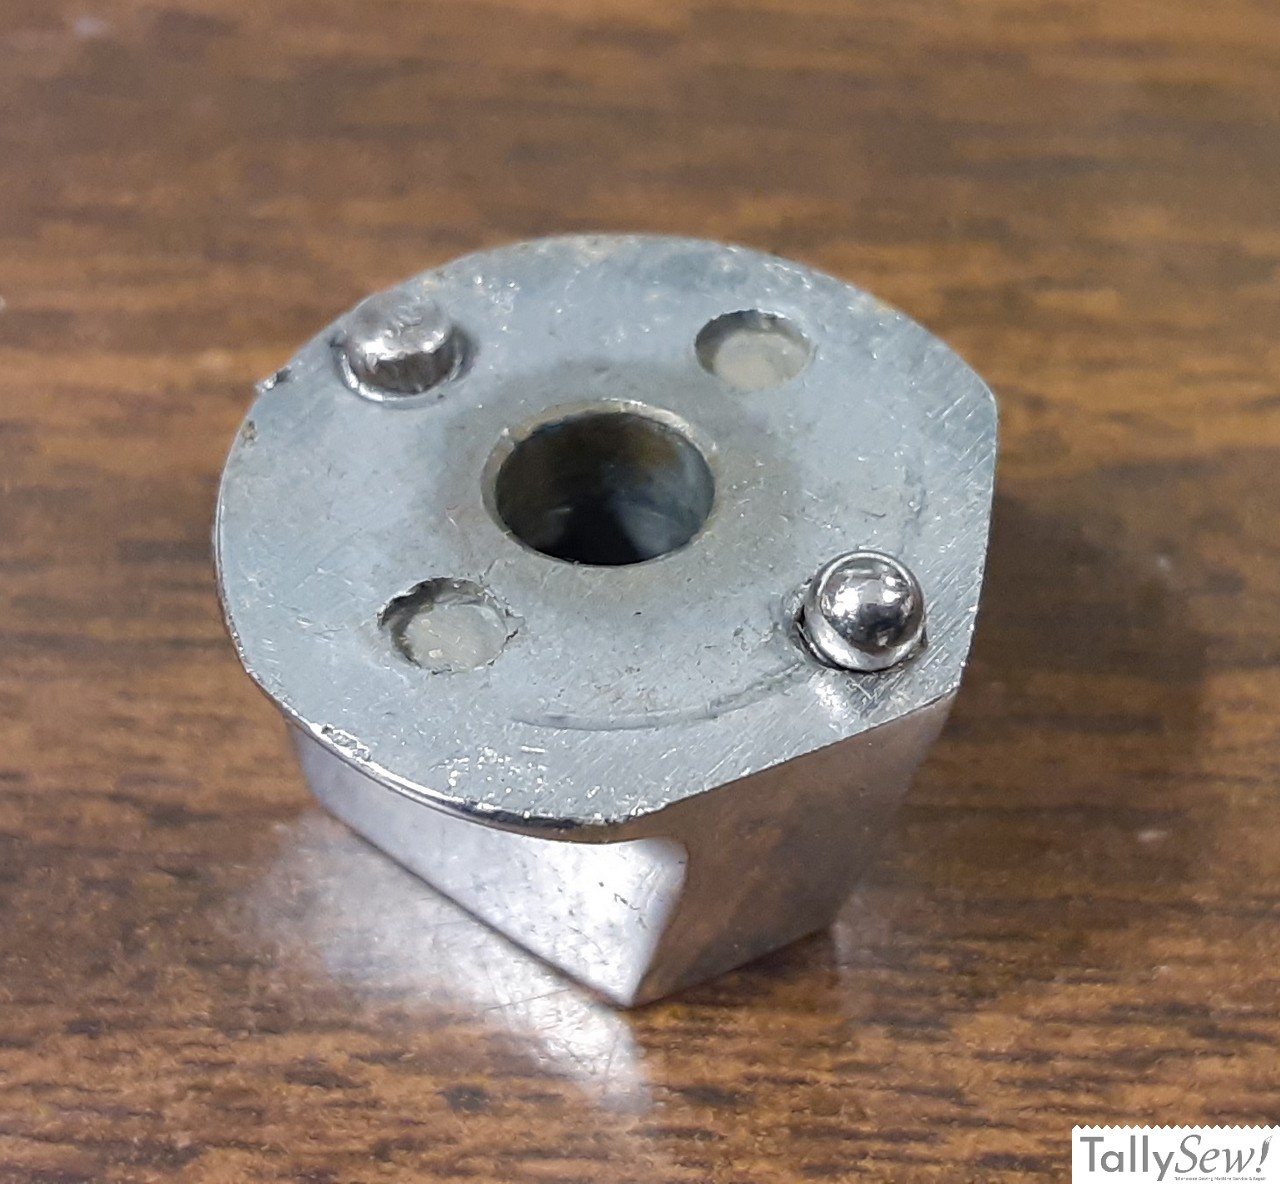
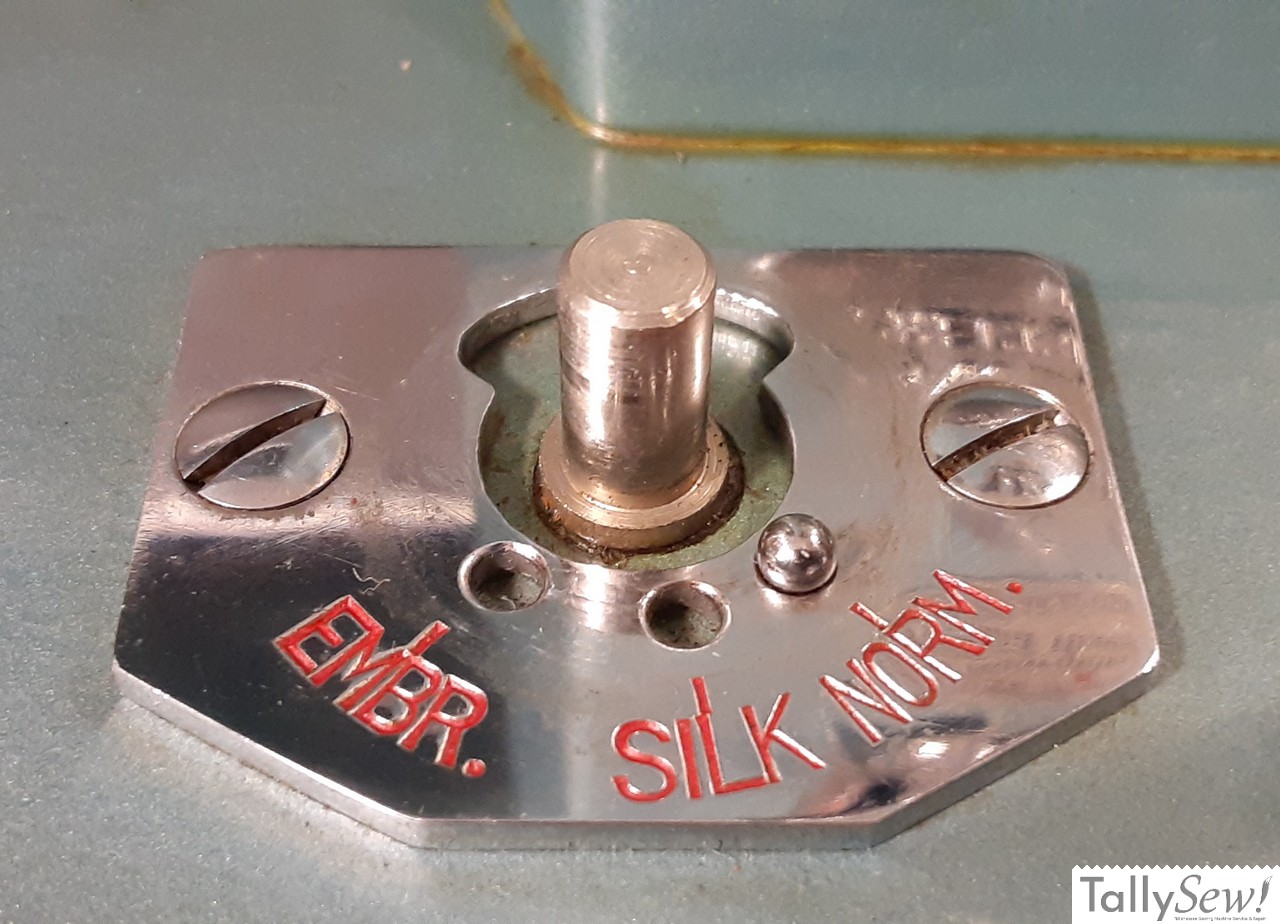
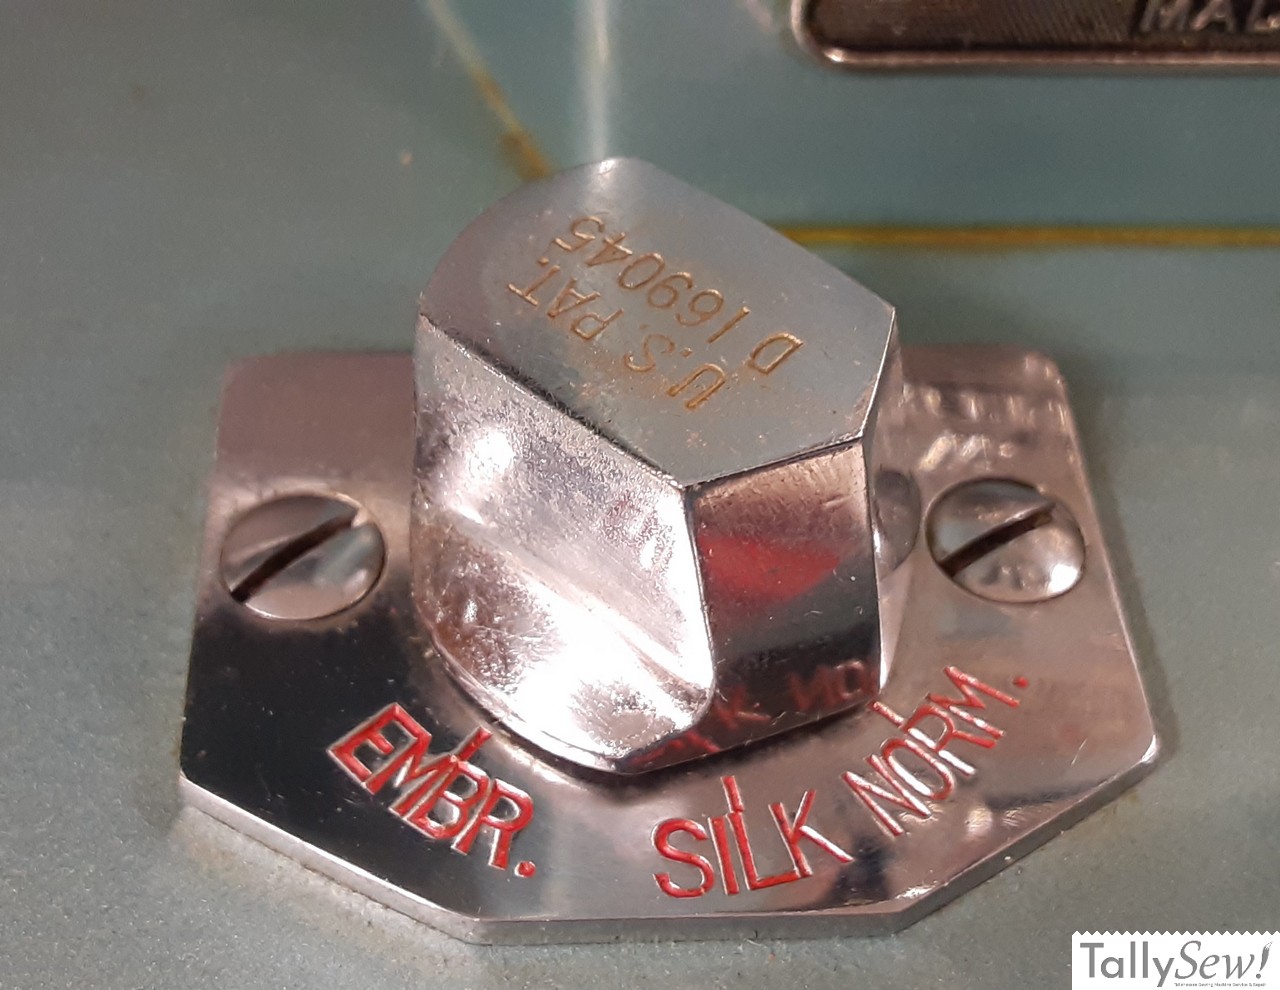

The dog lowering knob uses a spring and detent ball to position the knob in the embroidery silk or normal positions.
- NORMAL: feed dogs at full height. Use this for regular piecing, seams, and topstitching. The feed-dog lift cam is fully engaged.
- SILK: feed dogs are partially lowered. On some models the feed stays up but the linkage reduces pressure just enough for sheer fabrics. Manuals from the era tell you to use this for “thin embroidery silk” and delicate work to avoid chewing the fabric.
- EMBROIDERY: feed dogs are fully dropped below the needle plate. Use this for free-motion embroidery, darning, button sewing, and quilting where you move the fabric by hand.
Should you buy a Morse 600?
Short answer: yes.
Postwar Singer 15 clones are some of the most reliable vintage machines ever made, and the Morse-built versions are among the best. Your Model 600 was built by Toyota Steel Works in Obu, Japan, with an all-metal body and an oscillating hook that still sews smoothly 70 years later.
What to watch for:
- Parts fit. Most internal parts are not a direct swap with a Singer 15, and parts from another Japanese class 15 machine may not fit either. If a lever, knob, or shaft breaks, plan on finding a donor Morse for spares.
- Wear items are easy. It uses standard supplies you can buy today: Class 15 bobbins and bobbin cases, 15×1 needles, low-shank presser feet, plus common bobbin winder tires and V-belts.
If you find a 600 that turns freely, has a good motor, and comes with the original badging intact, buy it. It is heavy at 35 pounds, but that cast iron is exactly why it still sews like new.
What is a Morse 600 worth?
Morse 600s are underrated and not particularly rare, so prices stay low. Like all vintage machines, value is local and subjective. It’s worth what a buyer will pay on that day.
In the Tallahassee, Florida area, a fair to good condition Morse 600 typically sells for $25 to $30.
The machine in this article is a good example. Even though the cosmetic condition is excellent, it would have sold for only $20 to $25 when the needle was not picking up the bobbin thread. Now that it is timed and sewing, its market value is about $45 to $50.
Its real value is not resale price. It’s in the sewing. You get an all-metal, Toyota-built Singer 15 clone that will outlast most modern machines, for less than the cost of a service call.
Specifications
| Brand | Morse |
| Model | 600 |
| Manufactured By | Toyota |
| Made In | Obu, Japan |
| Years Produced | 1952 to 1956 |
| Hook Type | Oscillating |
| Bobbin | Class 15 |
| Bobbin Case | Class 15, 1 O’clock position finger |
| Needle System | 15×1 |
| Foot Type | Low Shank |
| Construction | All metal |
| Construction Drivetrain | All metal |