Singer 15-91 and 201-2 handwheels
The handwheels found on Singer 15-91 and 201-2 sewing machines are a little more complicated than they seem at first glance. I’m going to start out with two versions of the same concept, differing in how the Textolite gear is held in place.
Please note, the handwheels for the Singer 15-91 and 201-2 are interchangeable, but the parts that make up the handwheel aren’t necessarily interchangeable between the two styles regardless of machine model.
Parts comparison
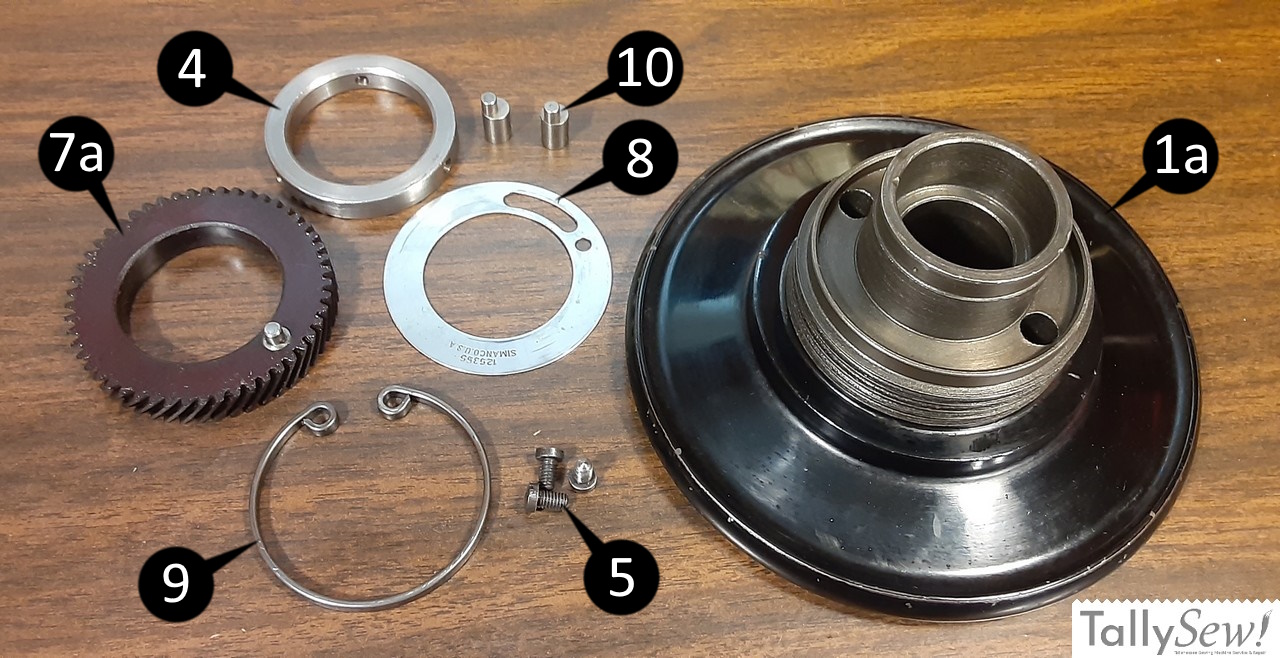
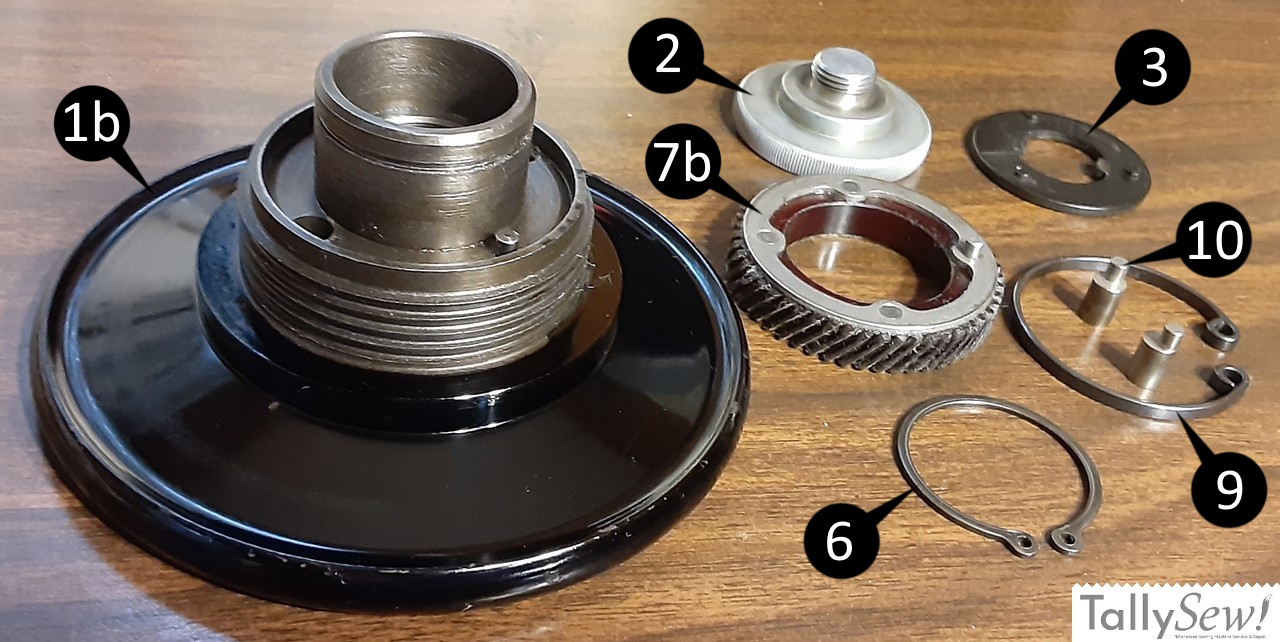
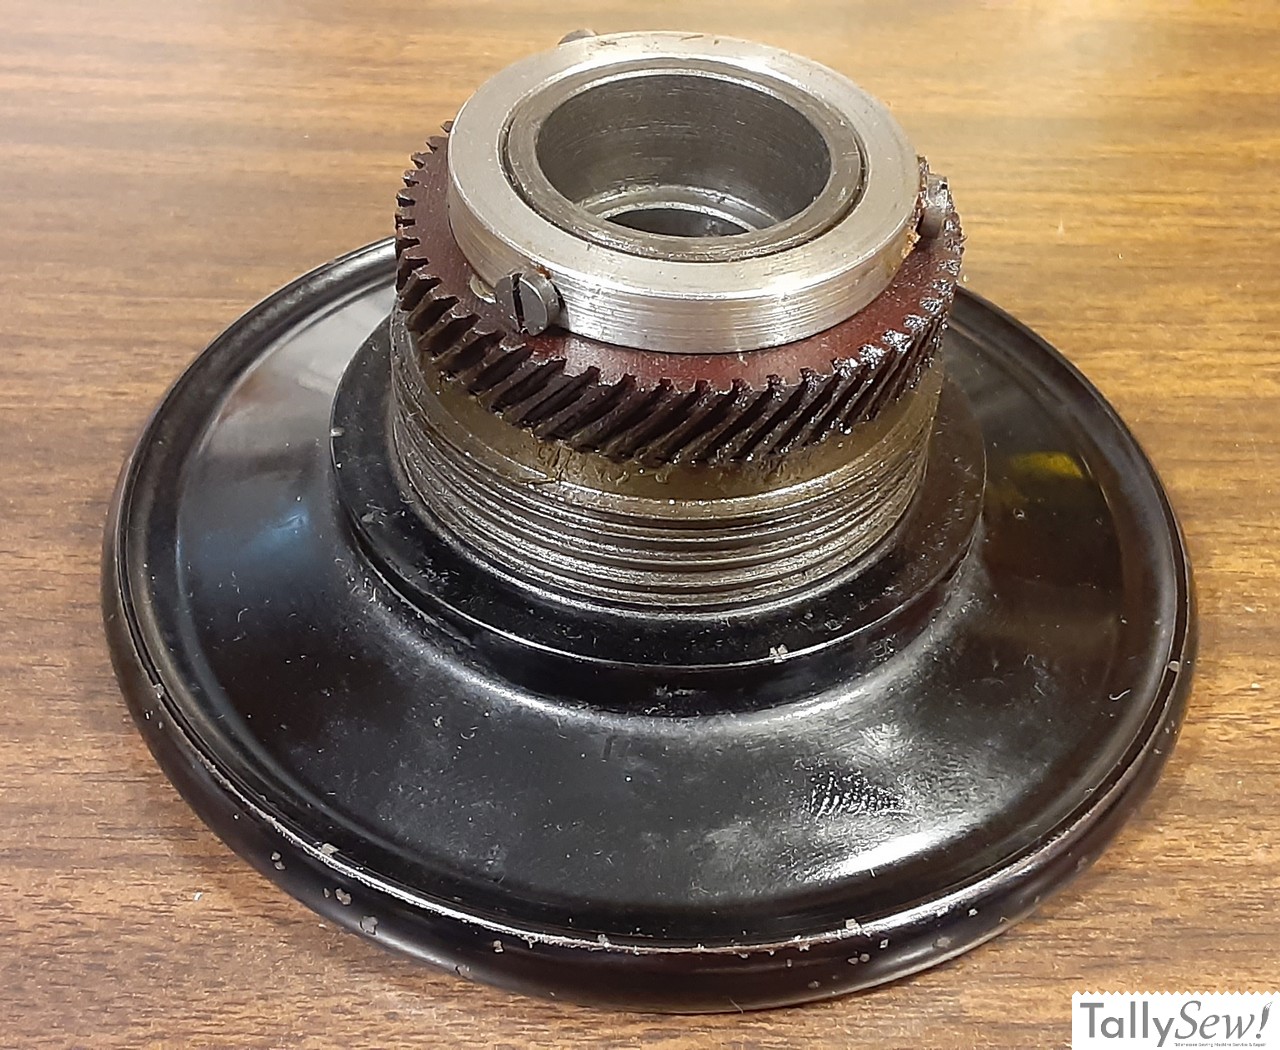
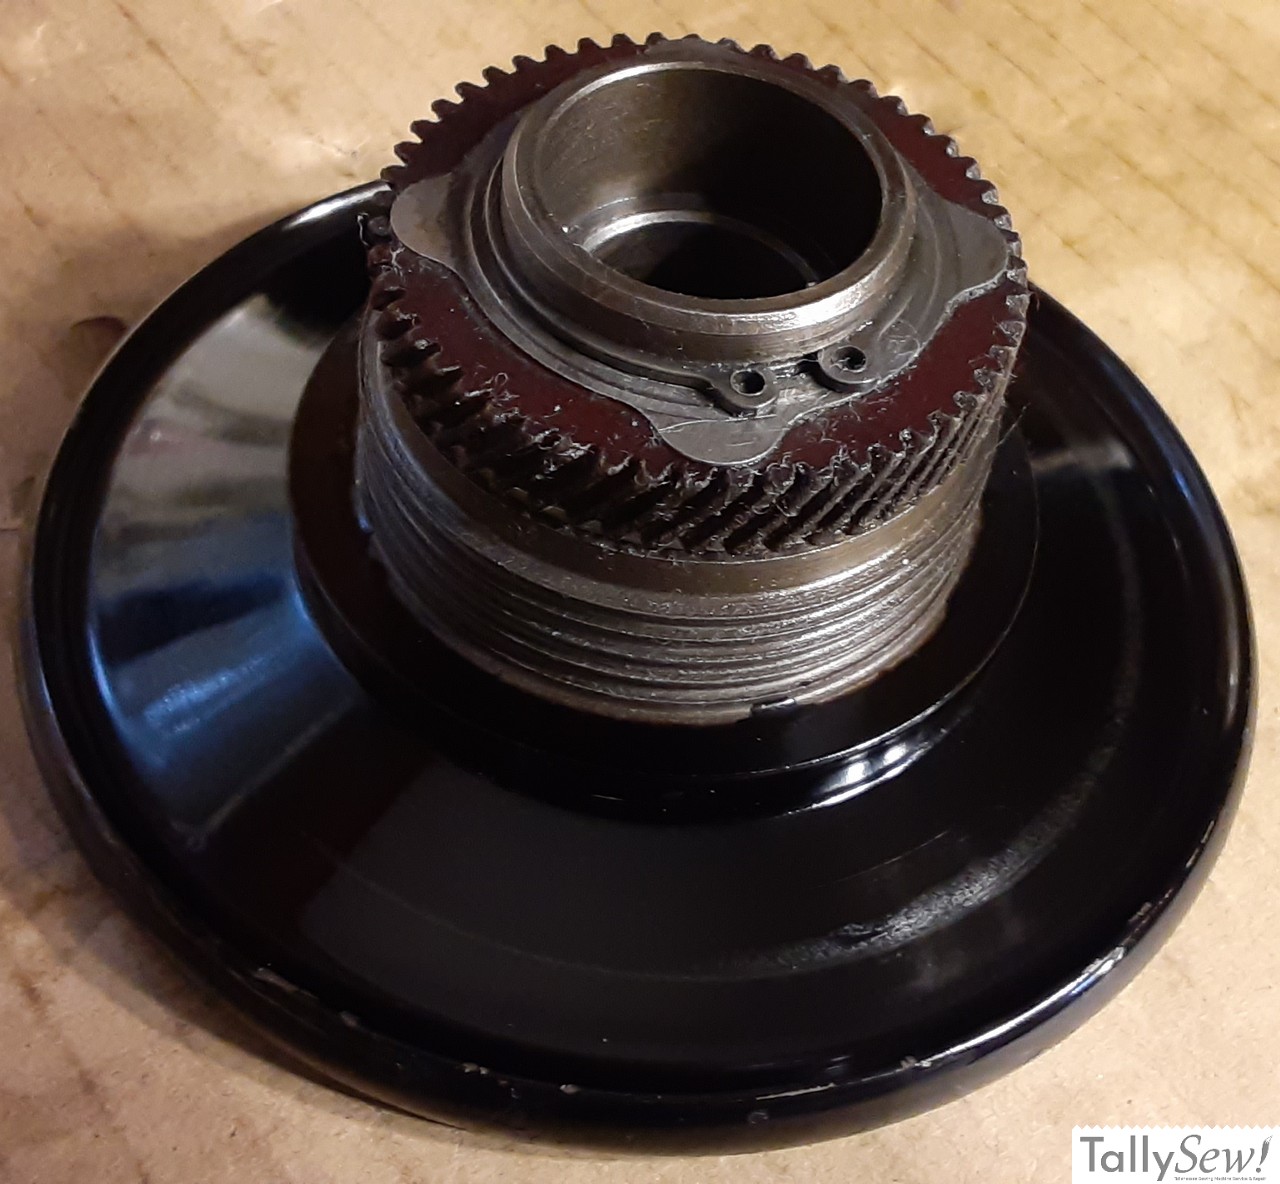
Earlier gear collar version on the left, and later snap ring version on the right.
- Balance wheel (Handwheel)
- 1a. Balance wheel, gear collar version
- 1b. Balance wheel, gear snap ring version
- Stop motion clamp screw & stop screw – Interchangeable
- Stop motion clamp washer – Interchangeable
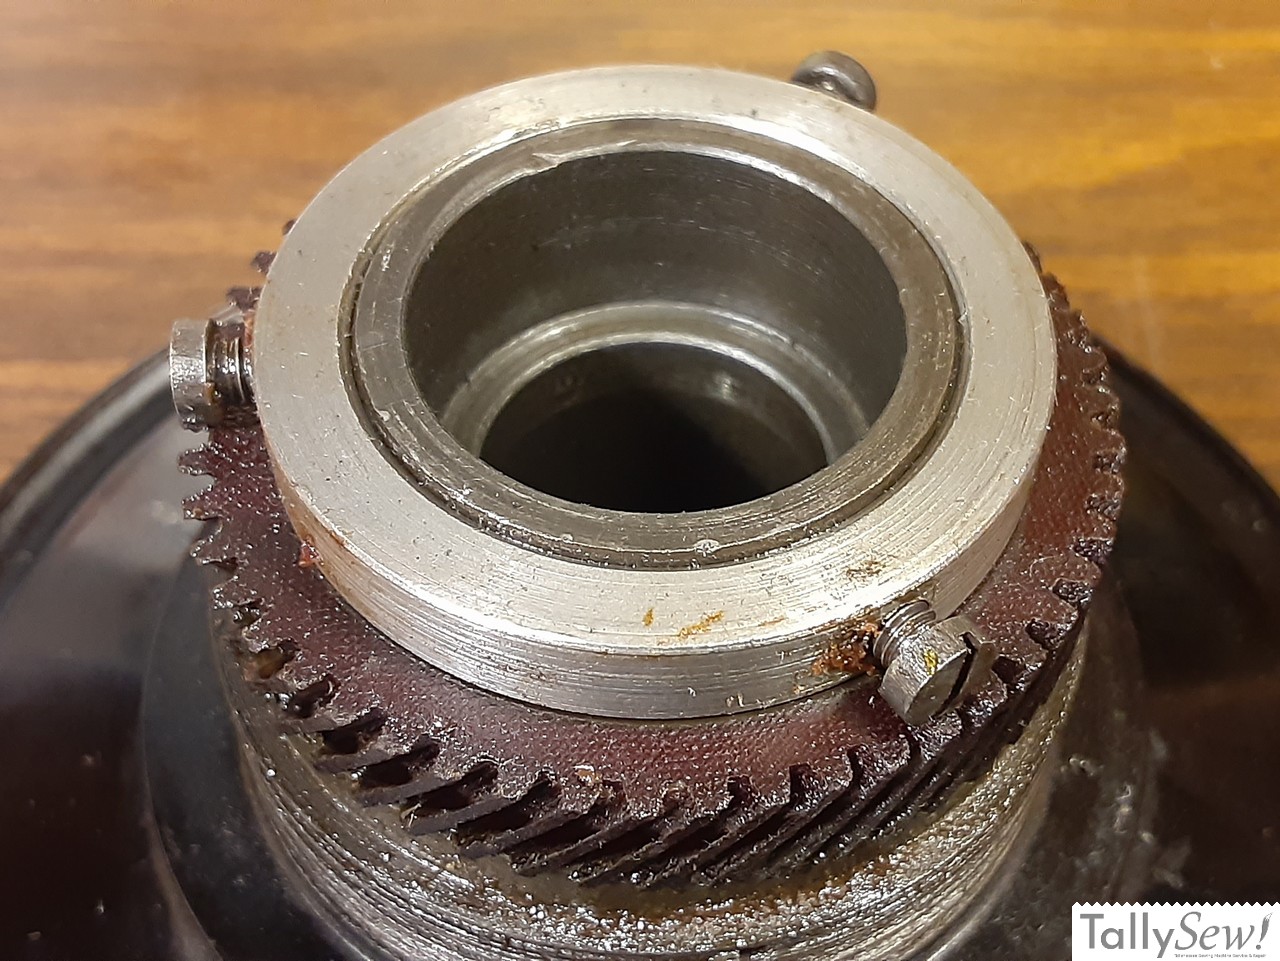
- Balance wheel gear collar
- Balance wheel gear collar set screws
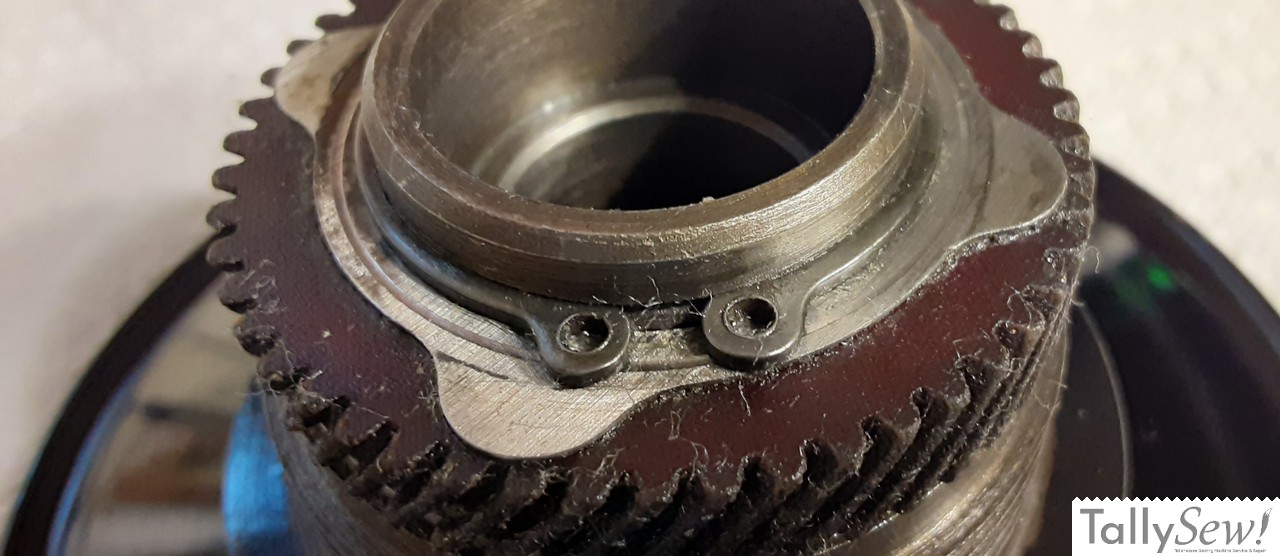
- Balance wheel gear snap ring
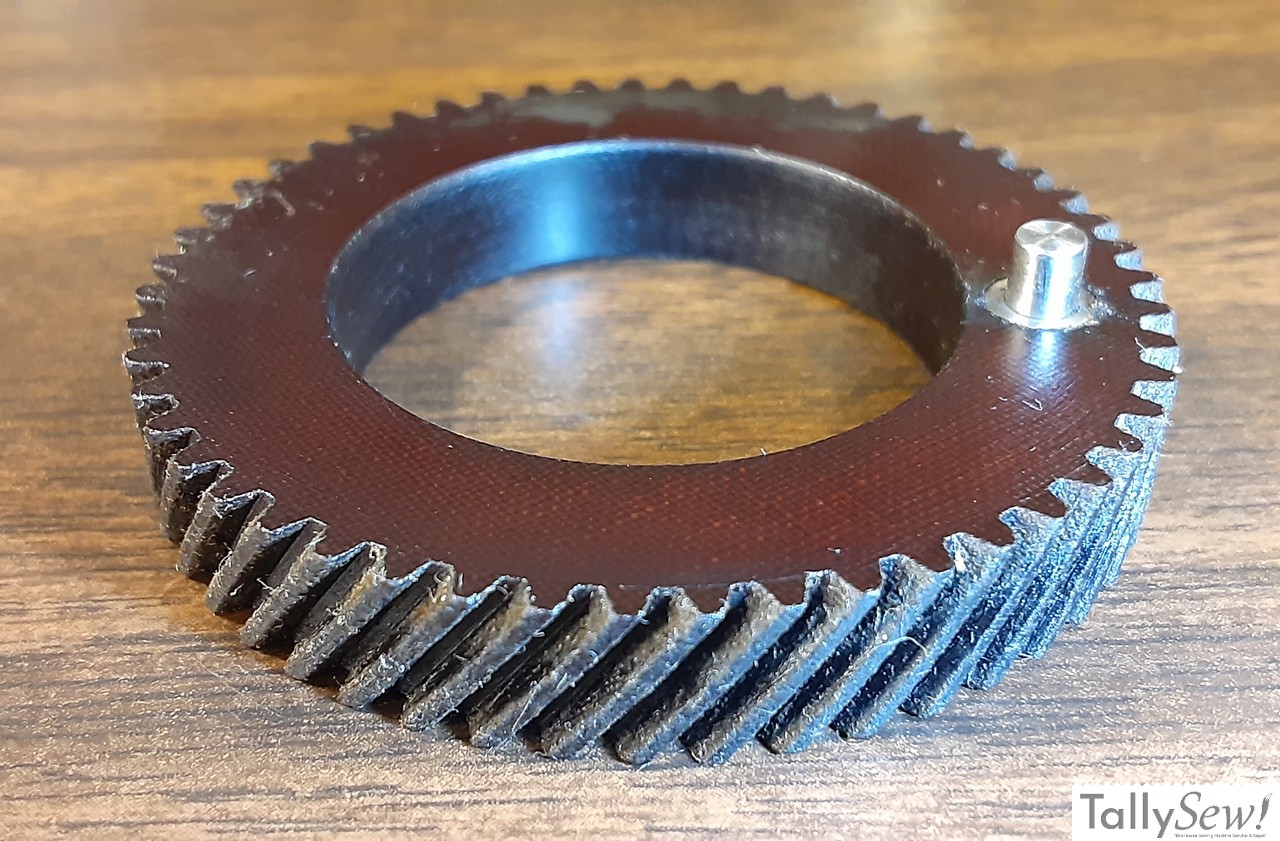
- Balance wheel “Textolite” gear
- 7a. gear collar version
- 7b. snap ring version
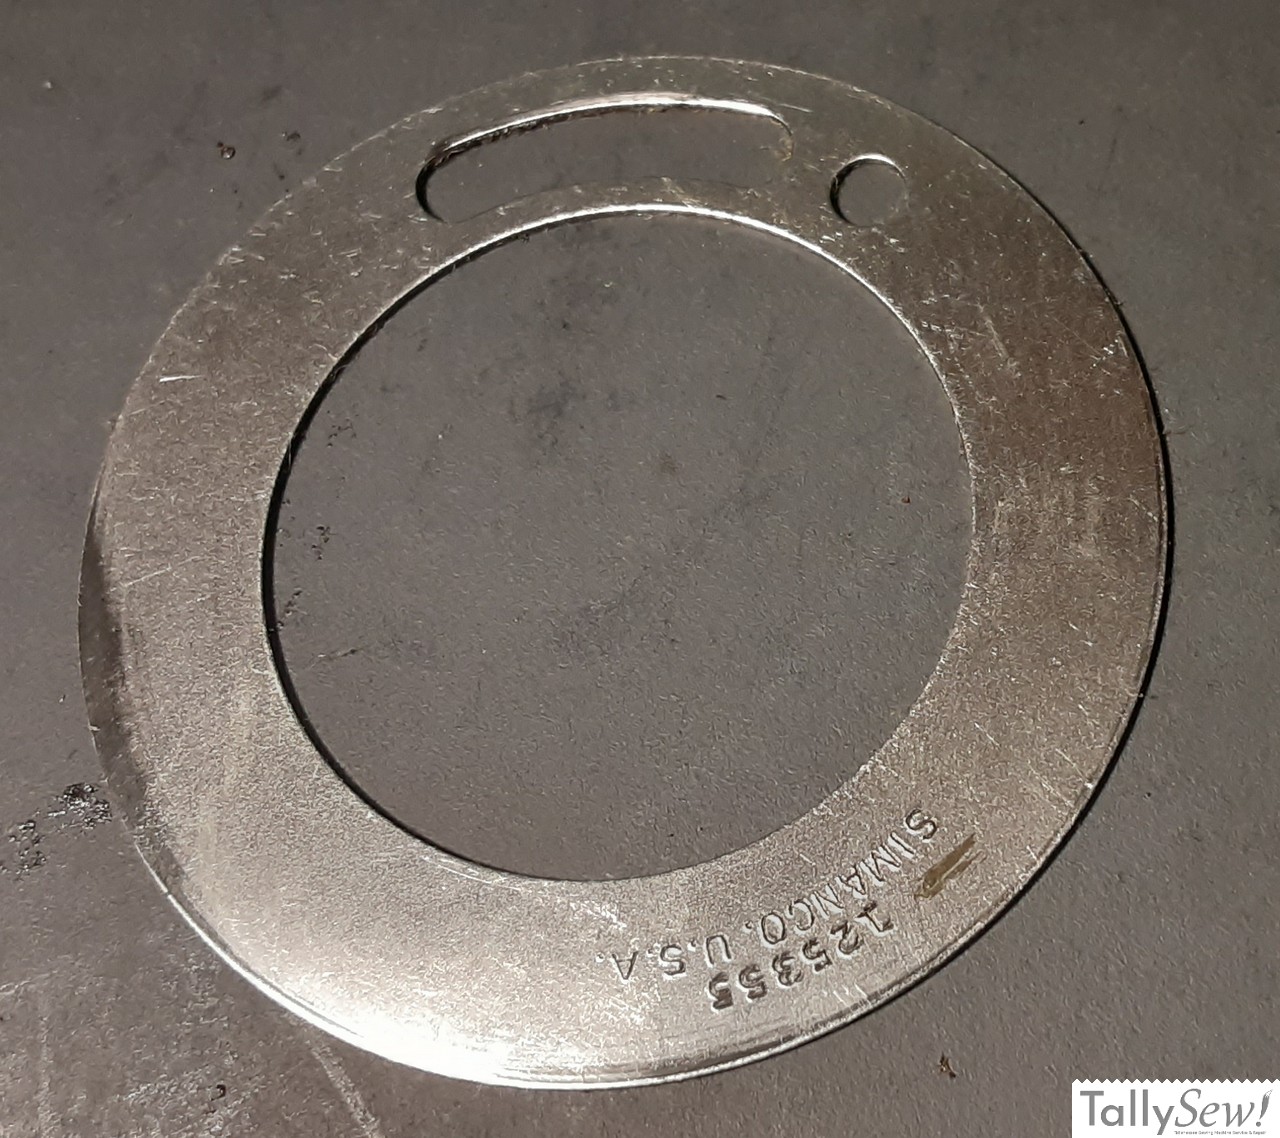
- Balance wheel gear spring retaining washer
- Balance wheel gear spring
- Eccentric studs – Interchangeable, not found in very early models
Side note: The snap ring in groove system was also used on in the Singer 15-125, and the concept was even carried over to the Singer 401A Slant-O-Matic, 500A Rocketeer, and 600 Auto-Reel with minor to major design changes as the newer models were introduced.
Balance wheel gear collar or snap ring
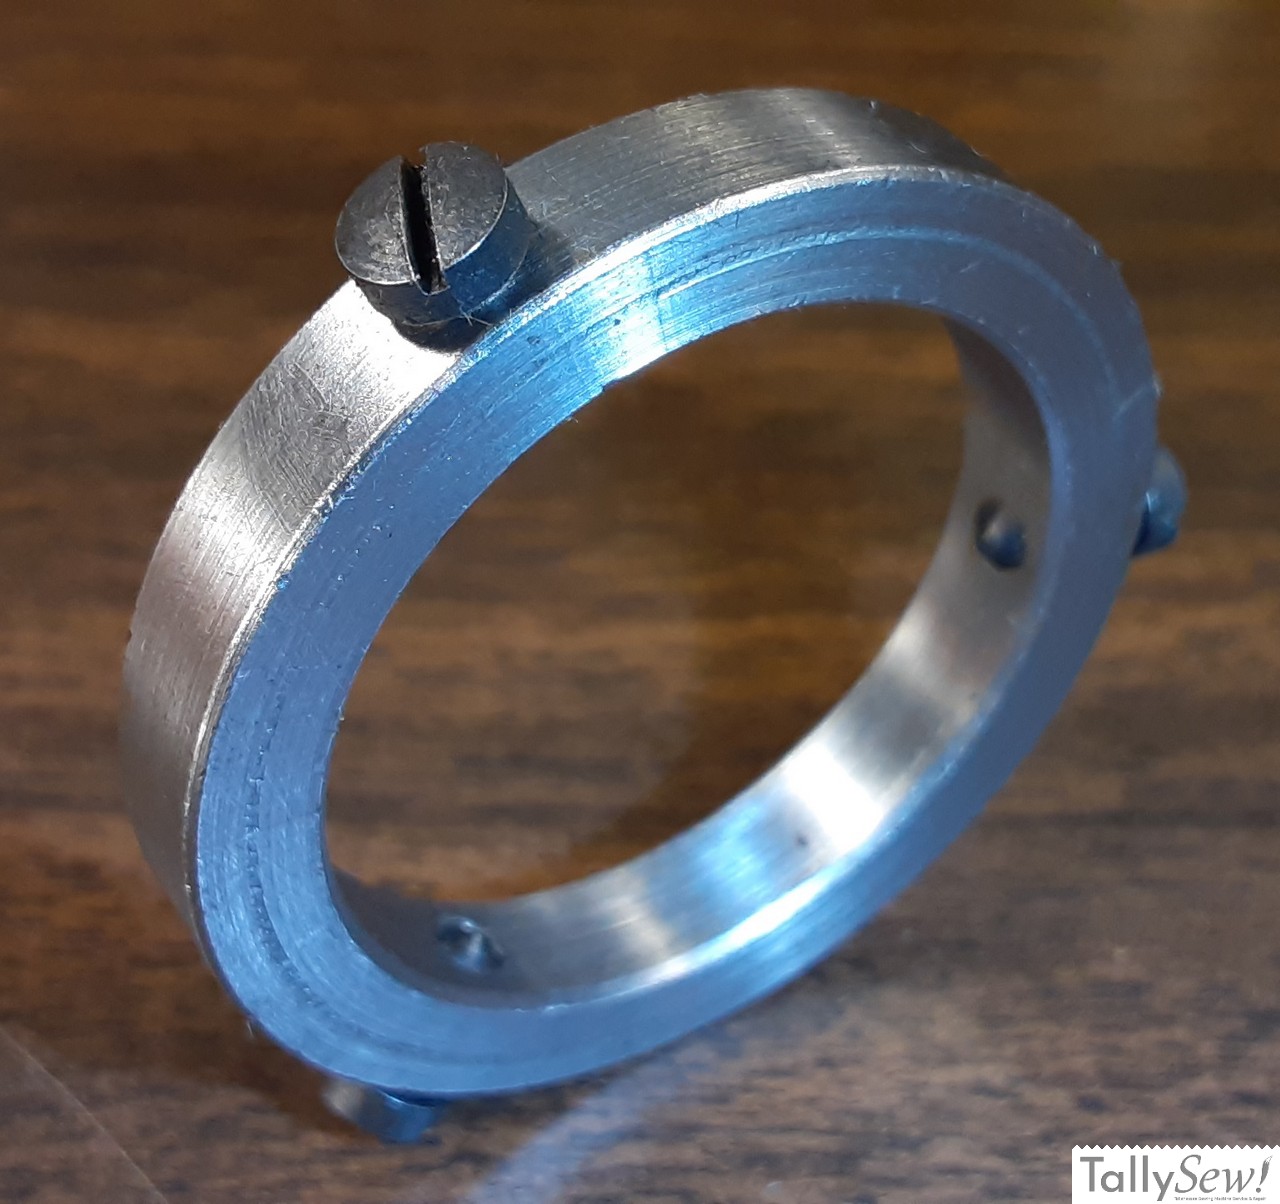
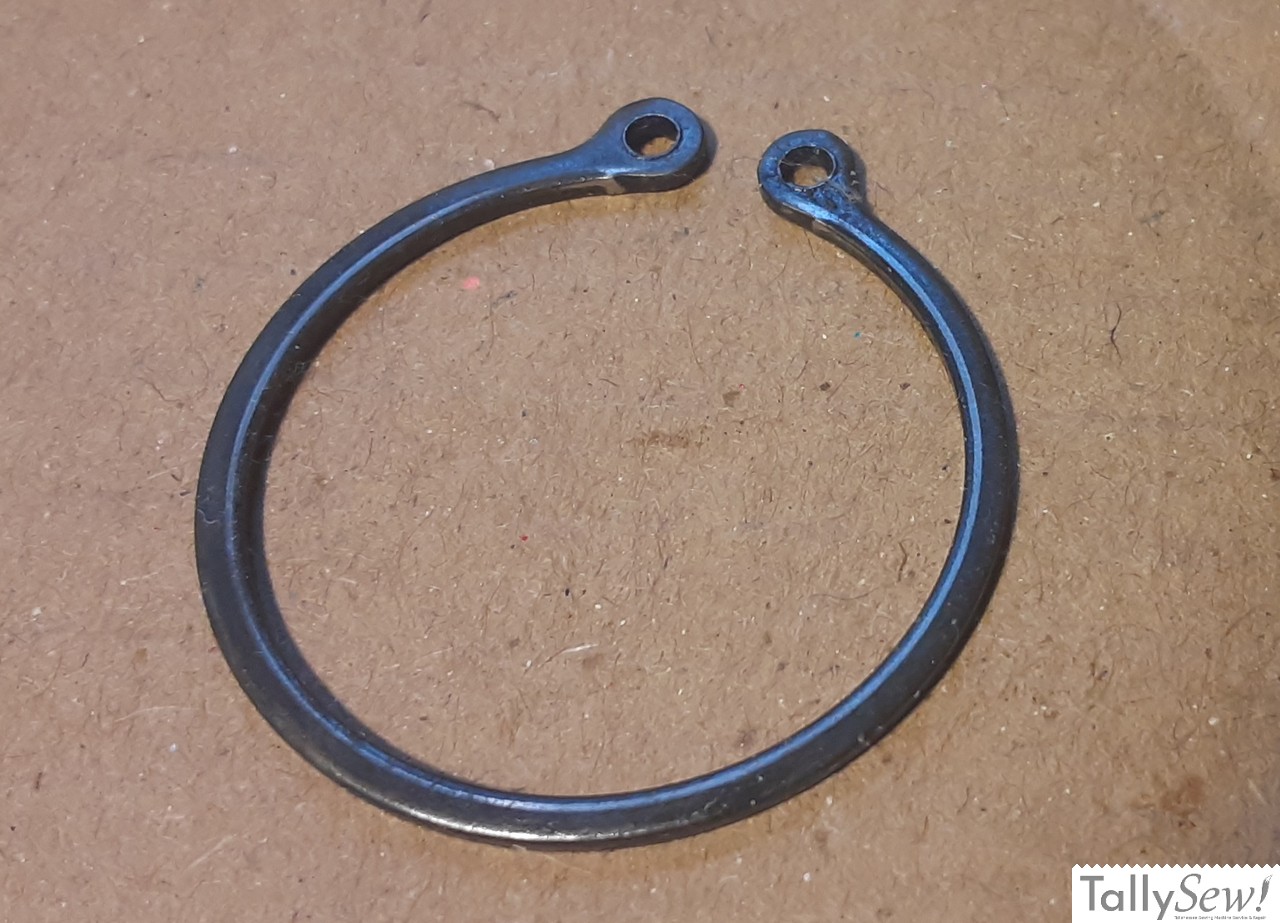
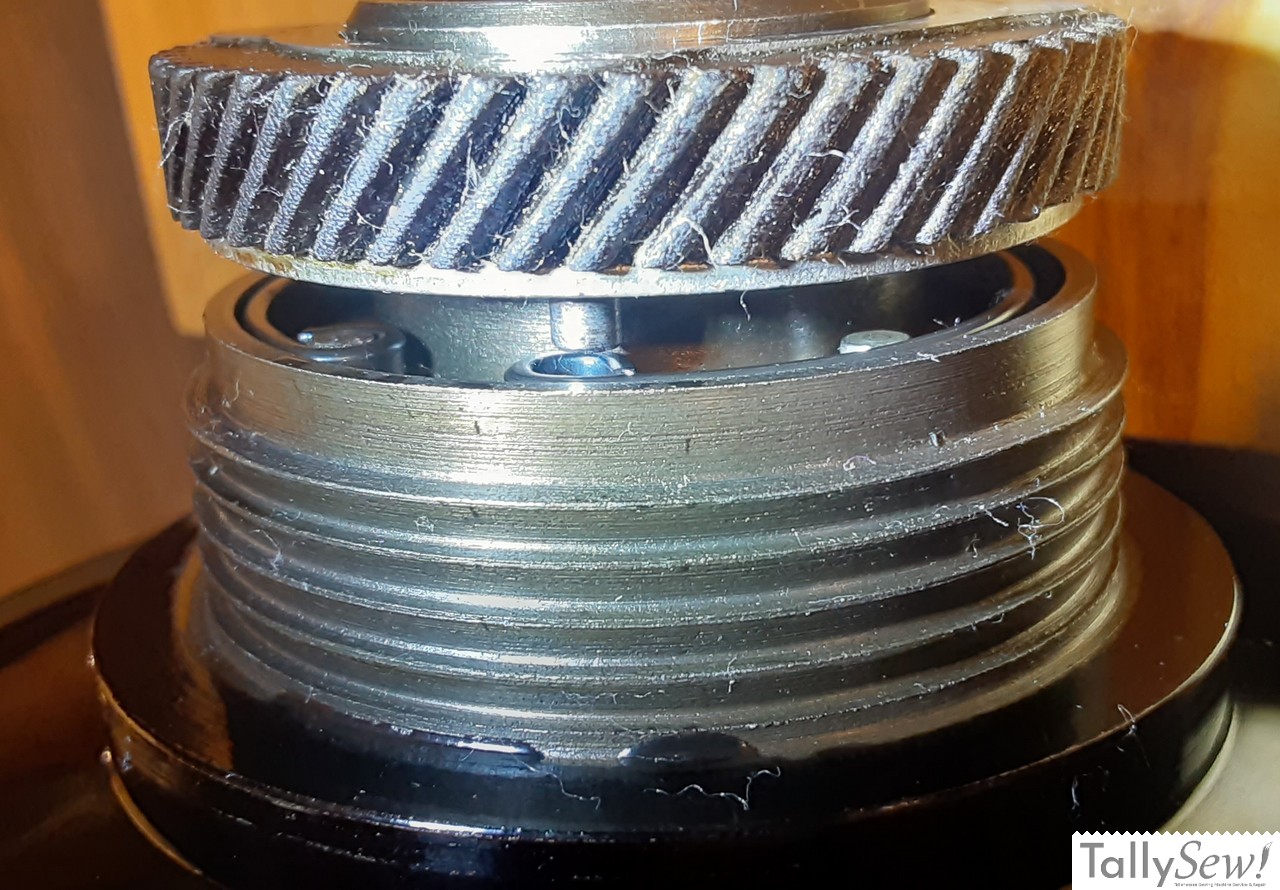
The main difference is between the two versions is of course the mechanism used to hold the balance wheel gear in place. The older balance wheel gear collar [4] and set screws [5] was used into the mid 1950s, and was replaced with the balance wheel gear snap ring [6]. The balance wheel is designed for one solution or the other, and they’re not interchangeable. The snap ring version requires a groove for the snap ring, and the set screws in the collar can’t be seated.
Balance wheel gear
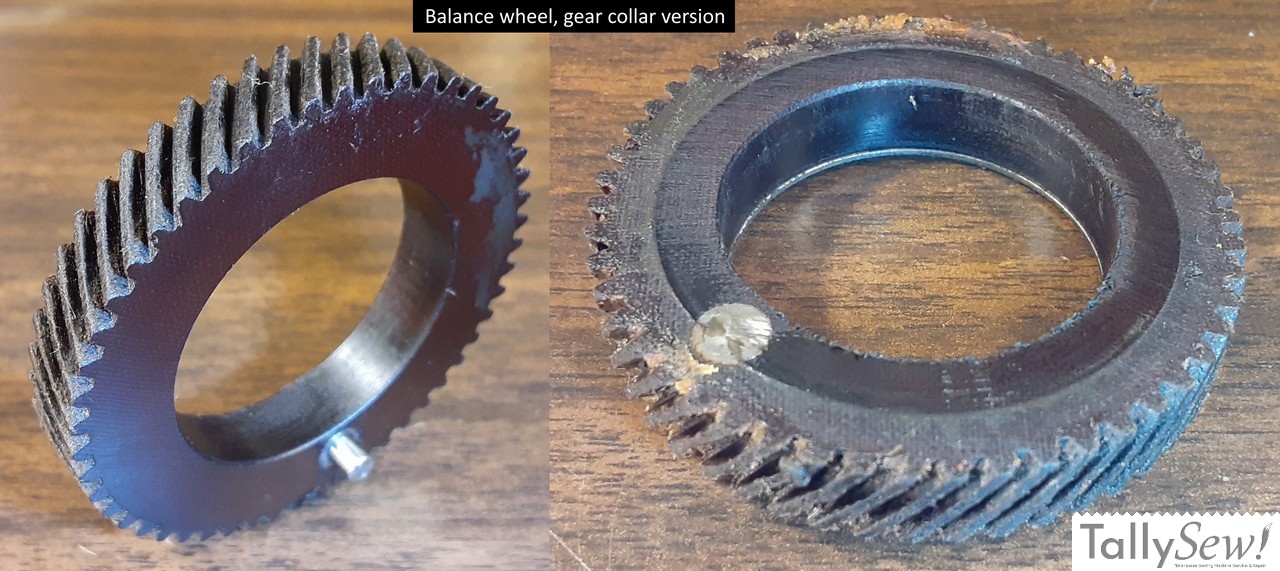
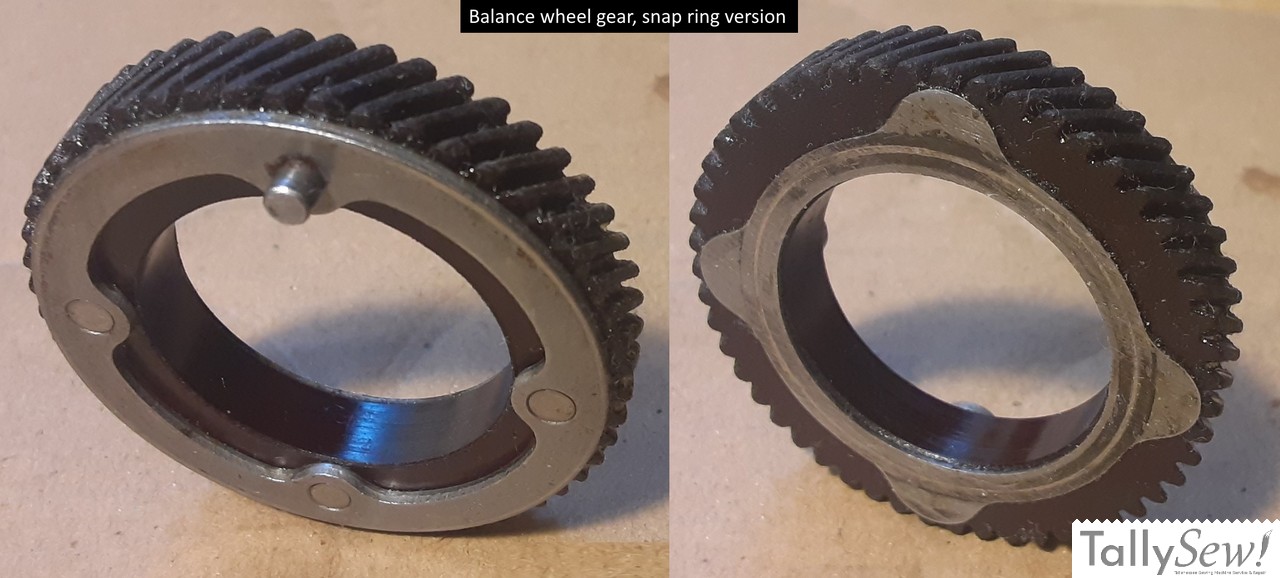
As you can tell from the images above the Textolite balance wheel gears [7ab] from the two versions are quite different. The older version (on the left), requires a balance wheel gear spring retaining washer [8] fit between the gear and the balance wheel gear spring [9]. The newer version (on the right), is a more complicated unit, but isn’t intended to be disassembled.
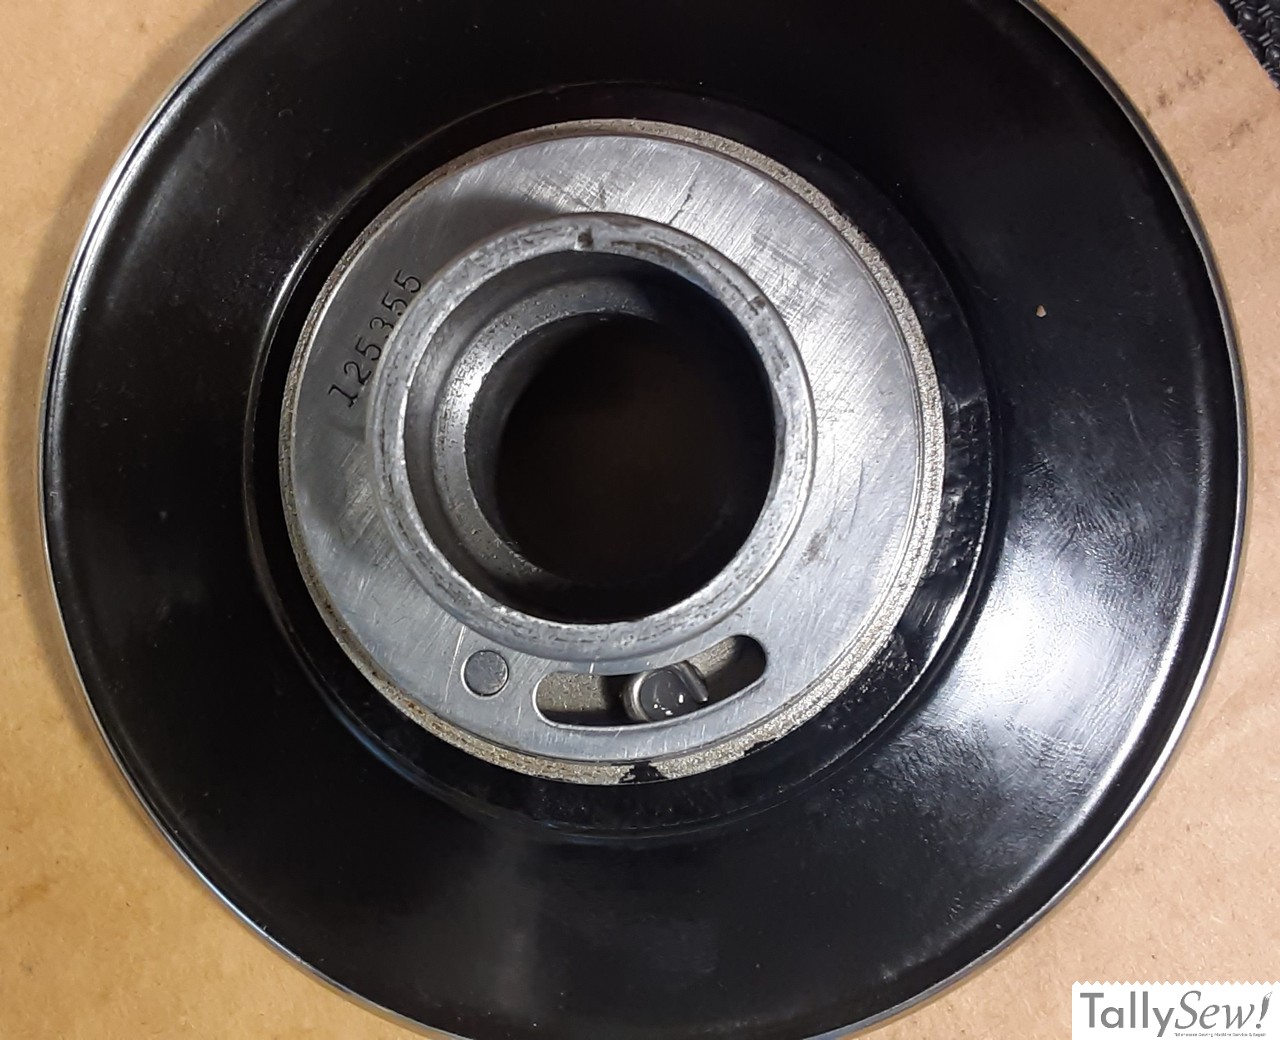
Balance wheel gear spring, and eccentric studs


The deepest part of the handwheel is (mostly) the same in both versions. At it’s root is the balance wheel gear spring that acts as a buffer protecting the Textolite gear from the inertial impact of the balance wheel. I say that they’re mostly the same since in the first few years of the system they don’t seem to include the eccentric studs, even though (as far as I can tell), they all had the holes them.
Putting the handwheel back together

The open area where the spring goes will be filled with motor gear grease (Sew Retro), or Super-Lube synthetic grease. Make sure that you also add a little to the holes that the eccentric studs will fit into.
Holding the handwheel with the balance wheel gear spring post at 12:00, the put the right end of the spring on that post. The eccentric studs (if supplied), will fit inside the balance wheel gear spring.
If you have the gear collar version then you’ll place the gear spring retaining washer on next. The round hole will fit over the tip of the balance wheel gear spring post, and the free end of the spring will be visible through the slot.

Next you’ll install the balance wheel “Textolite” gear. The post that’s pointing up in the photos above will face the handwheel and be inserted into the free end of the balance wheel gear spring.
If you have the collar version then put the collar in place. You can use a piece of notebook paper between the collar and the gear to set the spacing. Tighten the set screws down a little at a time working your way around the collar until they’re tight. If you have the snap ring version, then install the snap ring.
Related Articles
Singer 15 series needle bar box
The Singer model 15 series machines is simple and robust. I’m going to give you an overview of how to assemble the needle, and presser
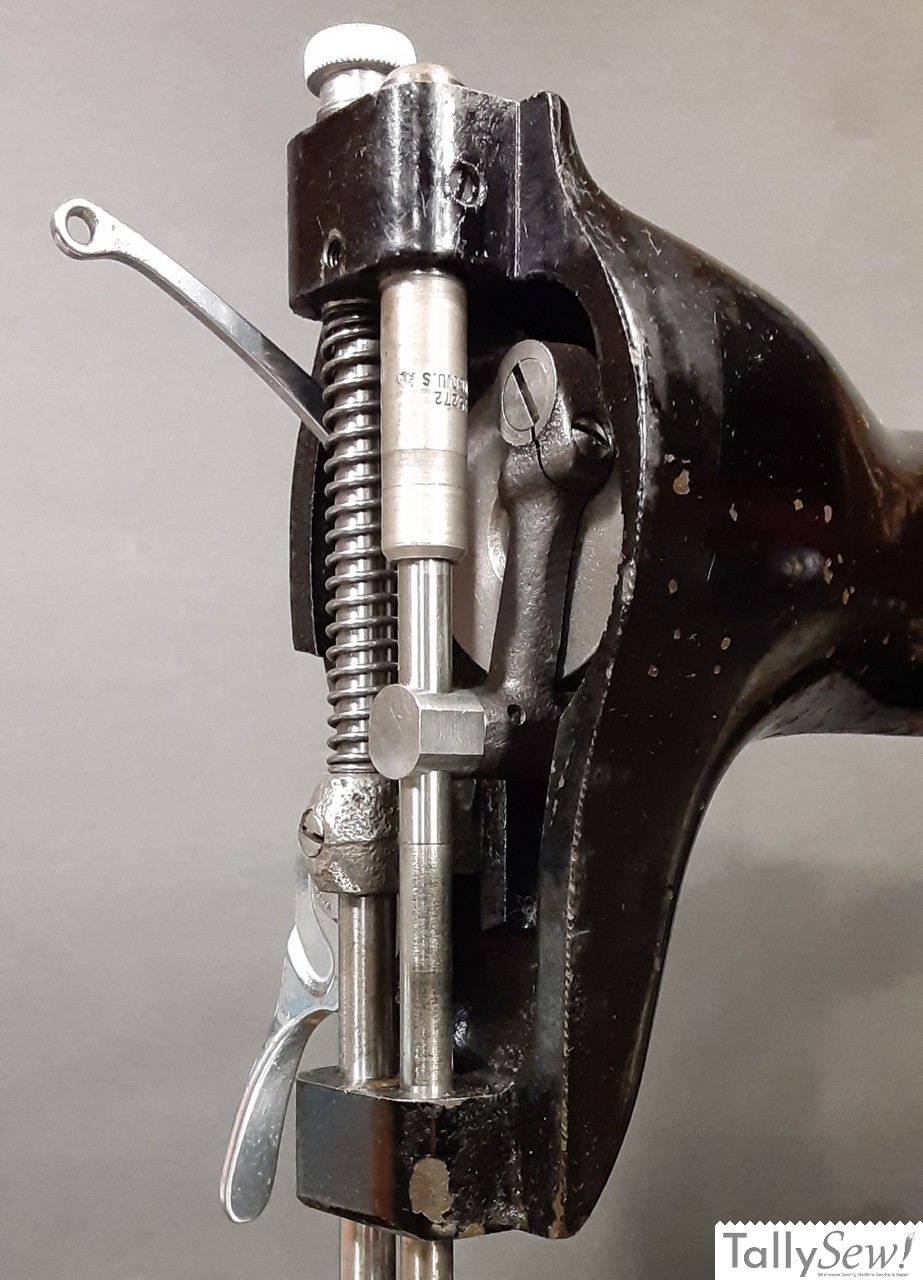
Replace a broken Shuttle Driver Cushion Spring
The broken shuttle driver cushion spring on my 1932 Singer model 15-91 The first thing I should mention is that you do not need to
Singer 15 series shuttle race
Removing the shuttle race assembly is a pretty simple process

Singer 15 series bottom end
The Singer Model 15 (in this case a 1932 Singer 15-91), with the bottom end roughed in. This article is about getting the parts in

Singer 15 series feed and lift verticals
The two main assemblies found in the pillar of the machine. Crank connecting rod (top), and feed forked connection and feed regulator assembly parts.

Singer CAT.-S4 lamp
The Singer lamp model CAT.S-4 was used on several Singer sewing machine models. It was usually black, but was also produced in green, and in