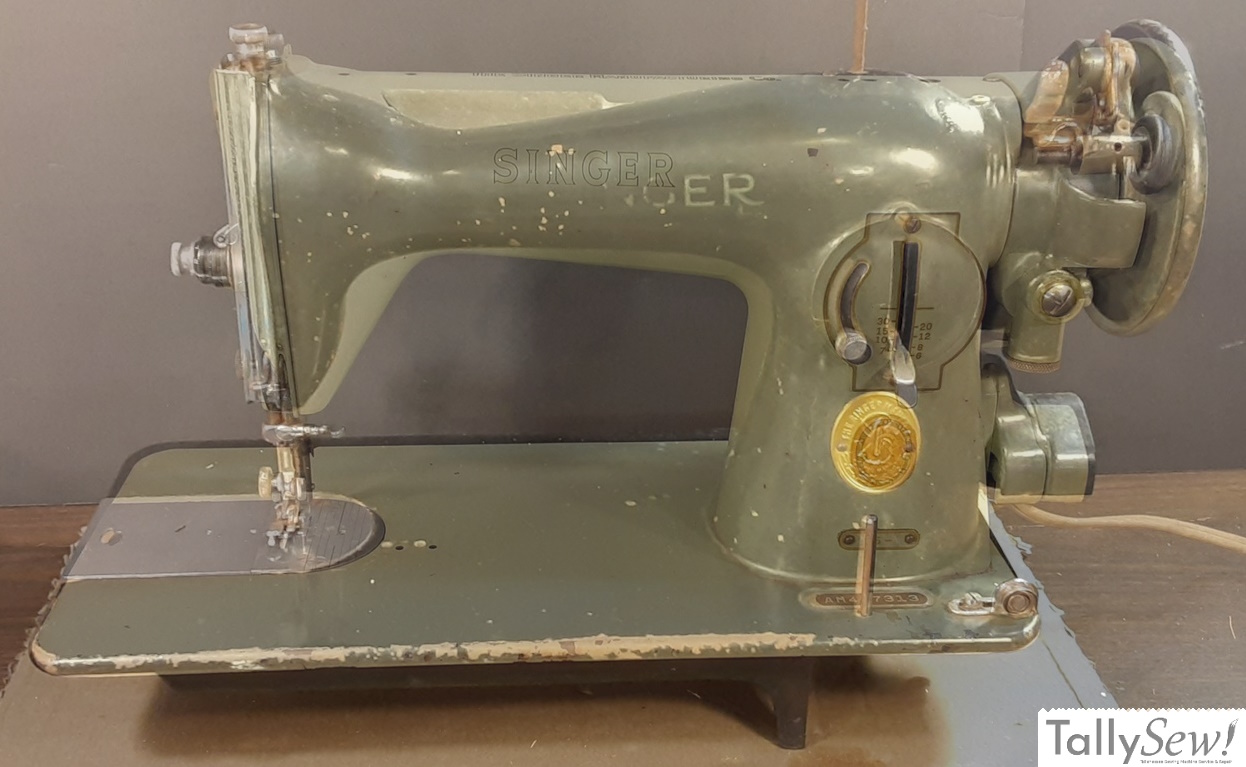
Singer 15-125
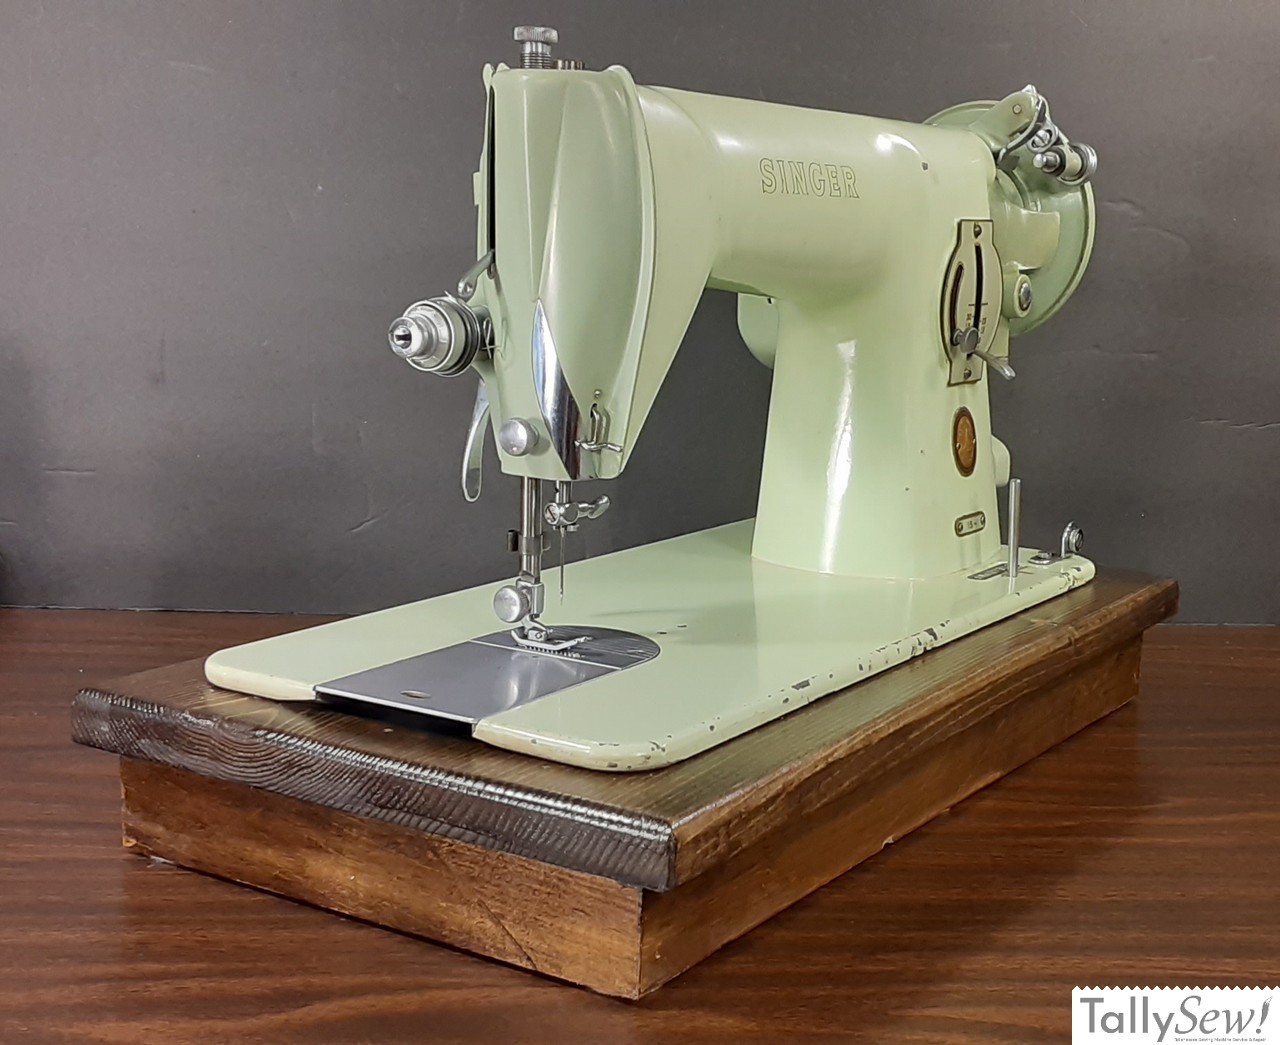
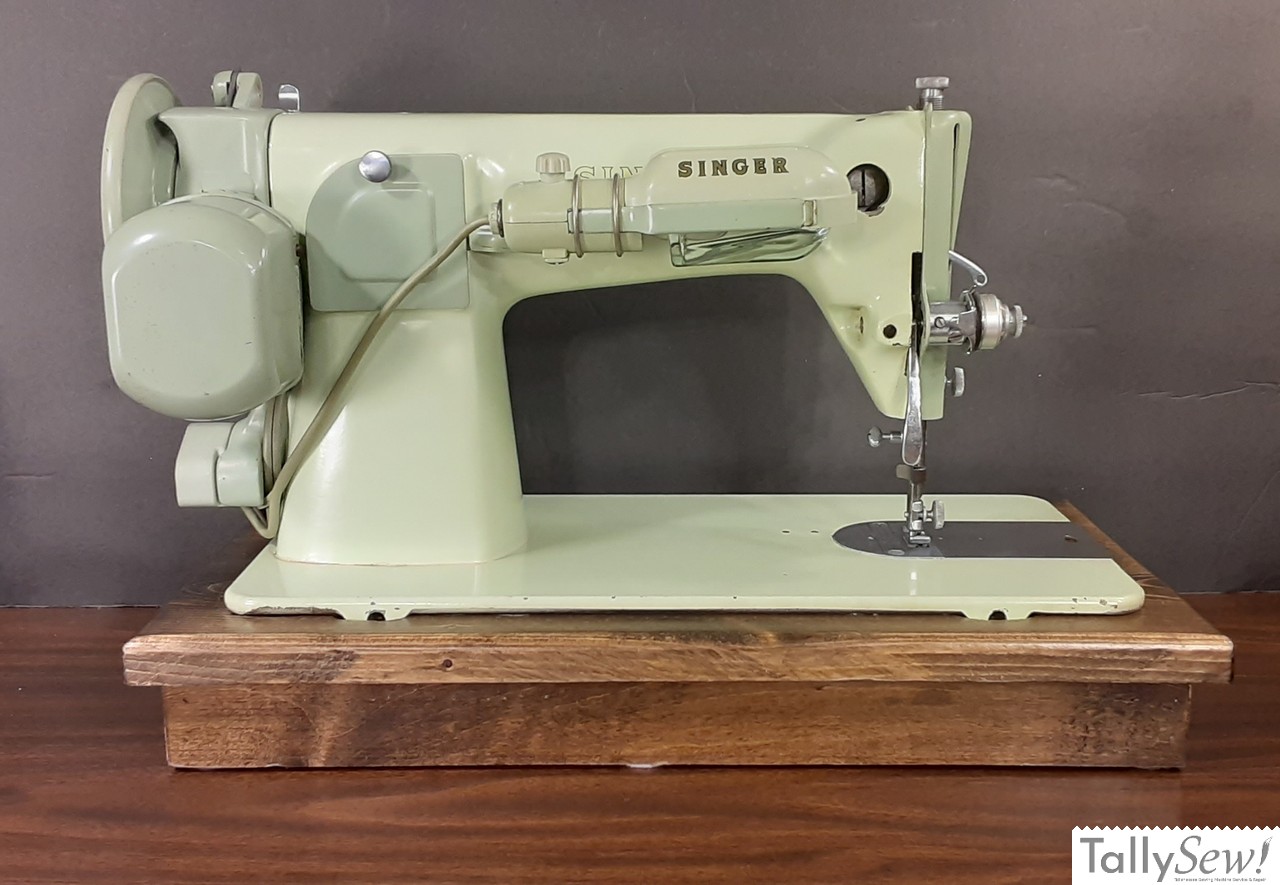
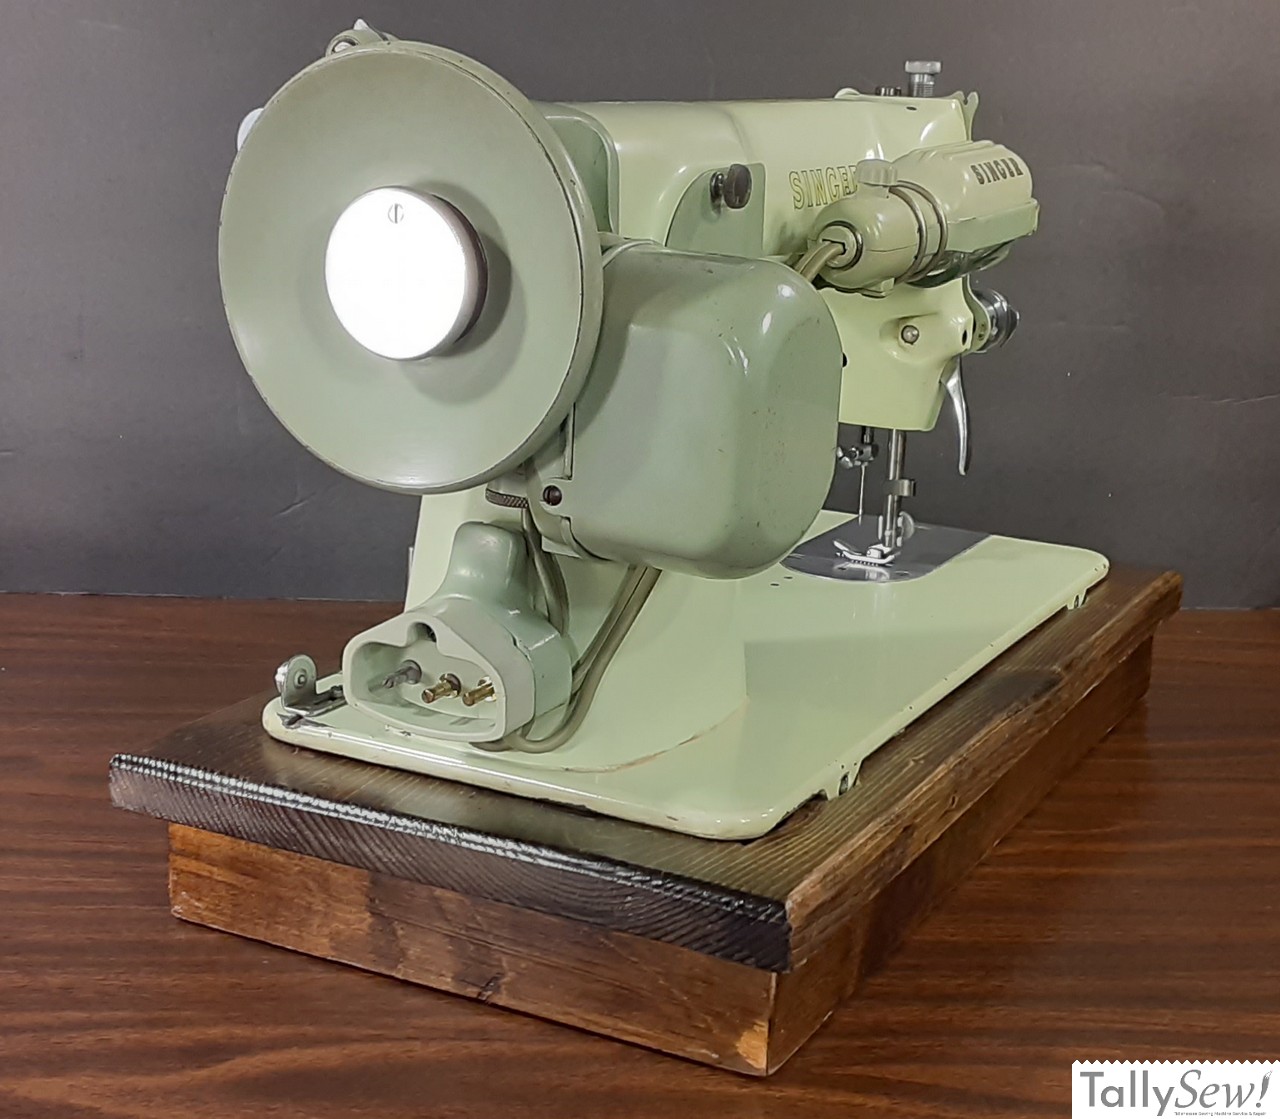
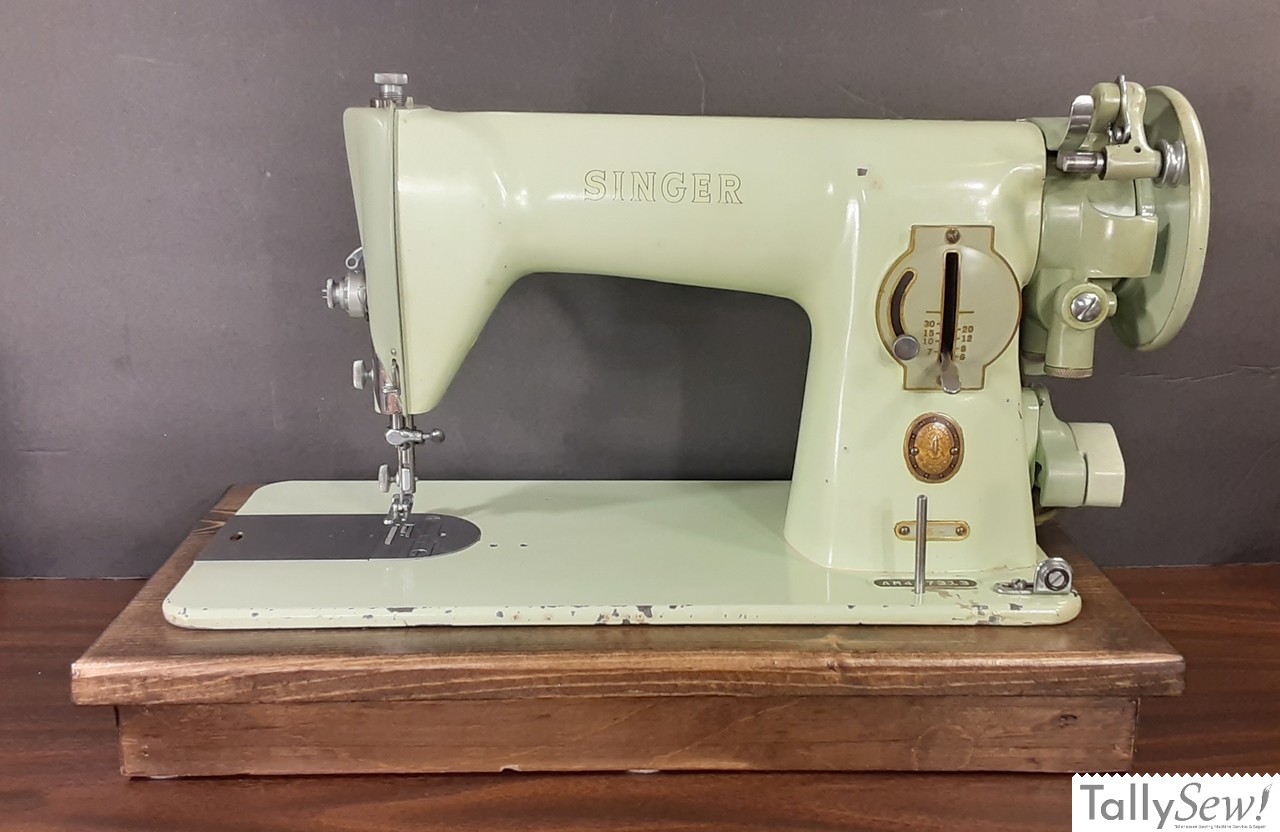
The Singer Model 15-125 was the successor to the classic model 15-91. The 15-125 was produced from 1955 to 1958.
Comparison of the 15-125 and the 15-91
The 15-125 and 15-91 have the same foot print, so you can swap the two models in the same cabinet. The 15-125 has slightly less harp space, but not enough that you would ever really notice. As far as I’ve found the 15-125 was only ever produced in the two tone green like the one in this article, and the 15-91 was only produced in black. The balance wheel on the 15-125 uses a c-clip to hold the gear in place. The presser bar spring on the model 15-125 has a washer on both the top and bottom of the spring as opposed to only on the top.
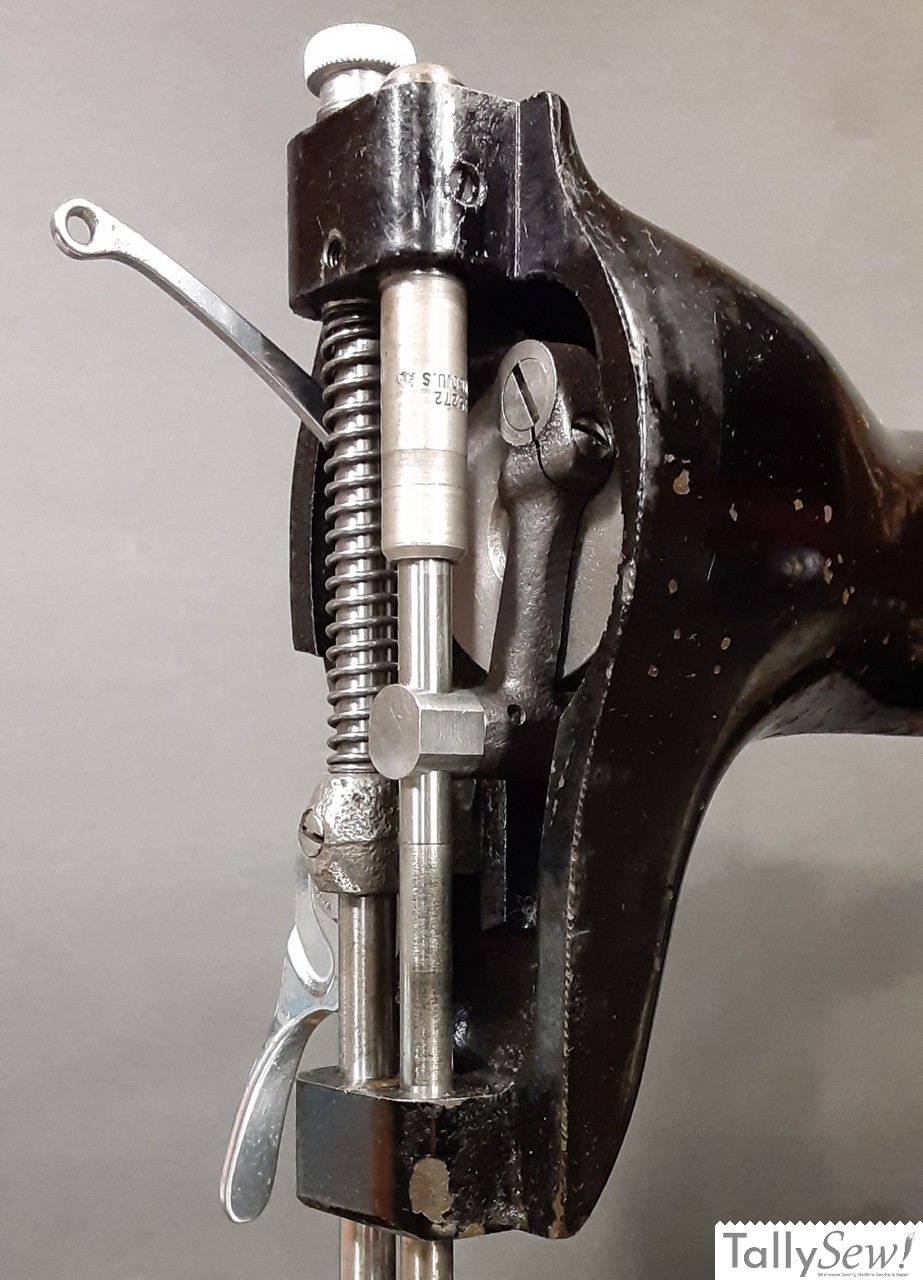
Motor Refresh
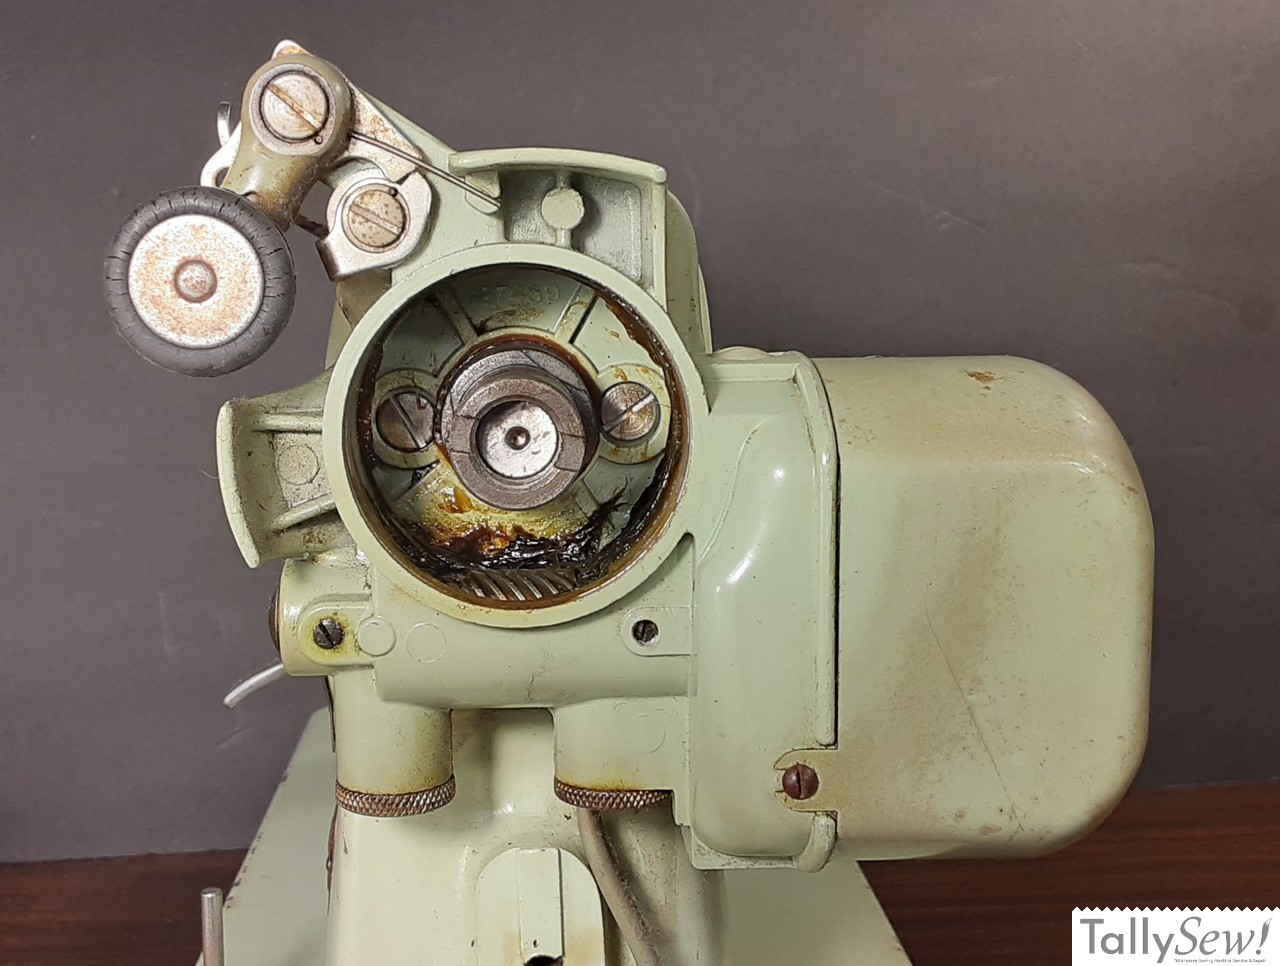
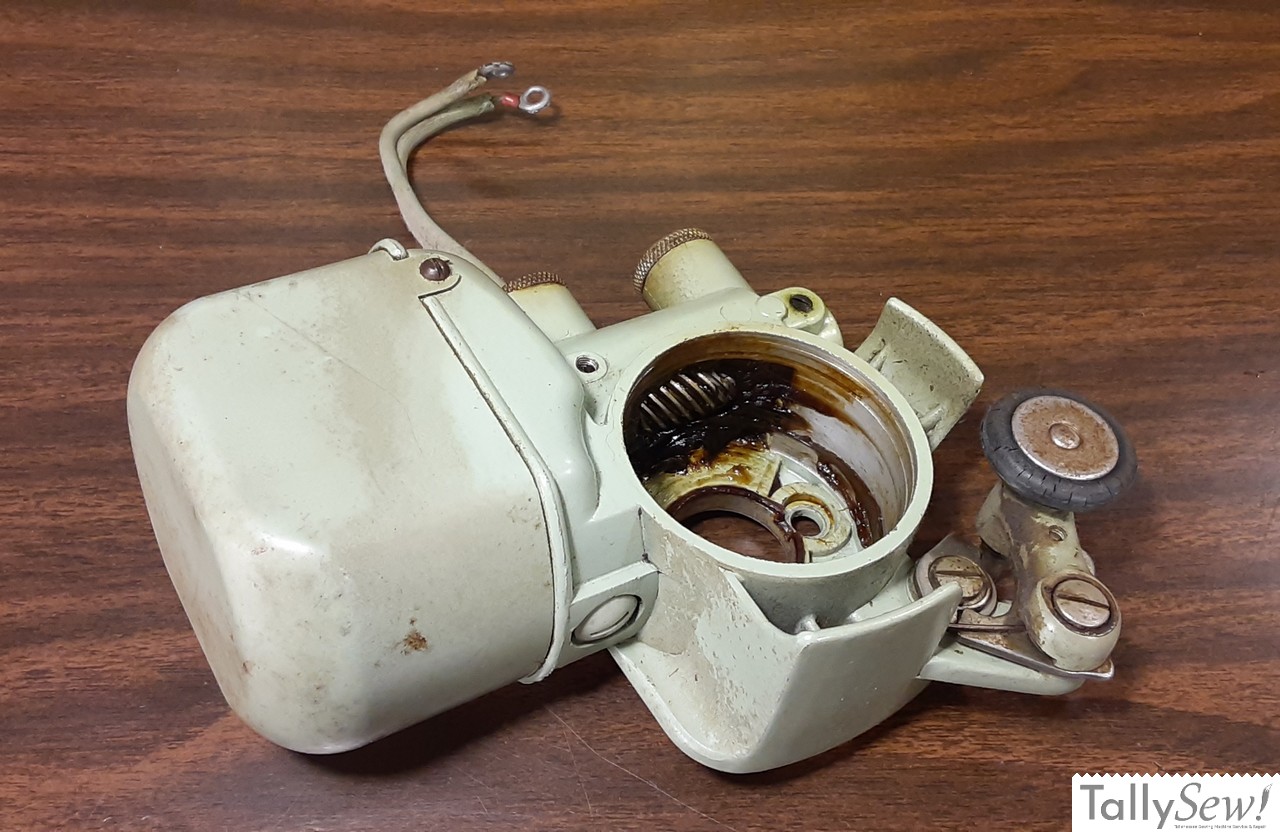
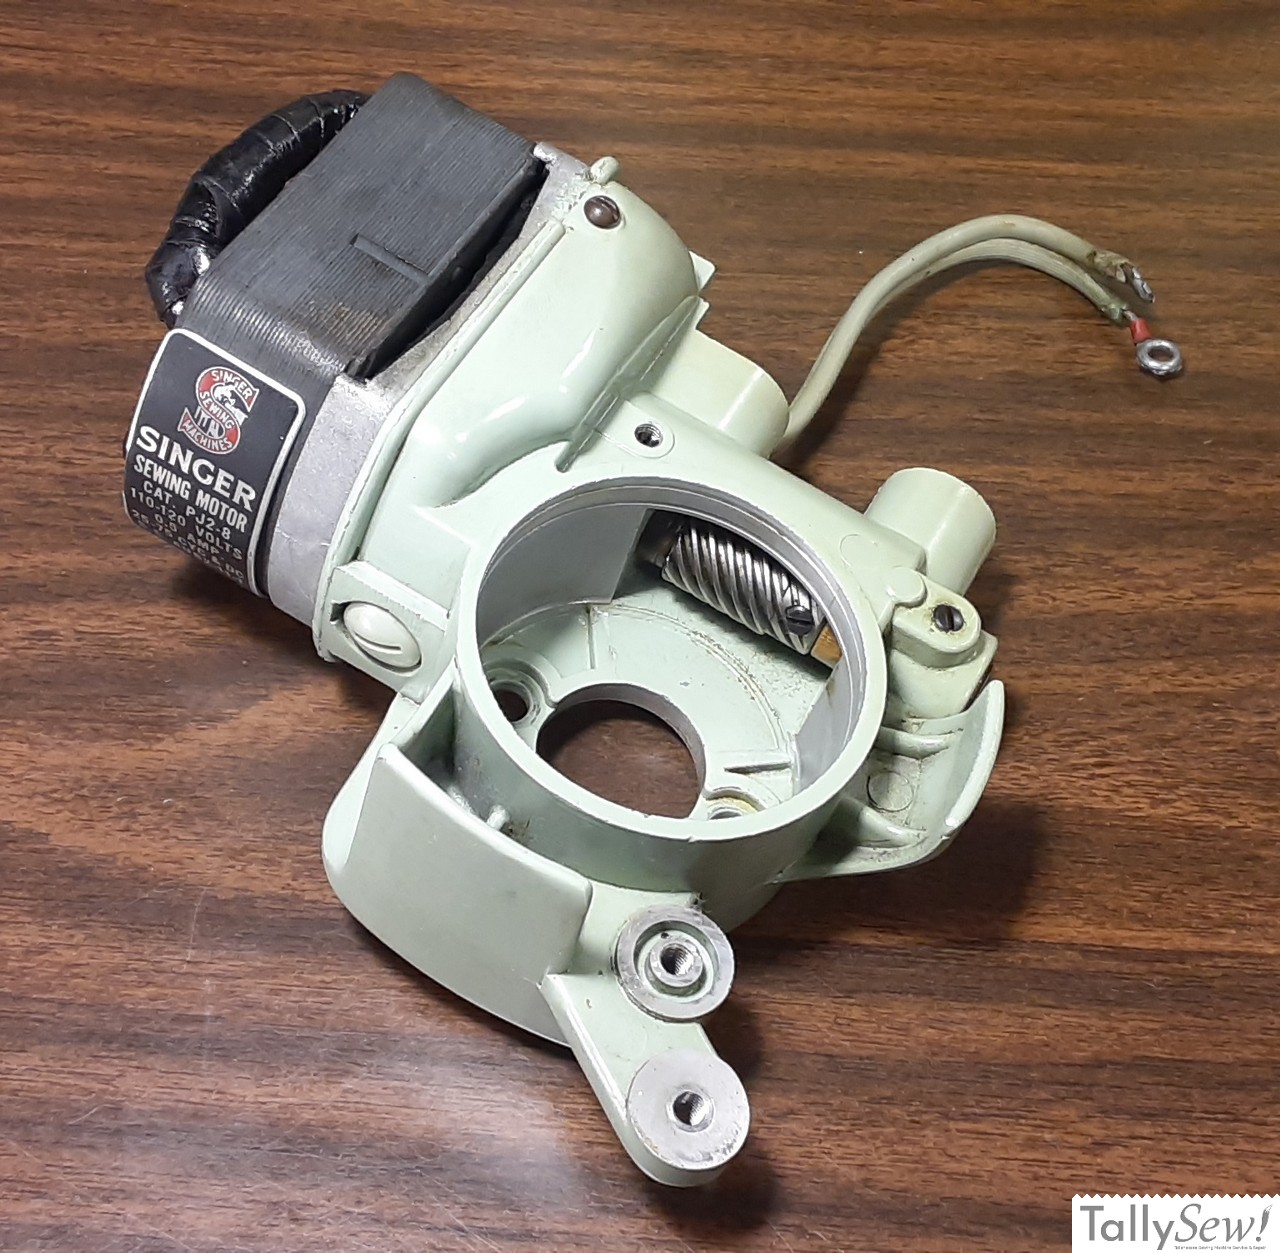
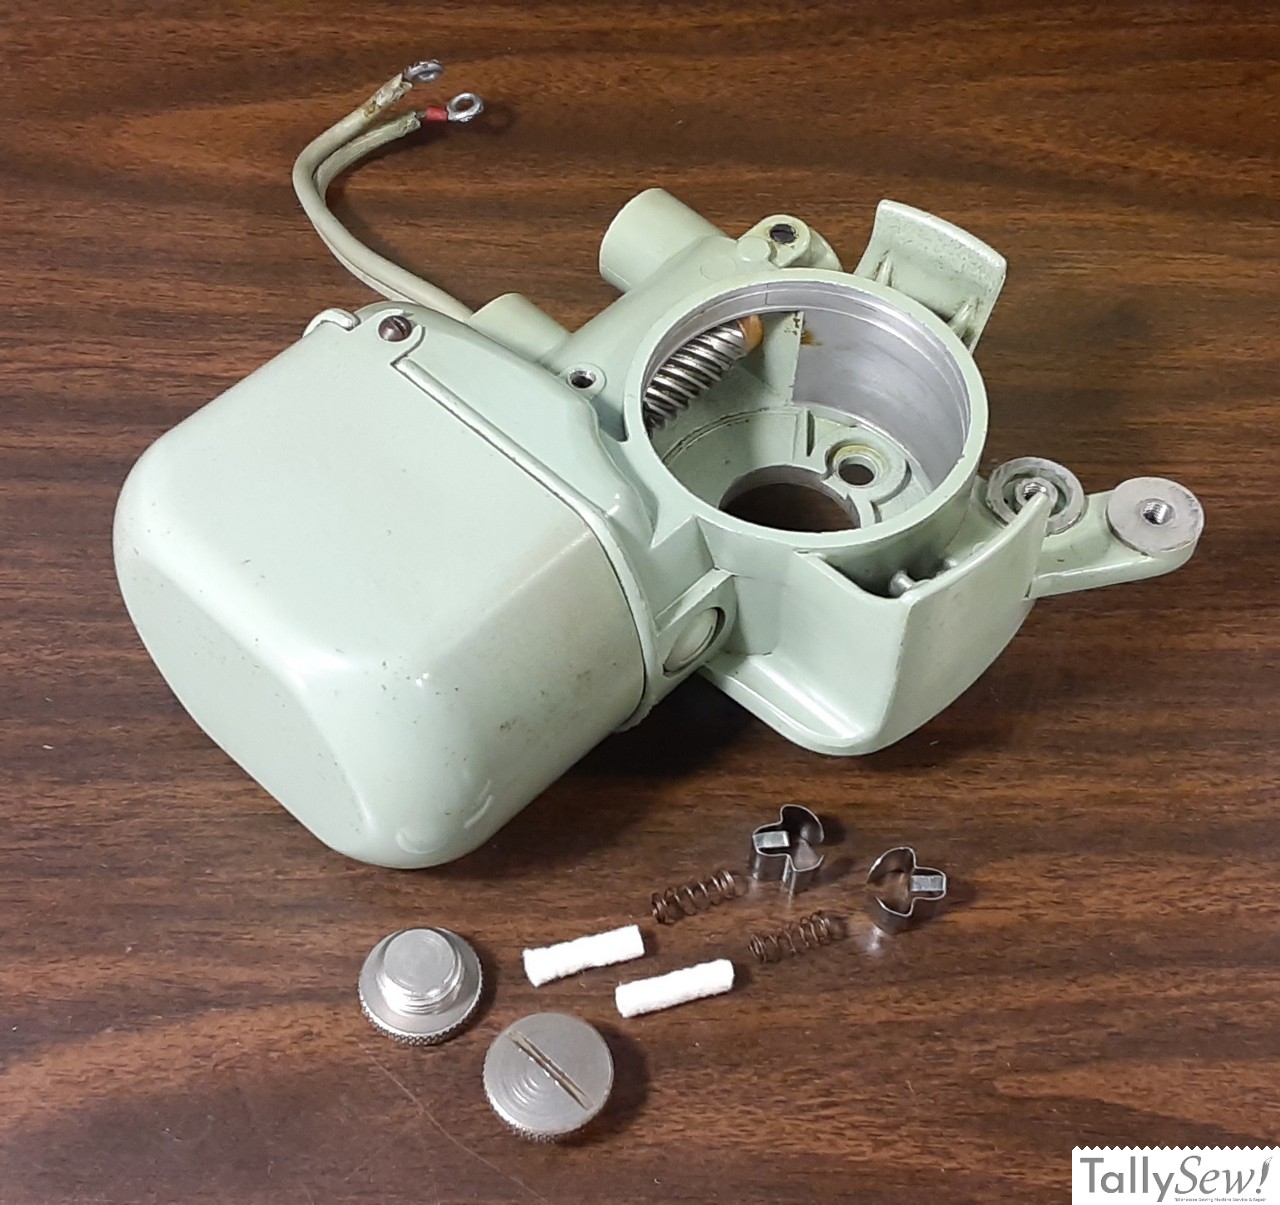
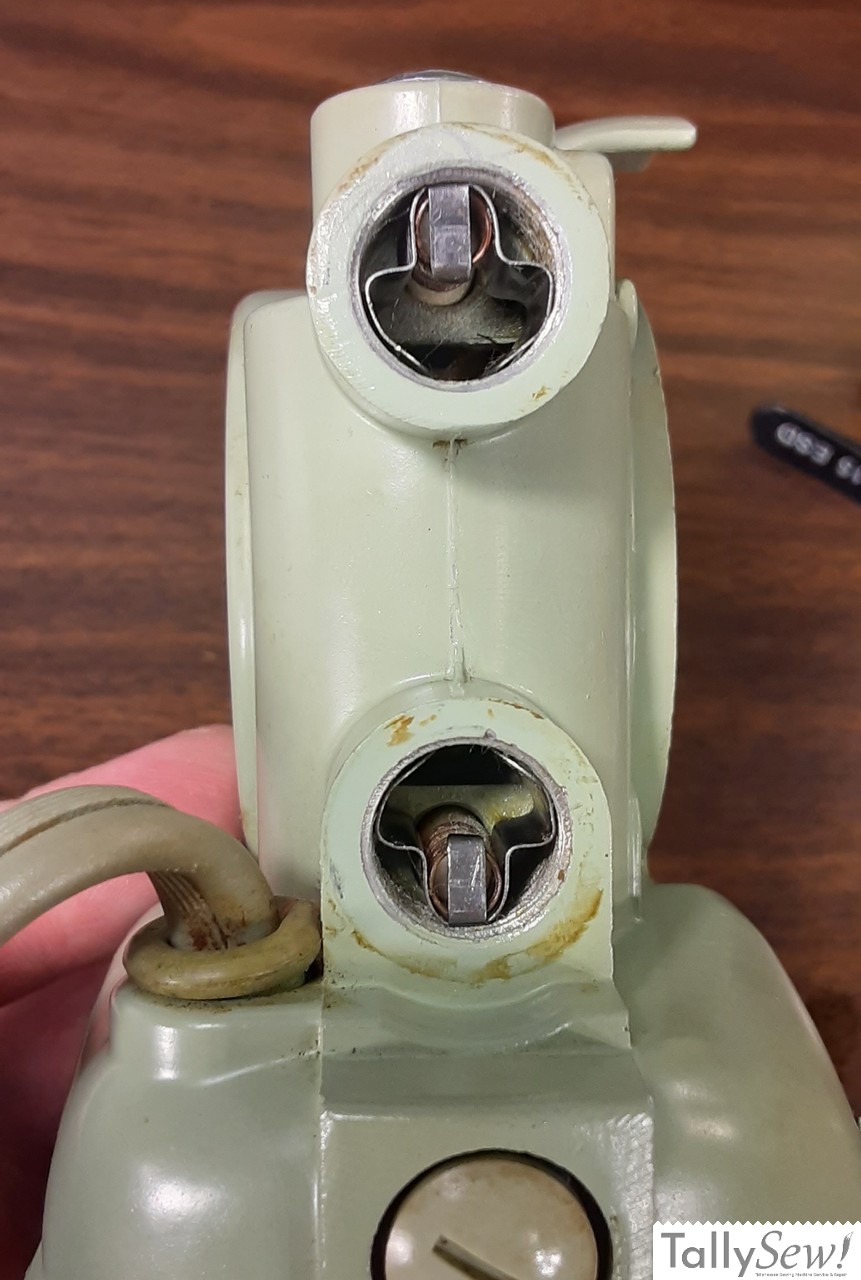
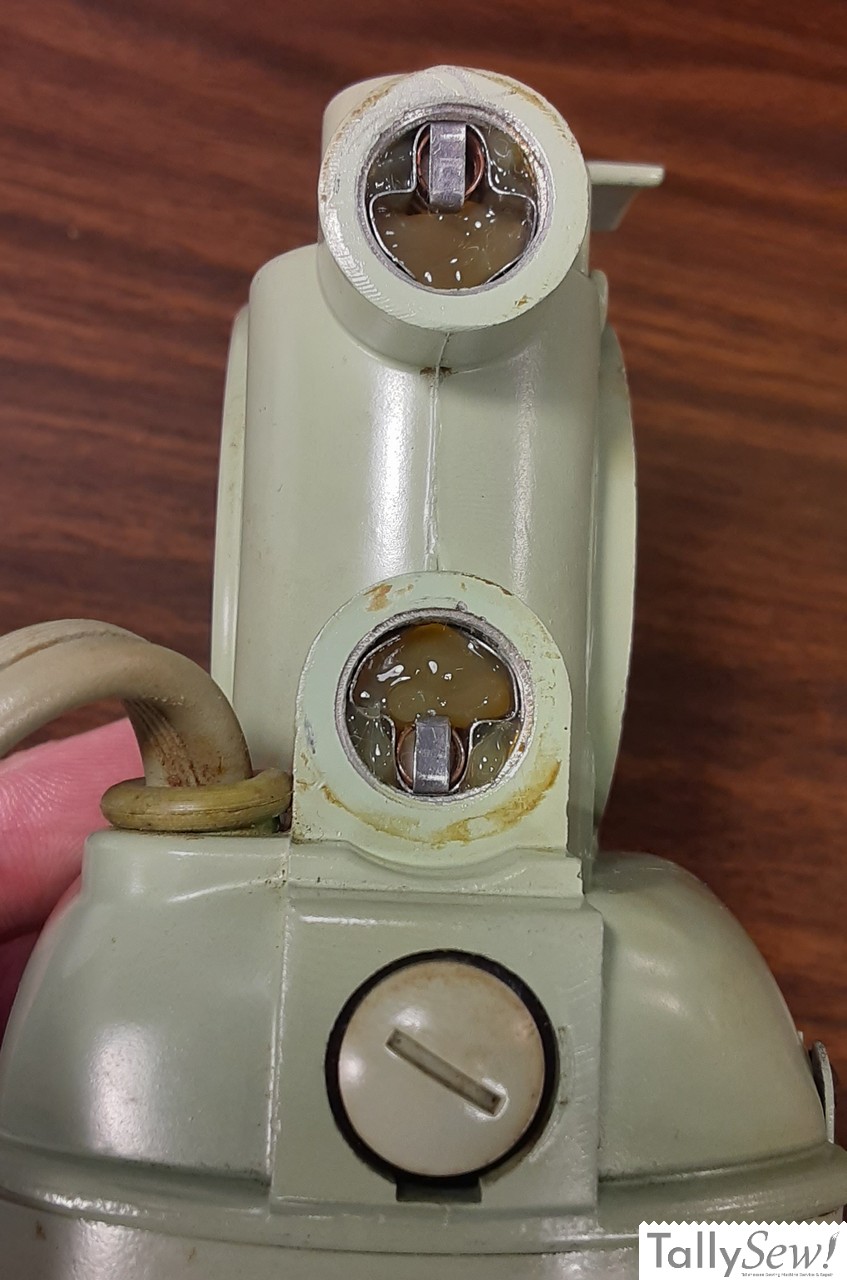
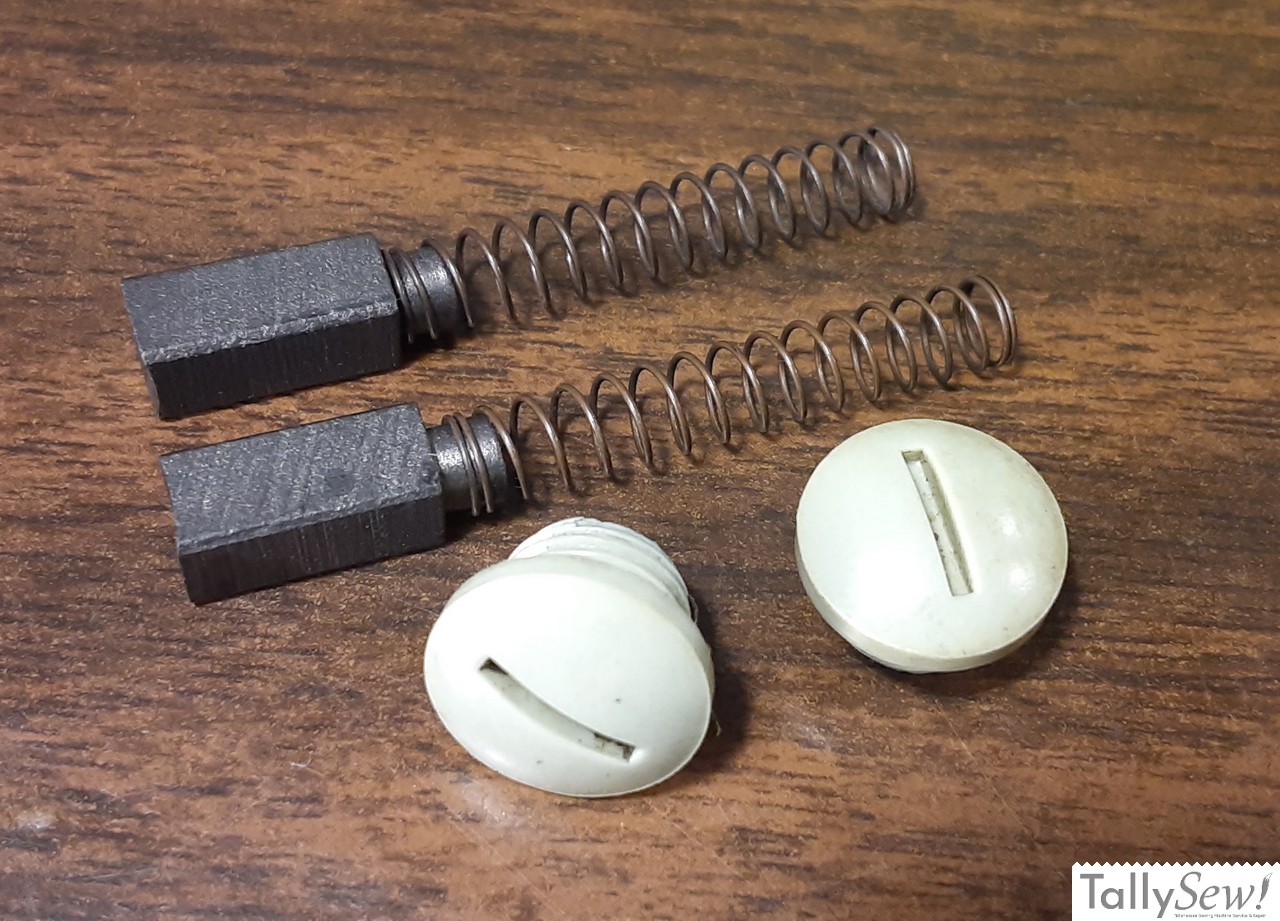
The CAT. PJ2-8 motor ran well when I got it, and the wires were in good shape, so I decided to clean this motor without doing a full disassembly. I used cotton swabs to sweep the old grease out of the gear and grease pot areas, and then a soft brush to get any grease hidden is corners and crevasses. This is a long and messy process, but I was happy with the results. After all of the old oil had been removed I made new grease wicks and replaced a missing wick spring. I replaced wicks and then the old oil with Sew Retro gear grease. I pulled the motor brushes and found that they had plenty of life left on them. After I put it back together I ran the motor in at half speed for 15 minutes, and then when the machine was reassembled I ran it for another 15 minutes driving the machine with the presser foot up. As I expected, the motor runs great.
Lamp Refresh
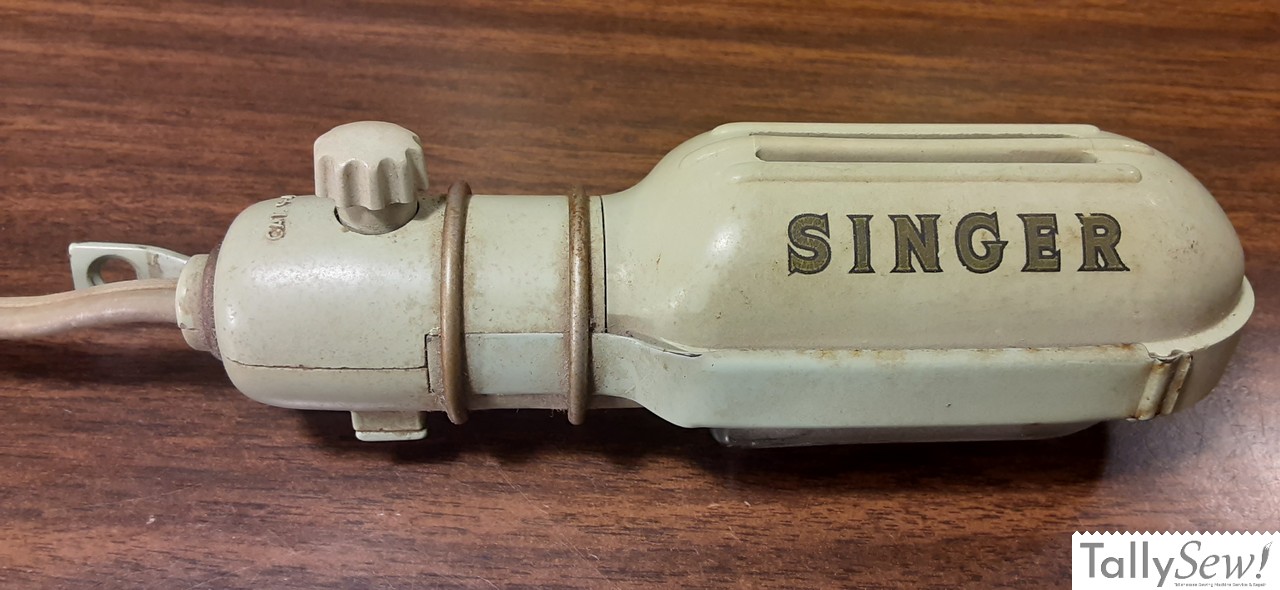
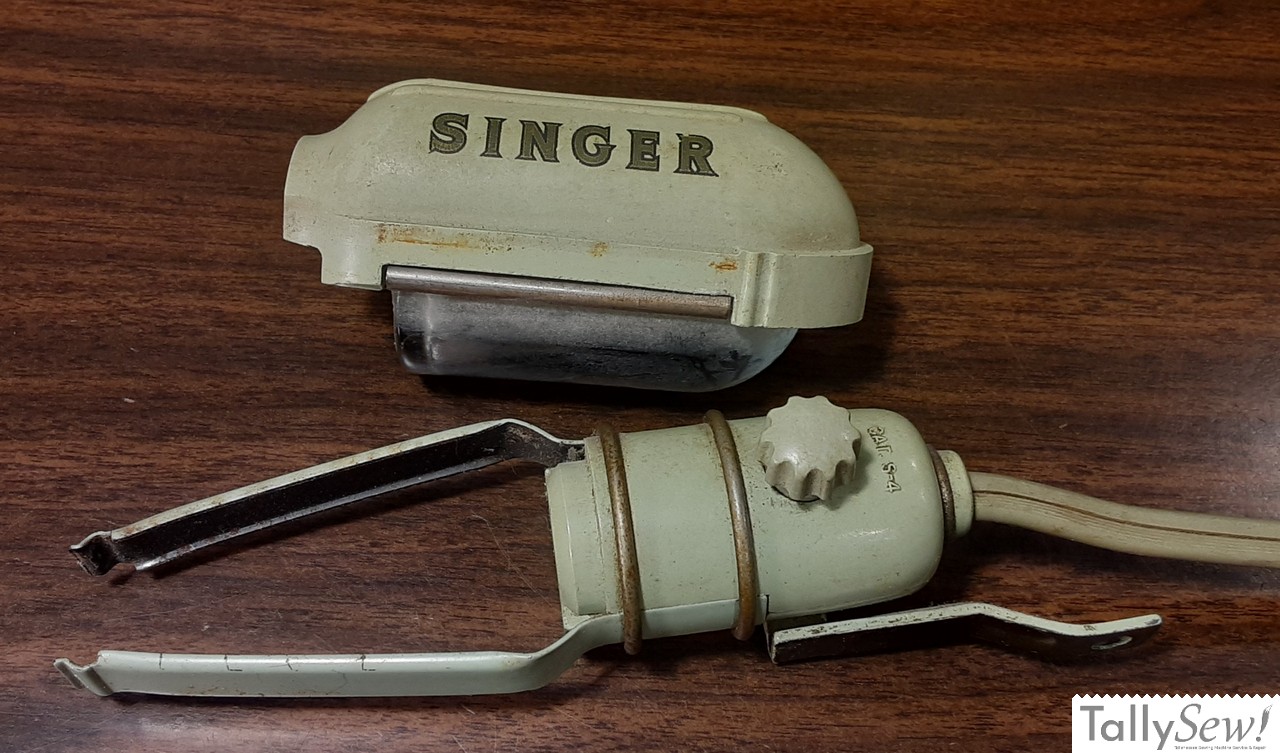
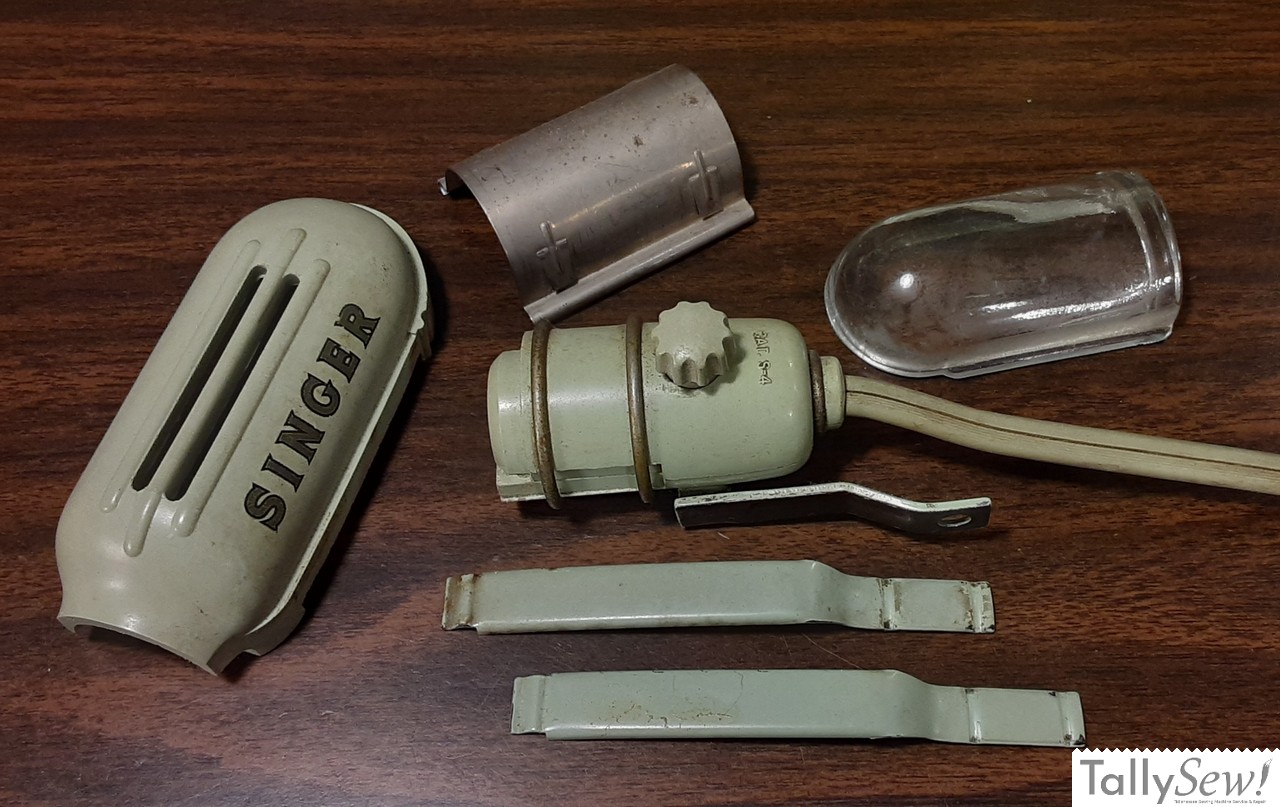

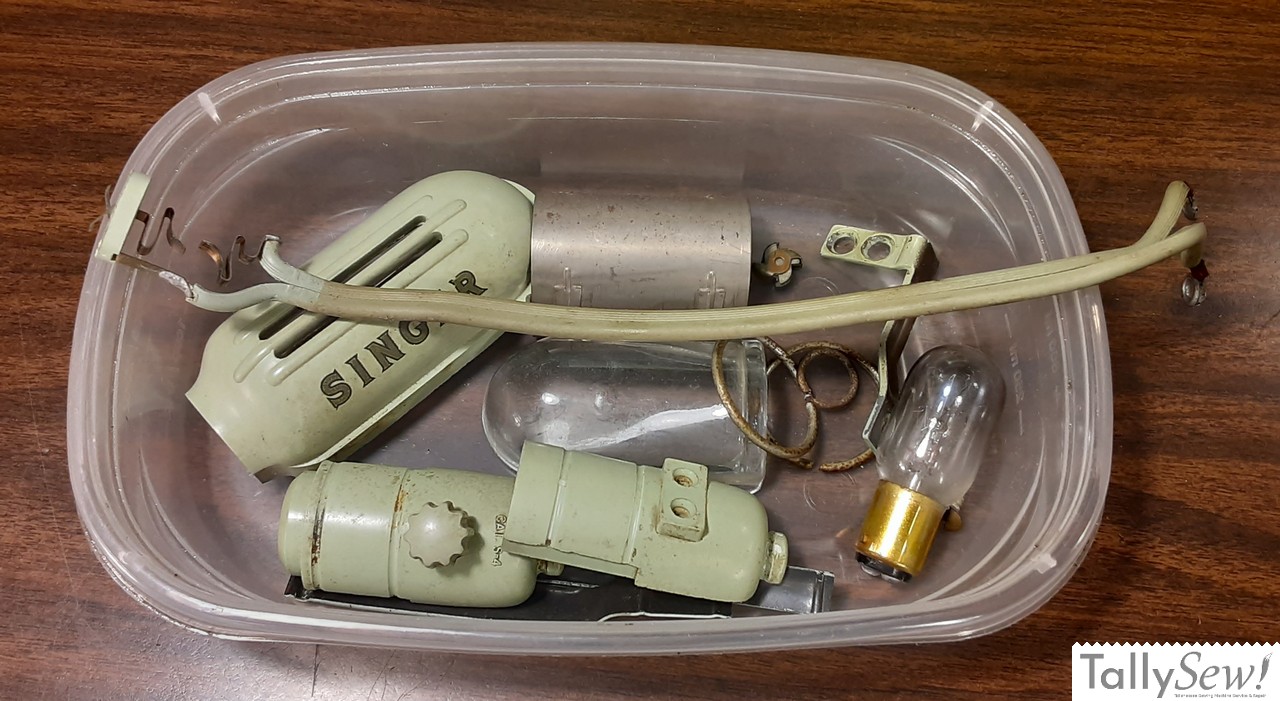
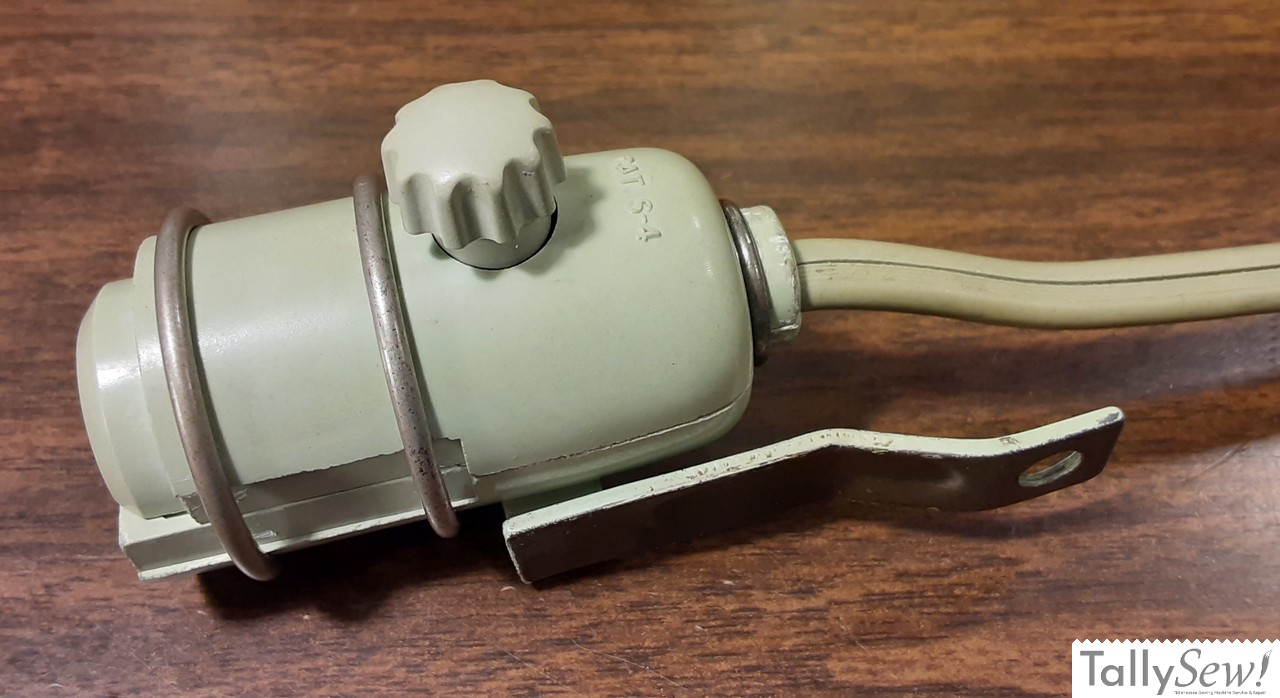
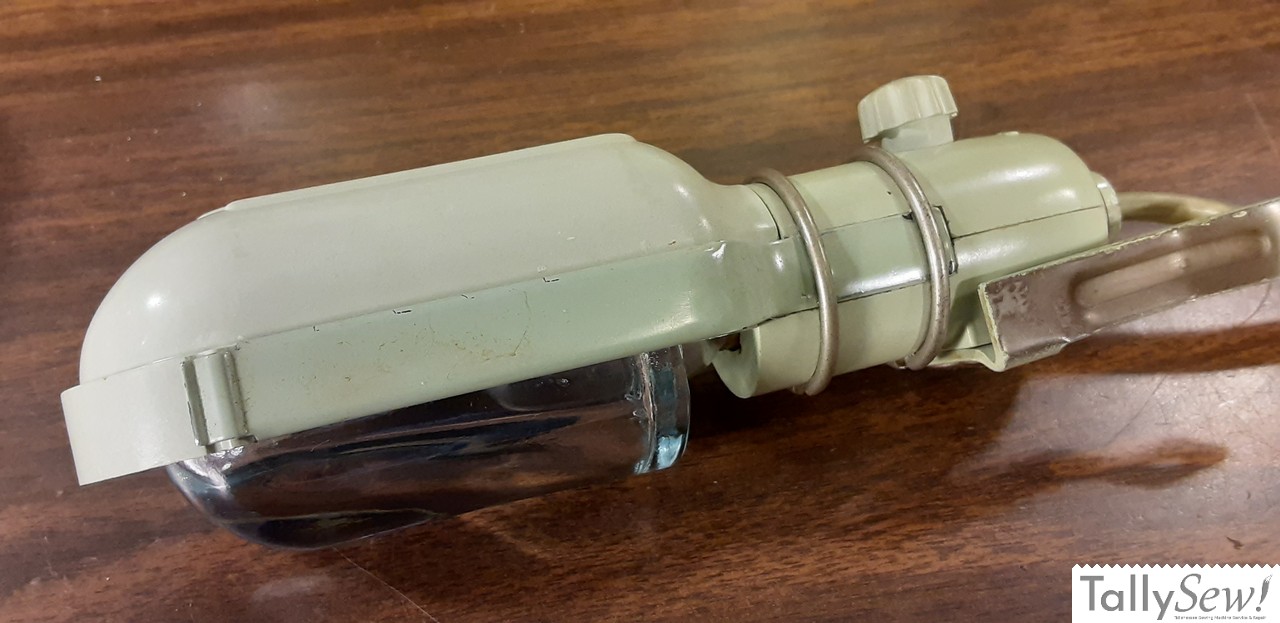
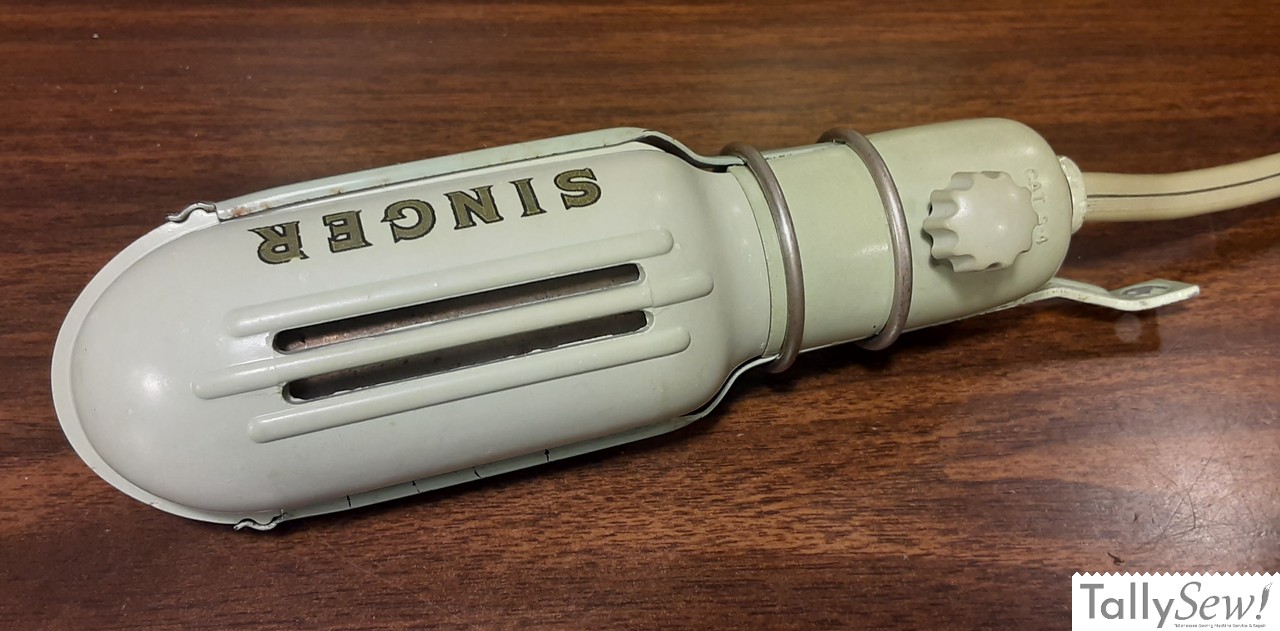
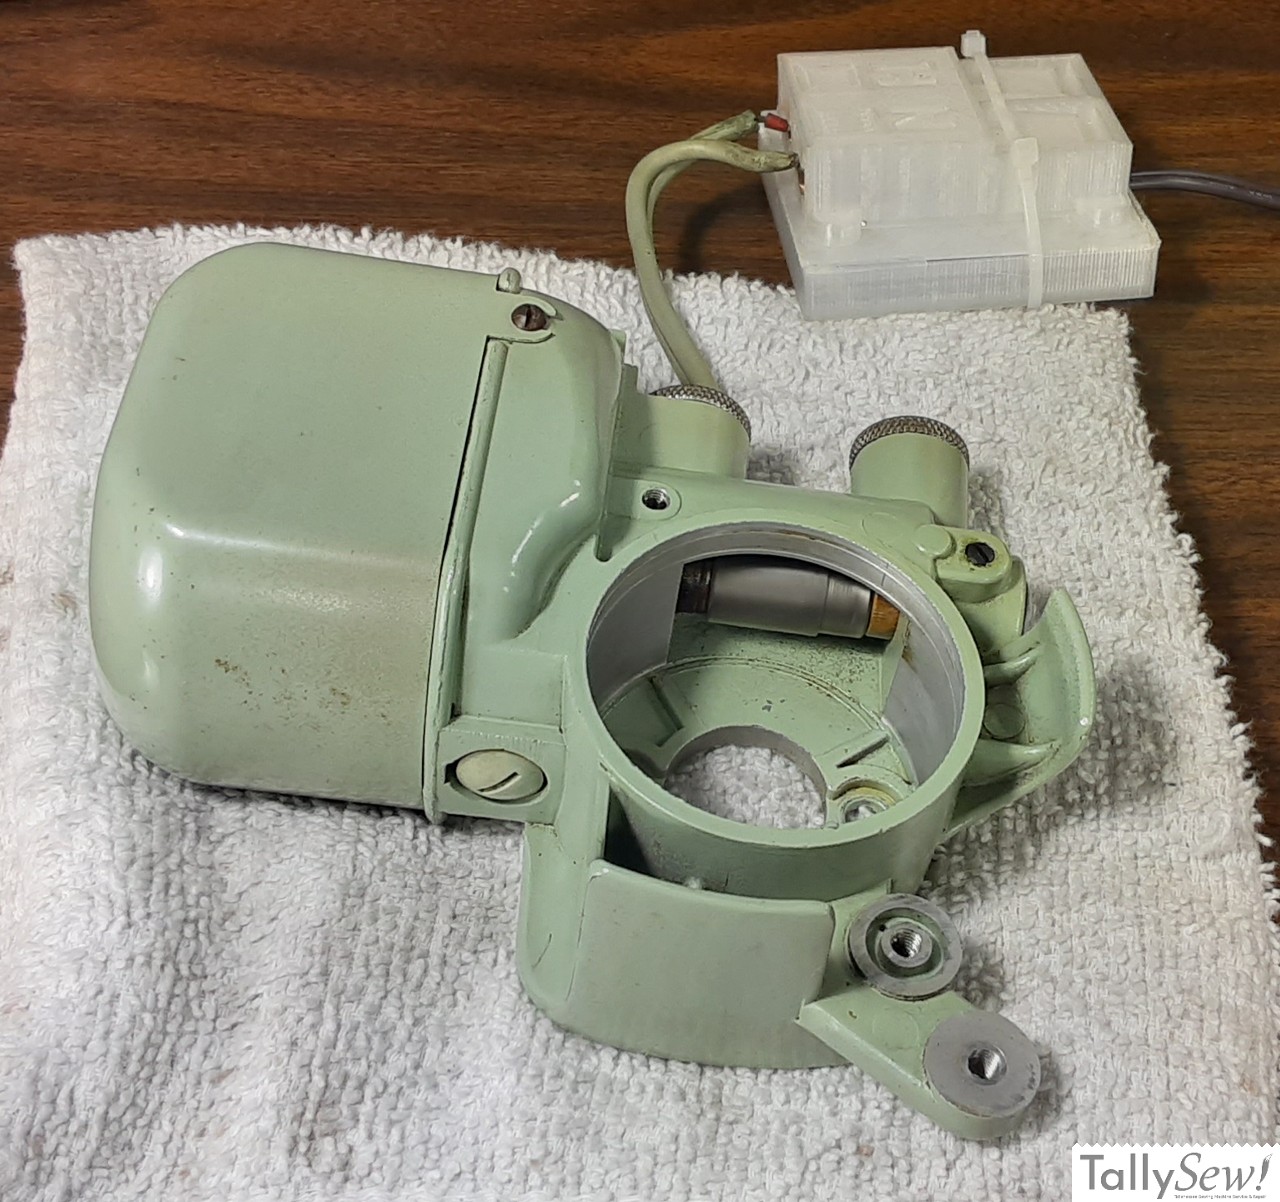
Like the motor, the CAT. S-4 lamp worked well and the wires were fine, so I gave them a little clean up. I did disassemble the lamp, but I didn’t desolder the switch. I got it clean, but there is some staining that I just wasn’t able to remove. It looks a lot better than it did though.
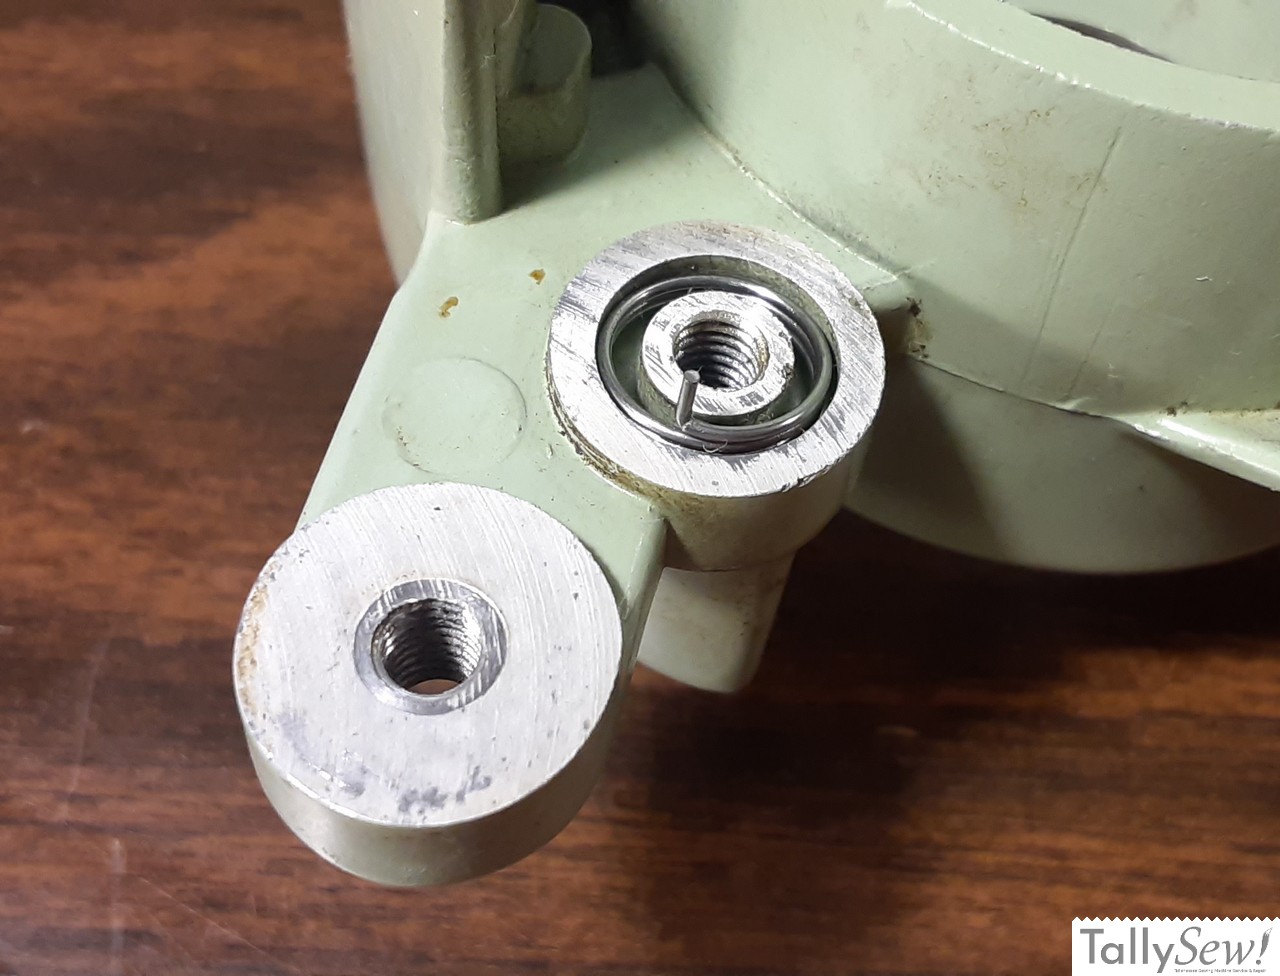
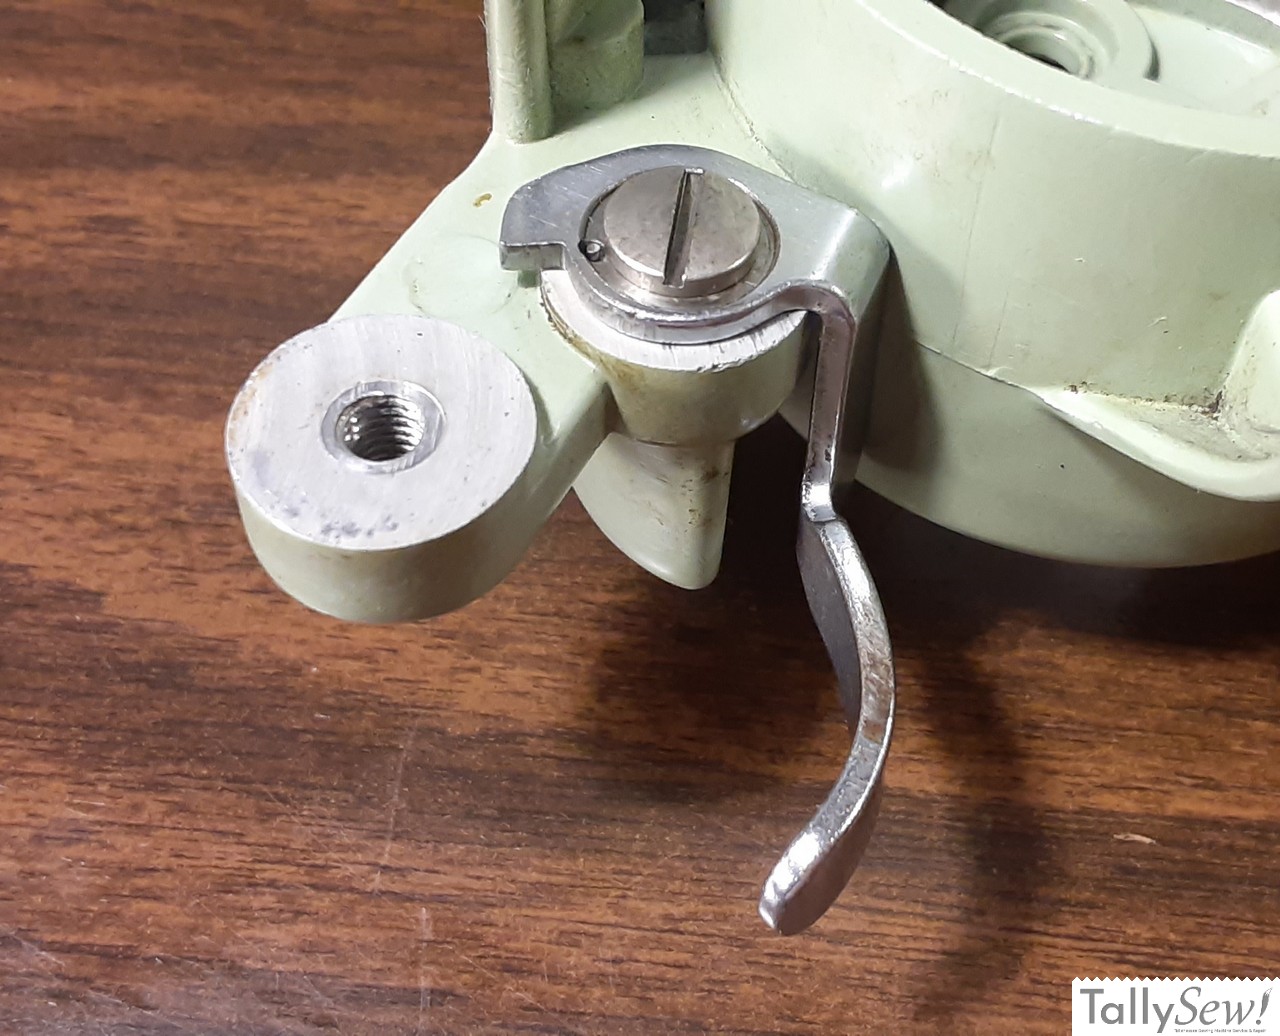
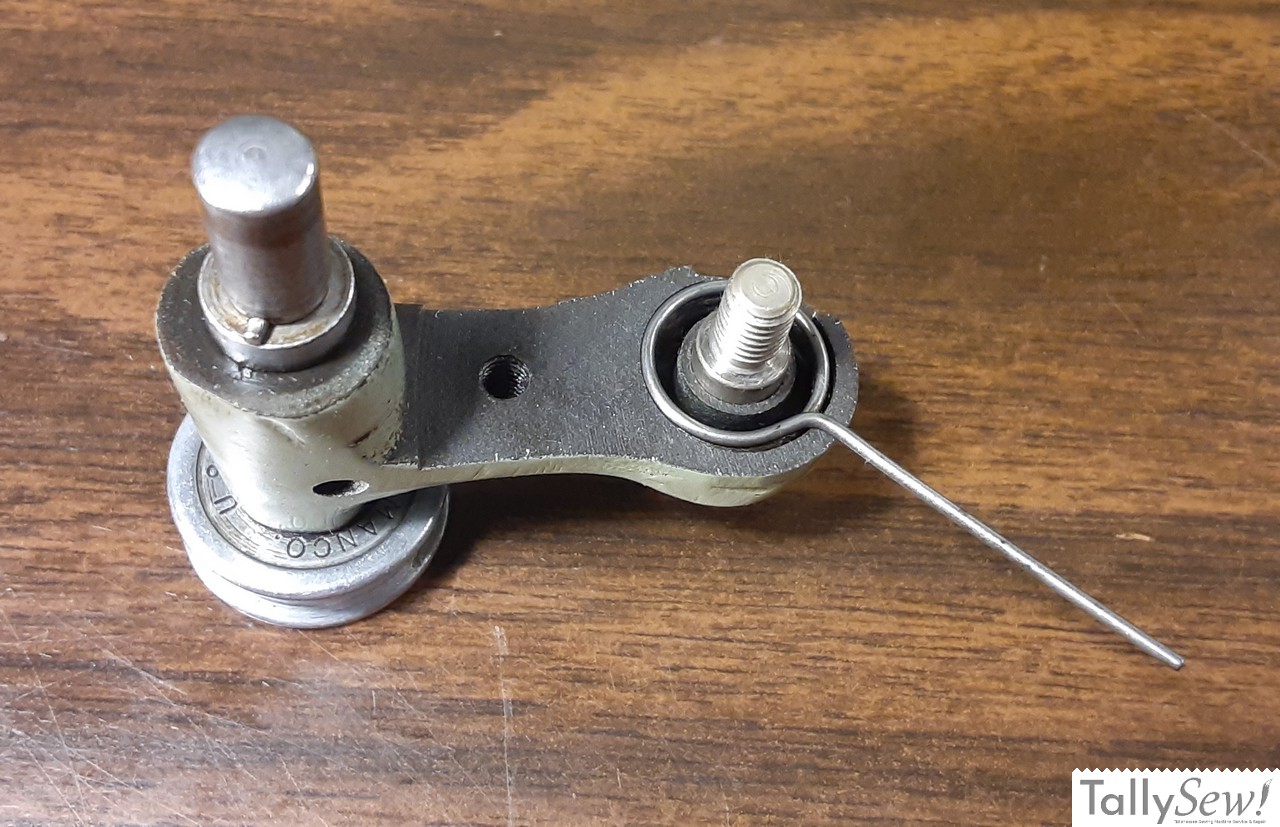
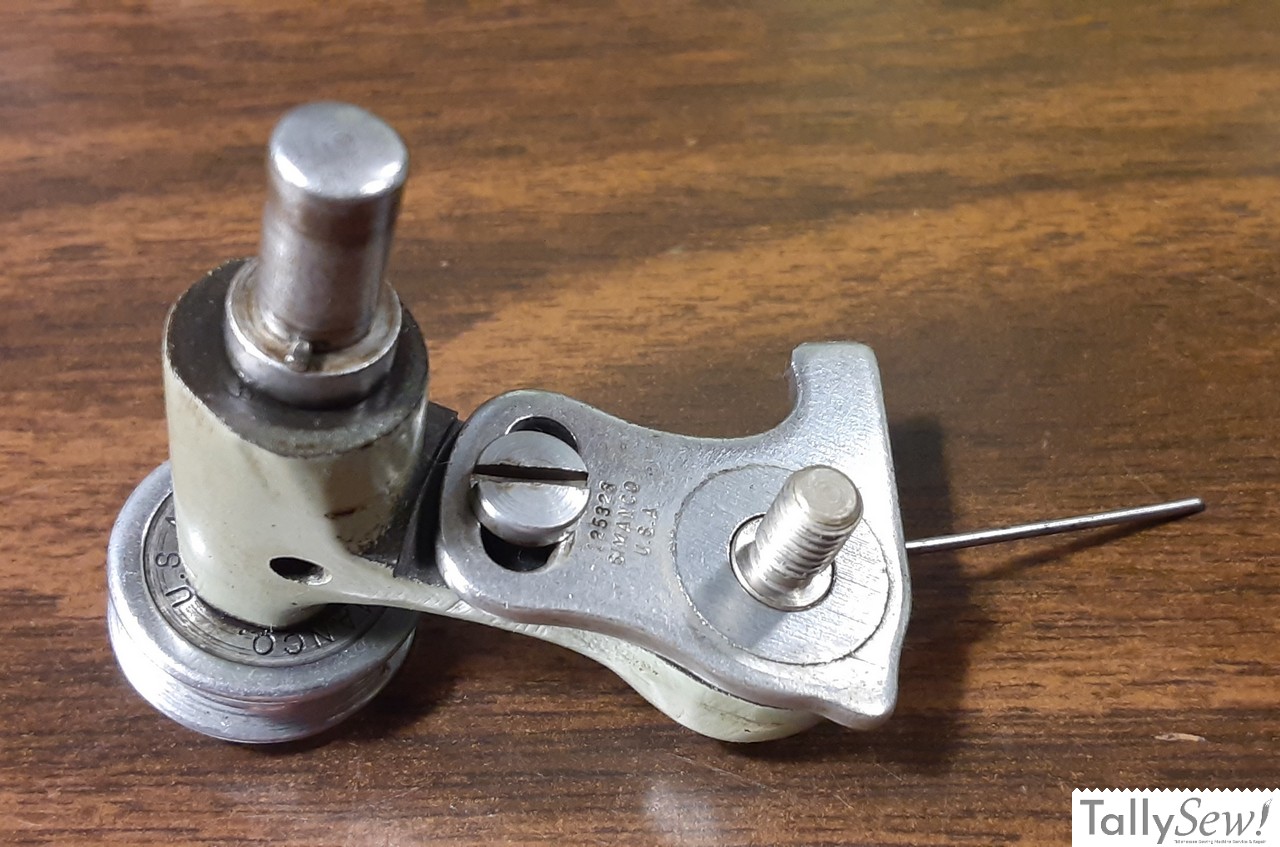
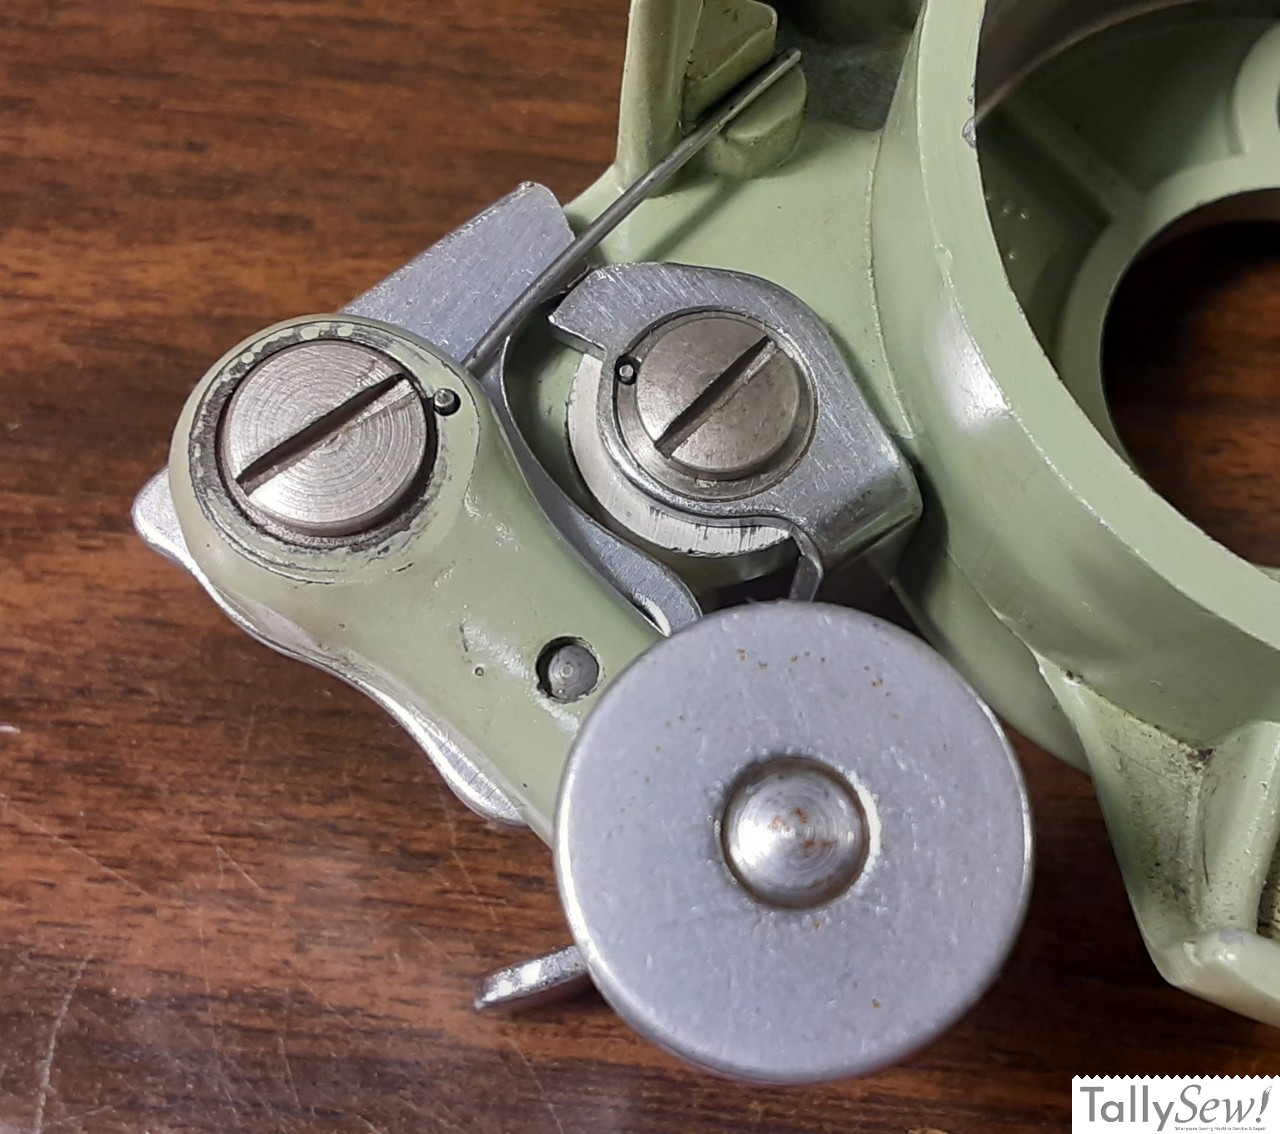
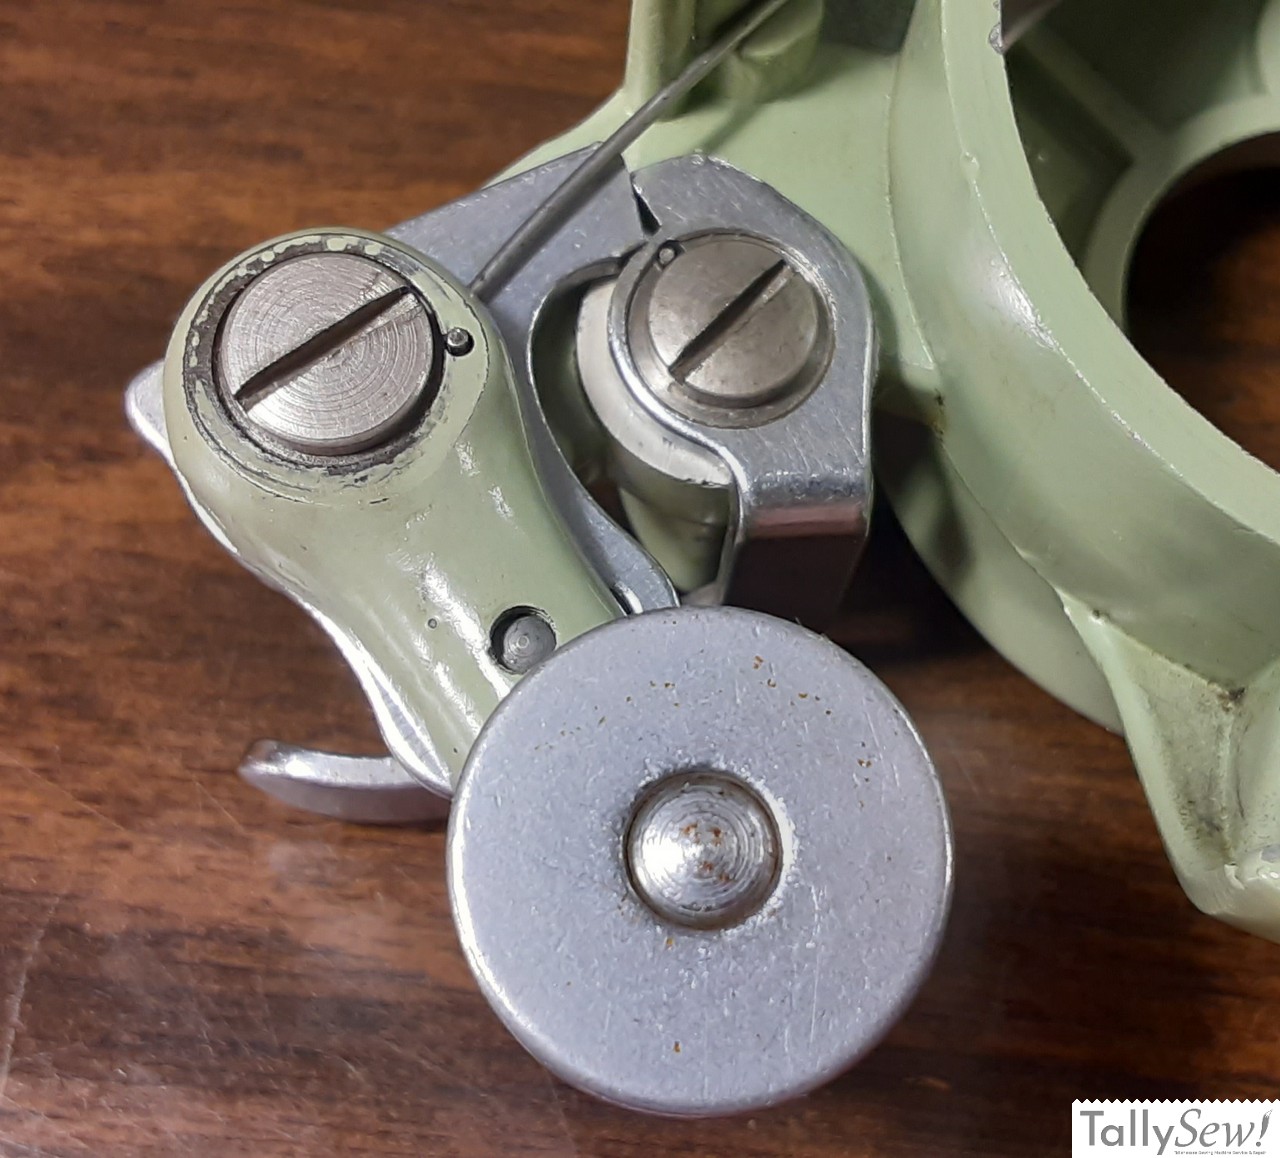
Tensioner Assembly
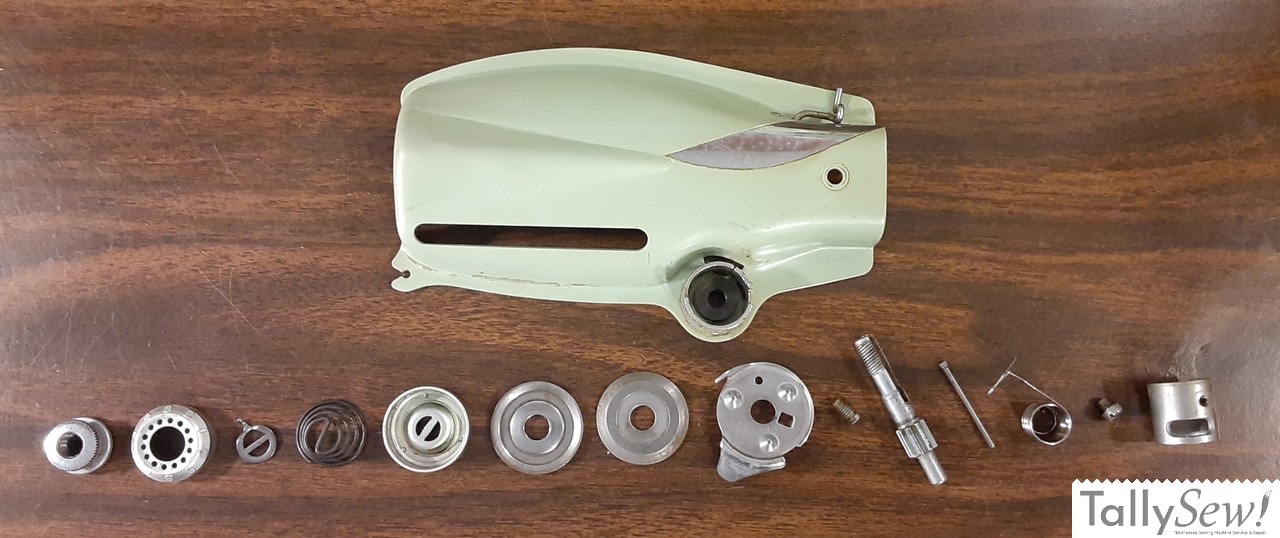
Above is a photo of all the parts that make up the tensioner assembly. To reassemble start with the parts on the right side of the photo and work your way to the left.
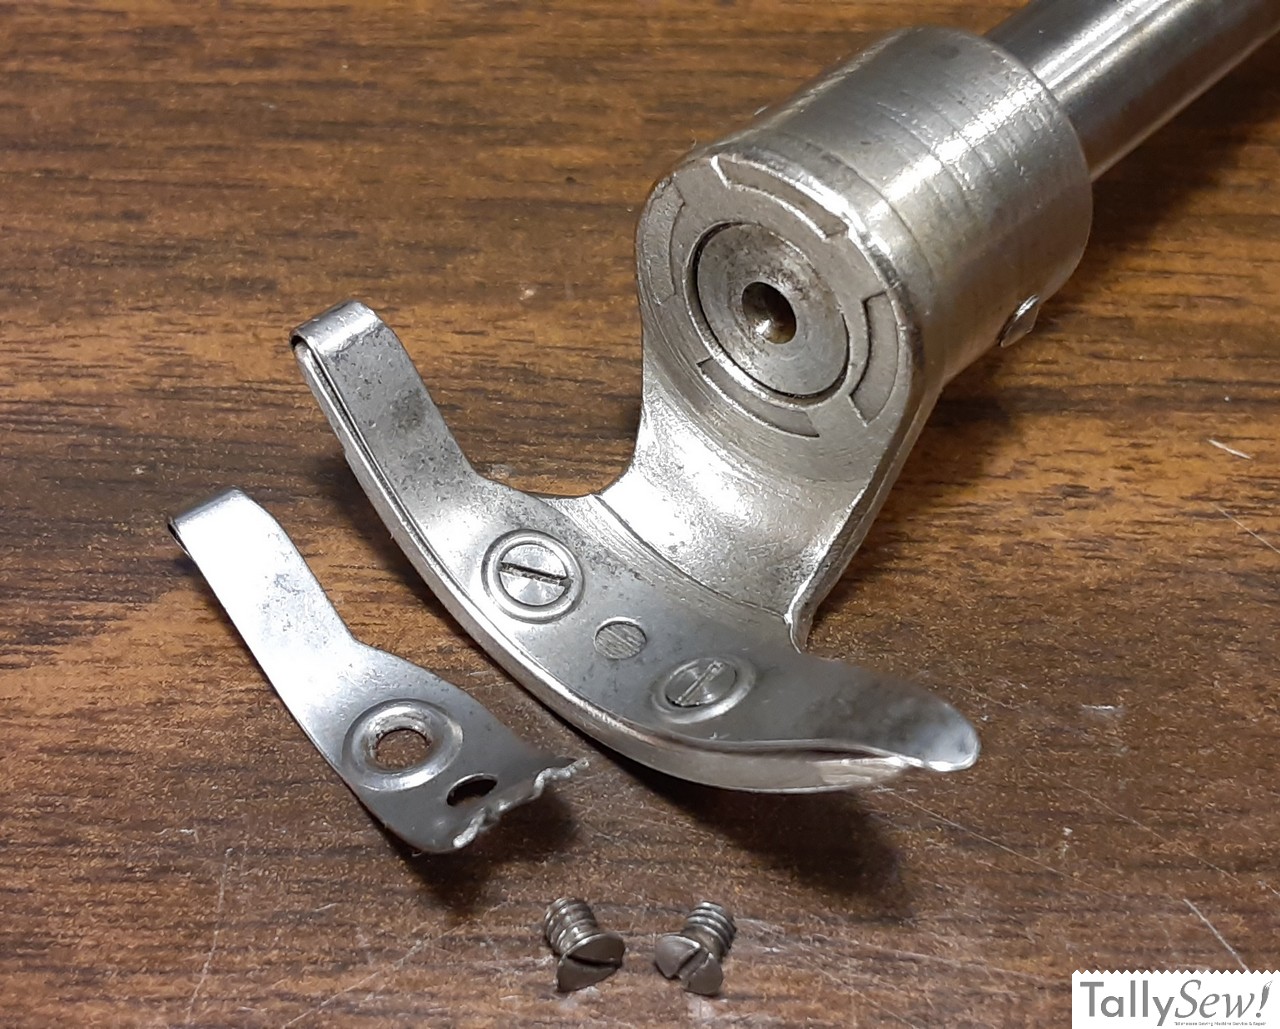
Bobbin Winder Assembly
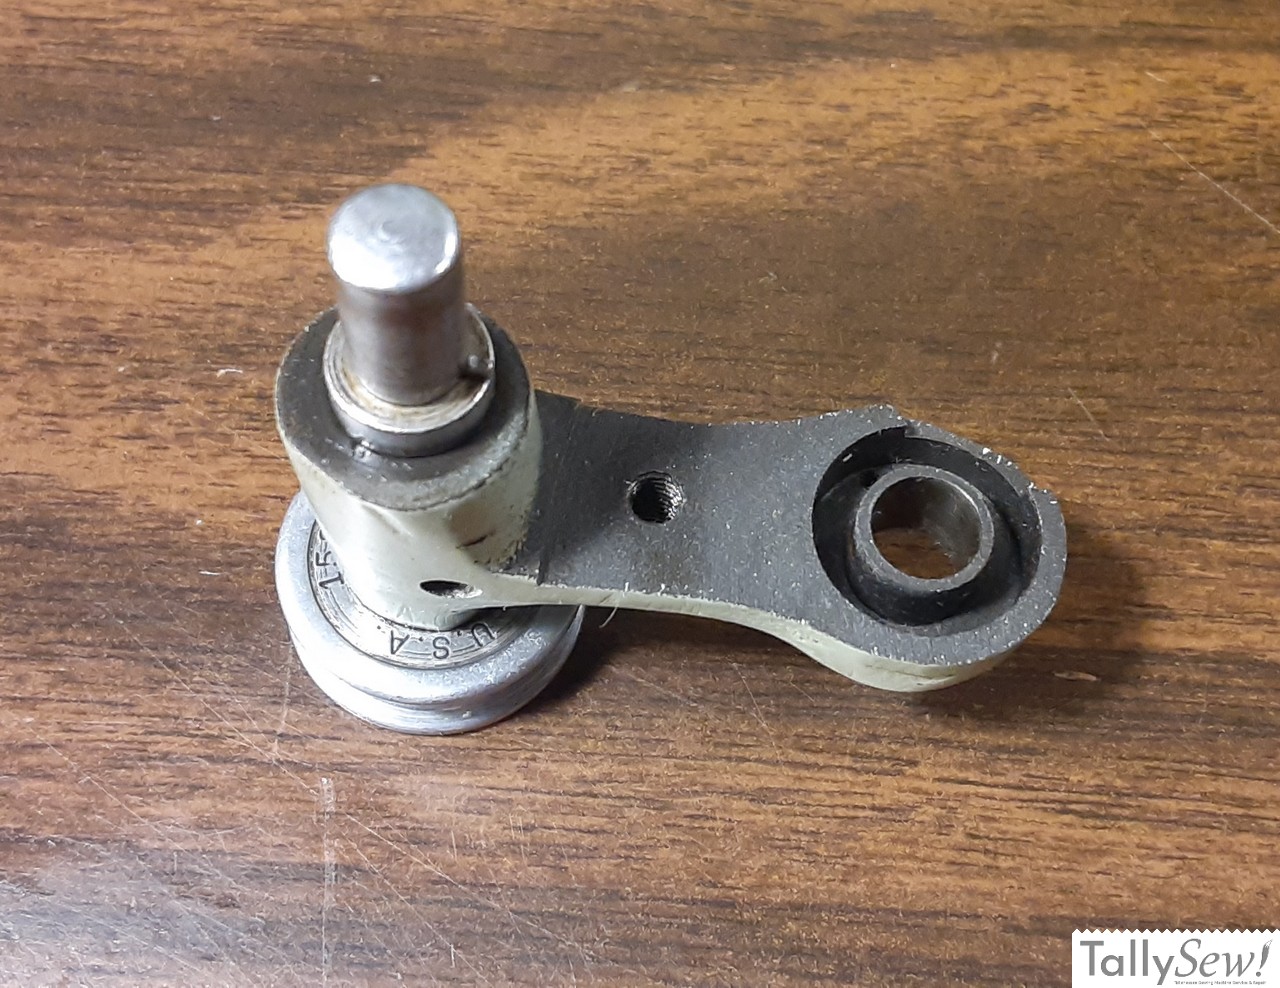
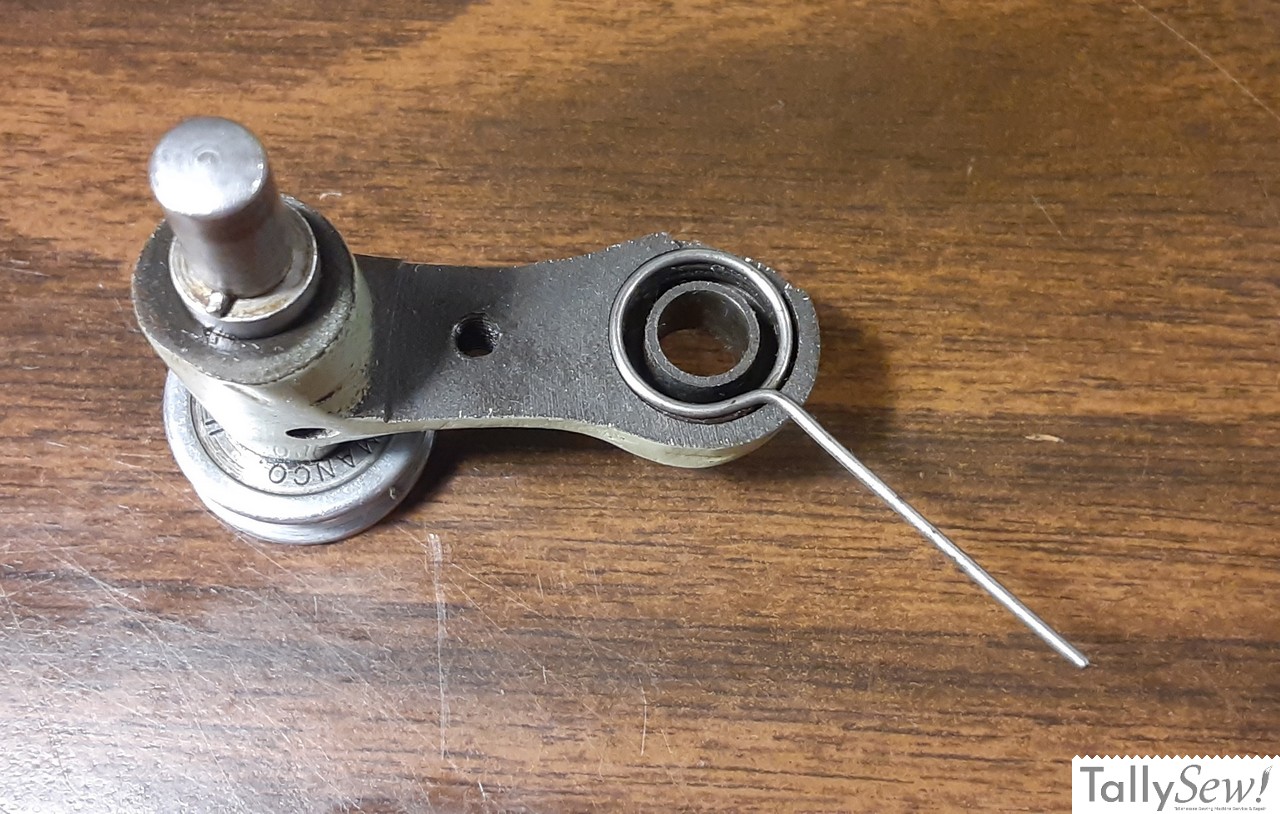
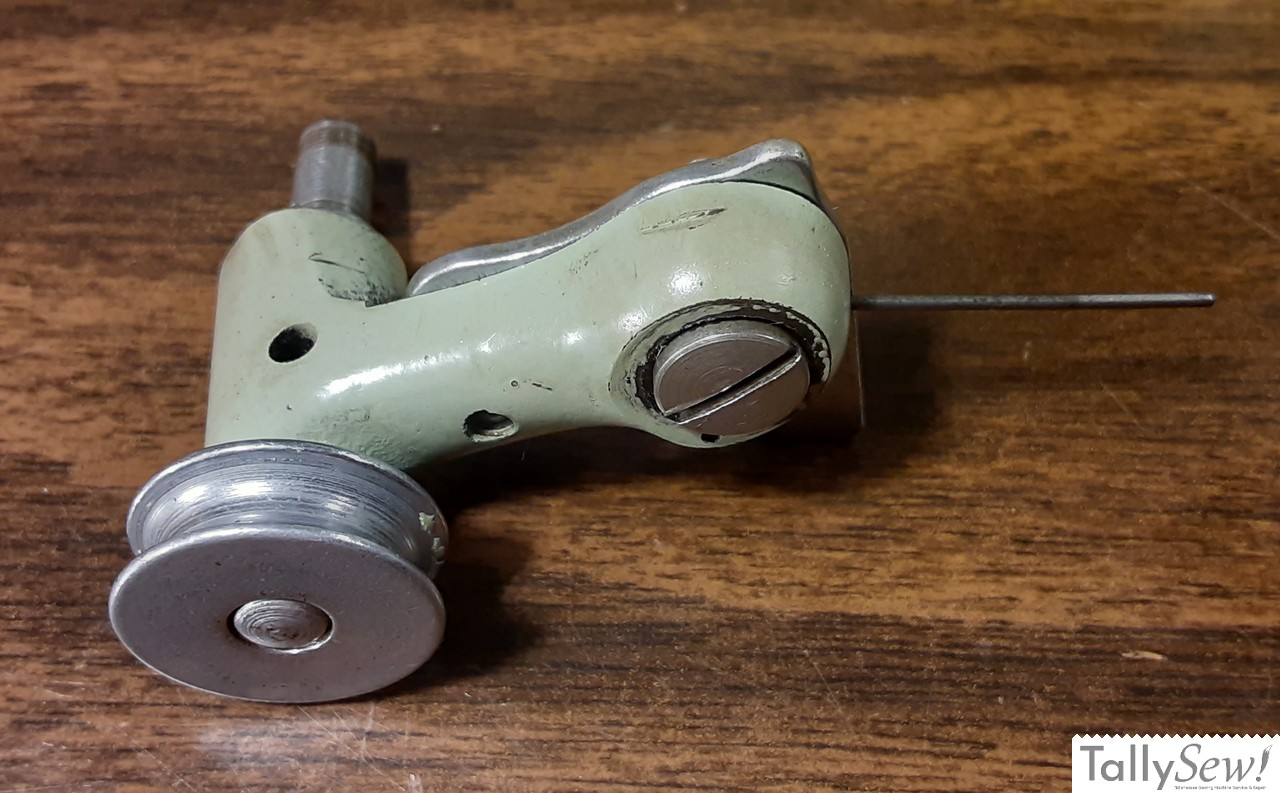
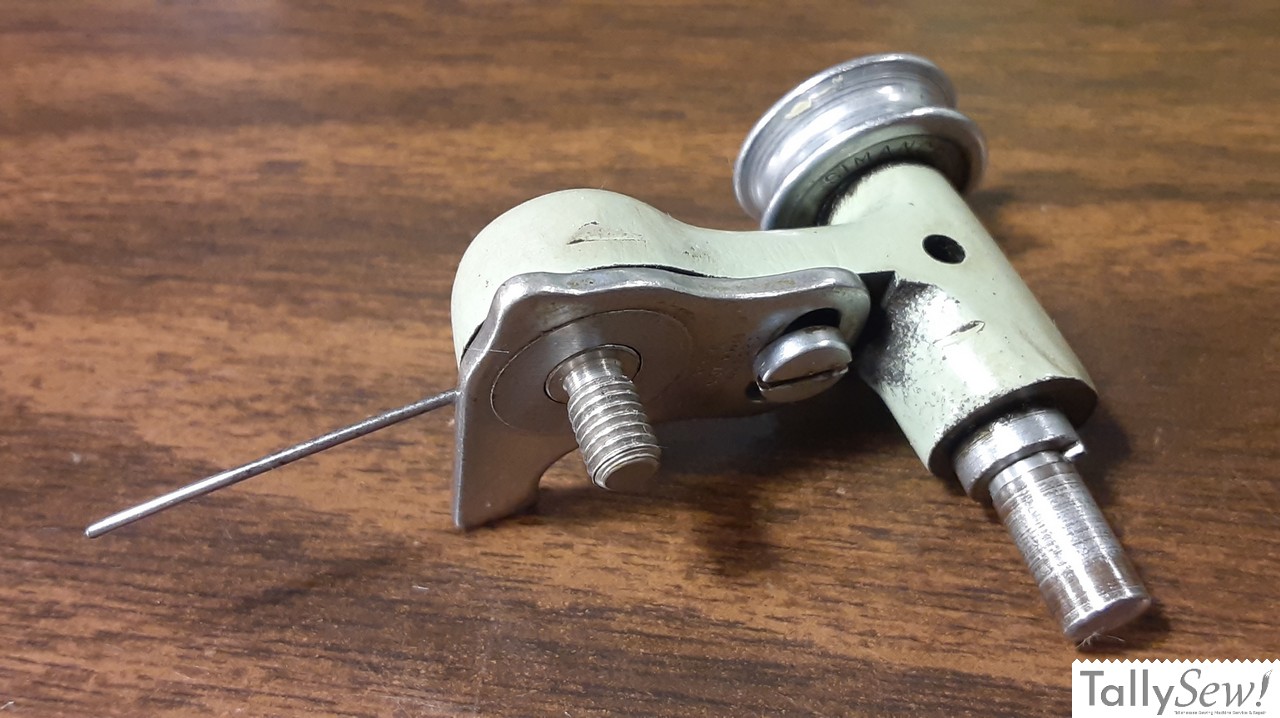
Above is a step by step photo tutorial on how to assemble the bobbin winder. Not pictured is putting a new bobbin winder tire in place.
Related Articles
Singer 15 series needle bar box
The Singer model 15 series machines is simple and robust. I’m going to give you an overview of how to assemble the needle, and presser
Replace a broken Shuttle Driver Cushion Spring
The broken shuttle driver cushion spring on my 1932 Singer model 15-91 The first thing I should mention is that you do not need to
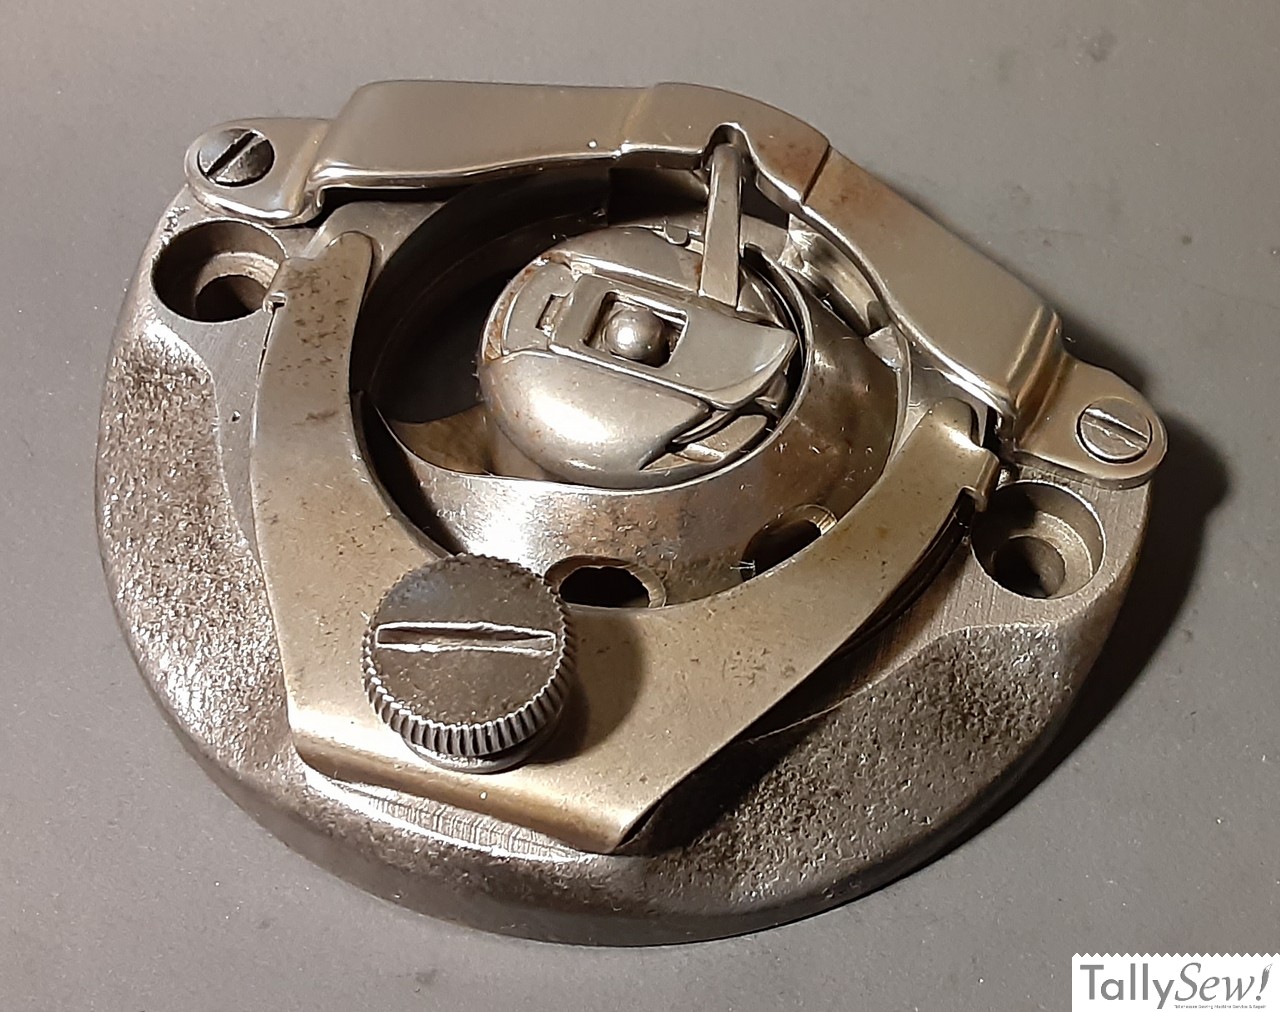
Singer 15 series shuttle race
Removing the shuttle race assembly is a pretty simple process

Singer 15 series bottom end
The Singer Model 15 (in this case a 1932 Singer 15-91), with the bottom end roughed in. This article is about getting the parts in

Singer 15 series feed and lift verticals
The two main assemblies found in the pillar of the machine. Crank connecting rod (top), and feed forked connection and feed regulator assembly parts.

Singer CAT.-S4 lamp
The Singer lamp model CAT.S-4 was used on several Singer sewing machine models. It was usually black, but was also produced in green, and in
Specifications
| Brand | Singer |
| Model | 15-125 |
| Machine Body | All Metal |
| Drivetrain | All metal except for one “Textolite” composite fiber gear |
| Color | Two tone green |
| Needle | 15×1 Standard domestic/household machine needle |
| Presser Foot | Low Shank |
| Feed Dog Drop | Yes |
| Motor | Singer Potted .5 Amp worm gear drive “CAT. PJ2-8” |
| Bobbin Case | Class 15 “11 o’clock” |
| Bobbin | Metal or plastic class 15 |
| Hook Type | Oscillating |