Working on a frozen vintage sewing machine
Encountering vintage sewing machines so tightly seized that even the handwheel refuses to budge is a common occurrence. Typically, these frozen machines can be loosened and restored to smooth operation in less than an hour, often much quicker. However, there are instances where a machine is so stubbornly seized that it demands hours of painstaking effort before any progress is noticeable.
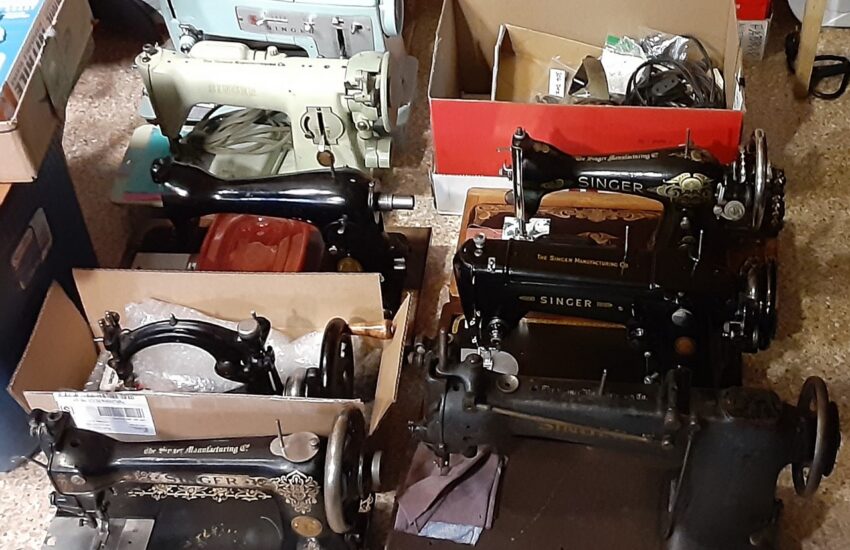
It’s easy to become engrossed in the task of unfreezing a machine, feeling hopeful that a breakthrough is just moments away. While focusing on one or two machines is manageable, when dealing with a batch of machines, discerning when to set aside a frozen unit for later attention becomes crucial.
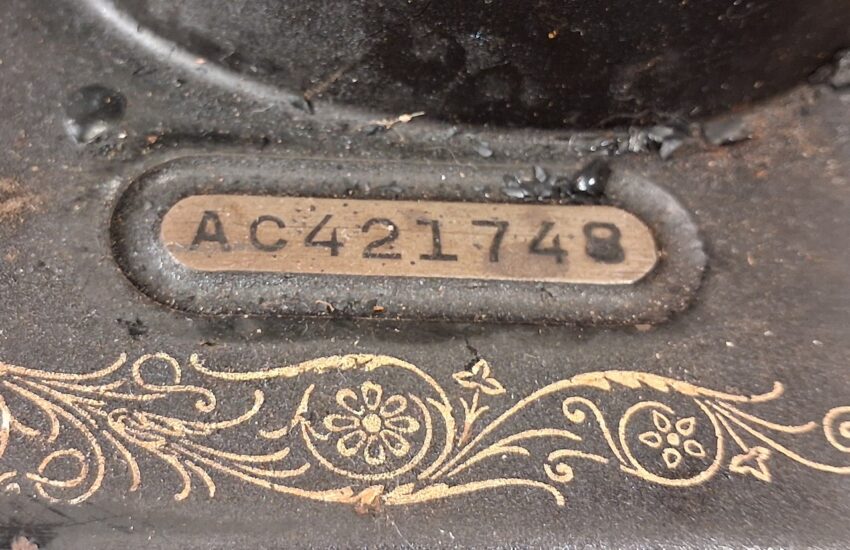
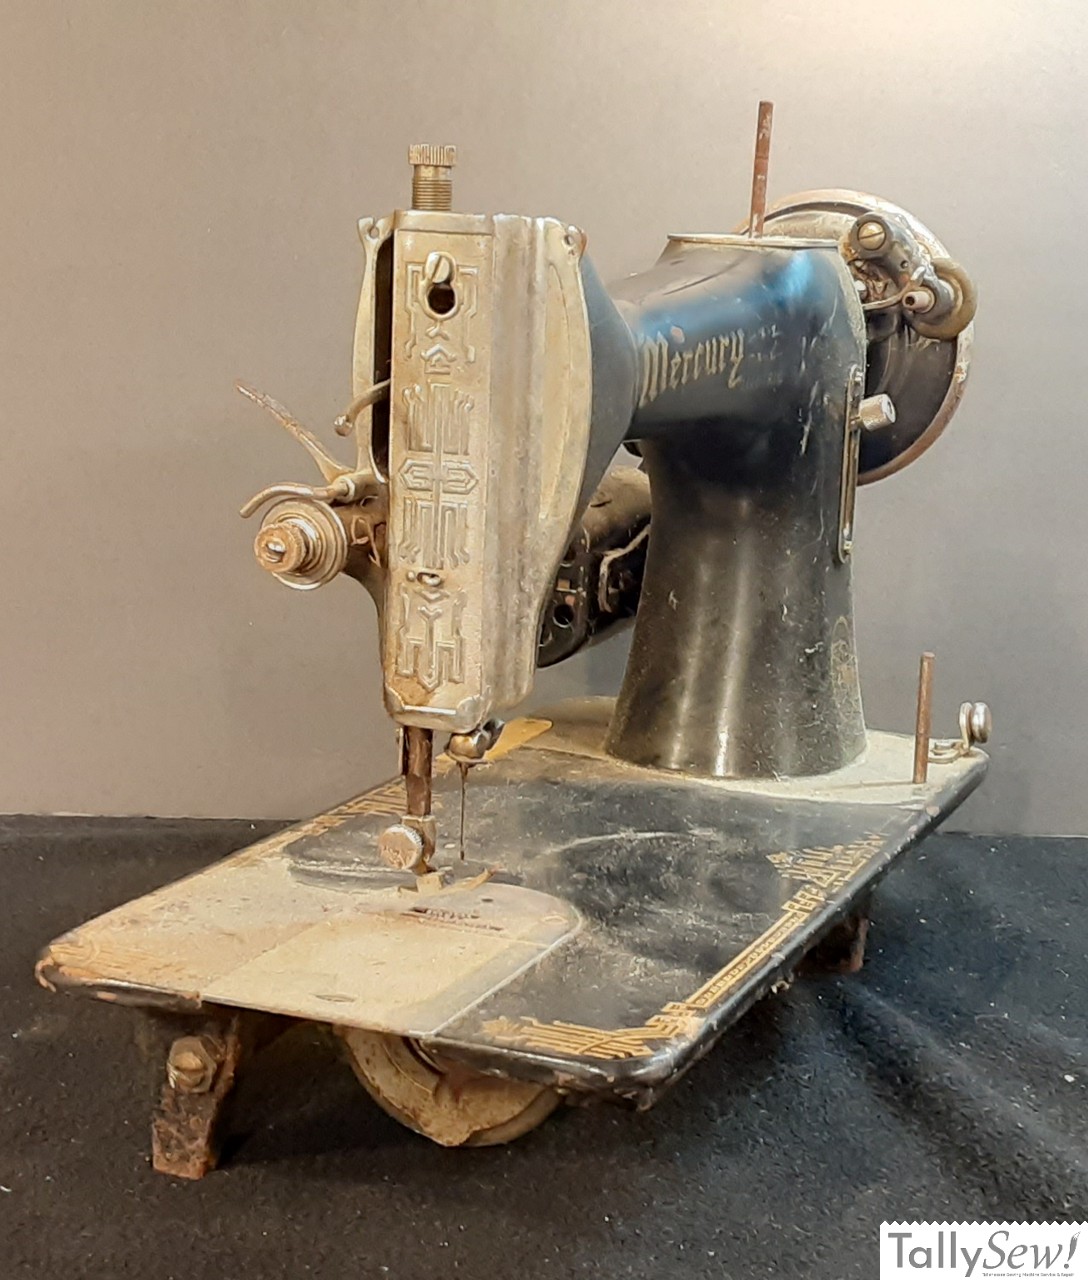
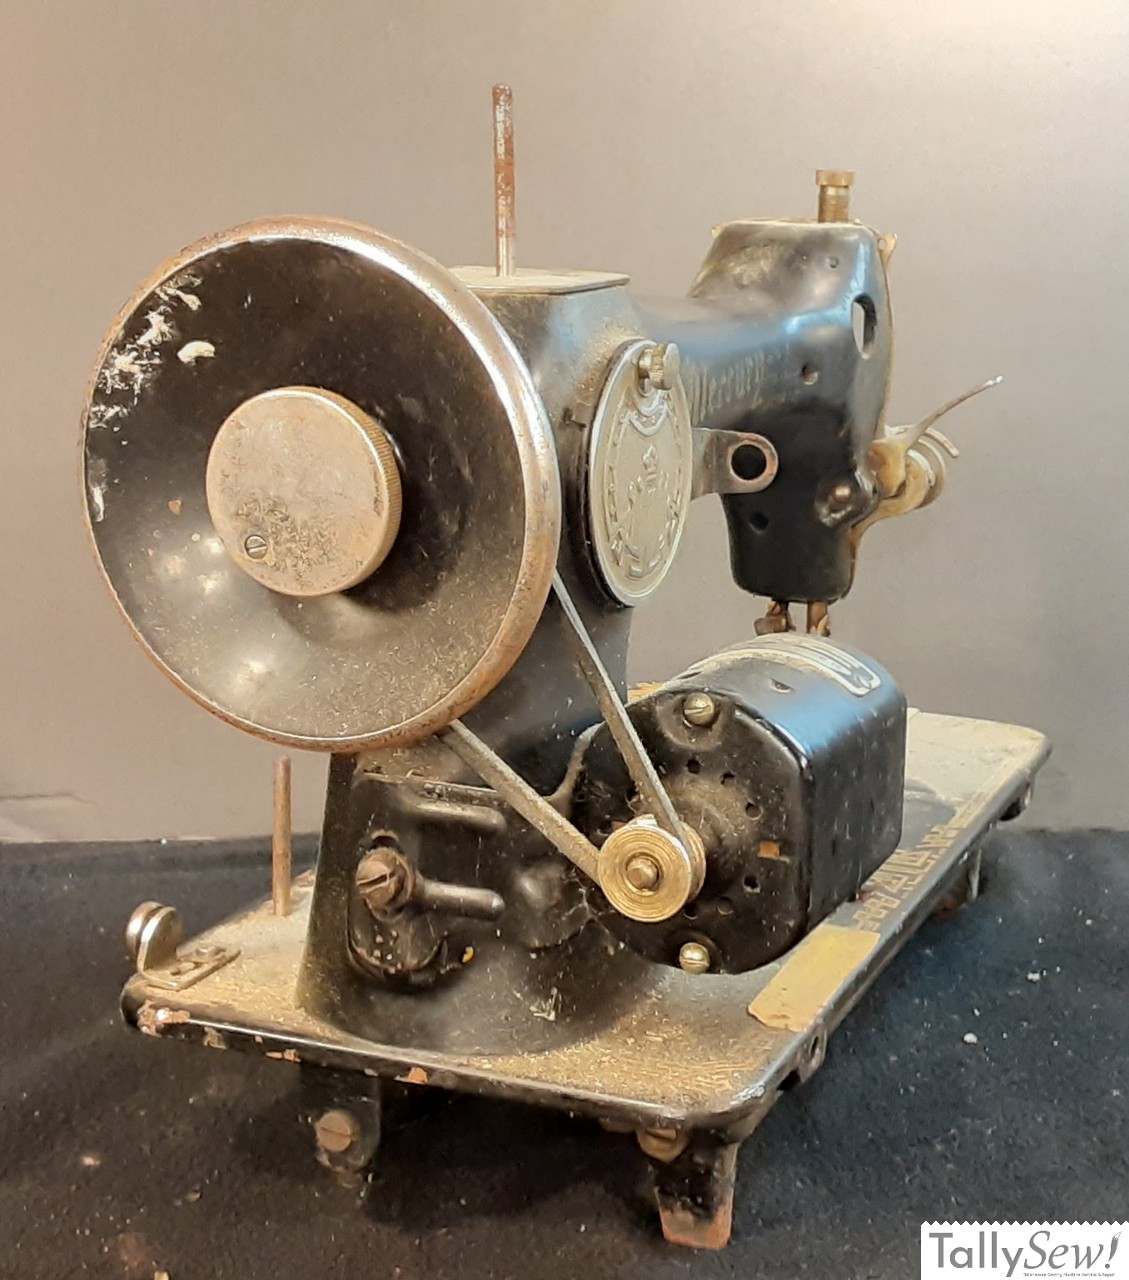
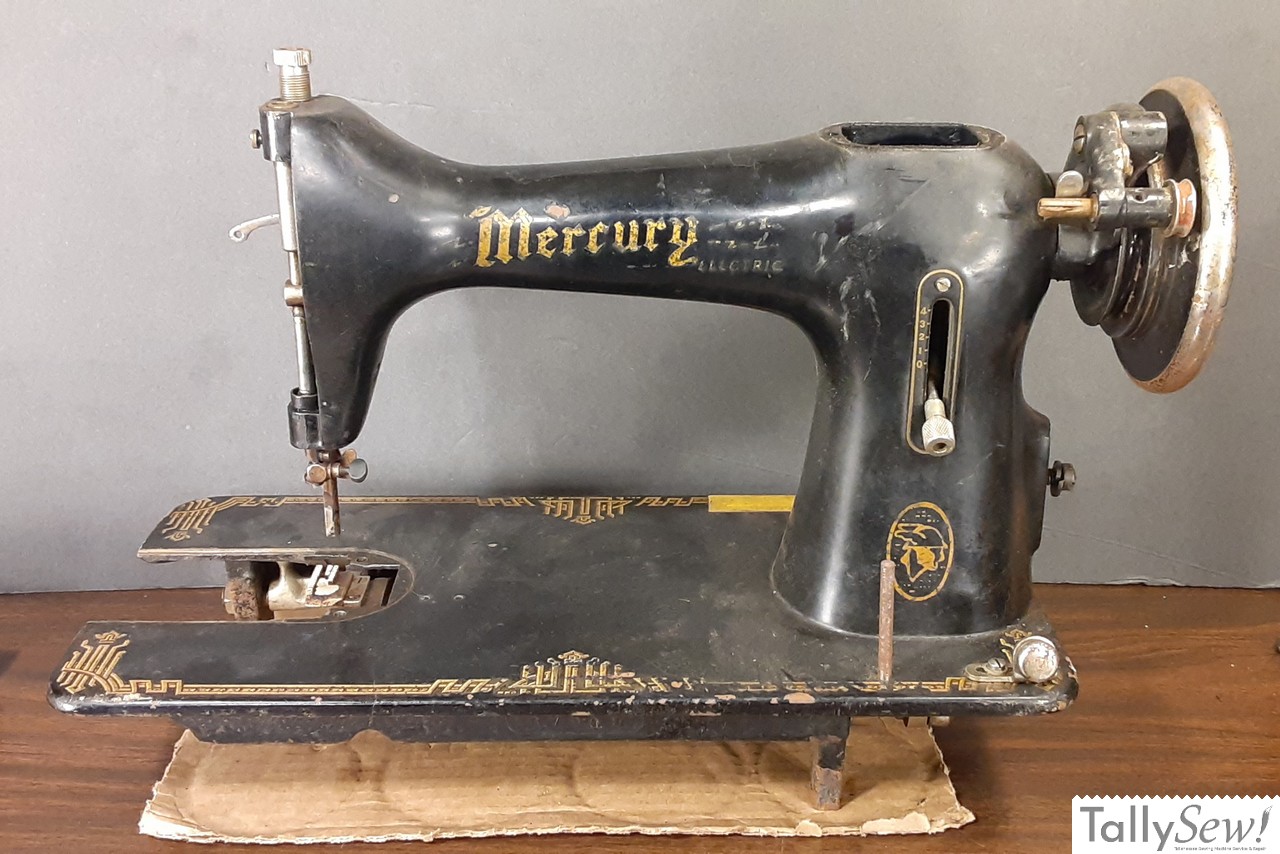
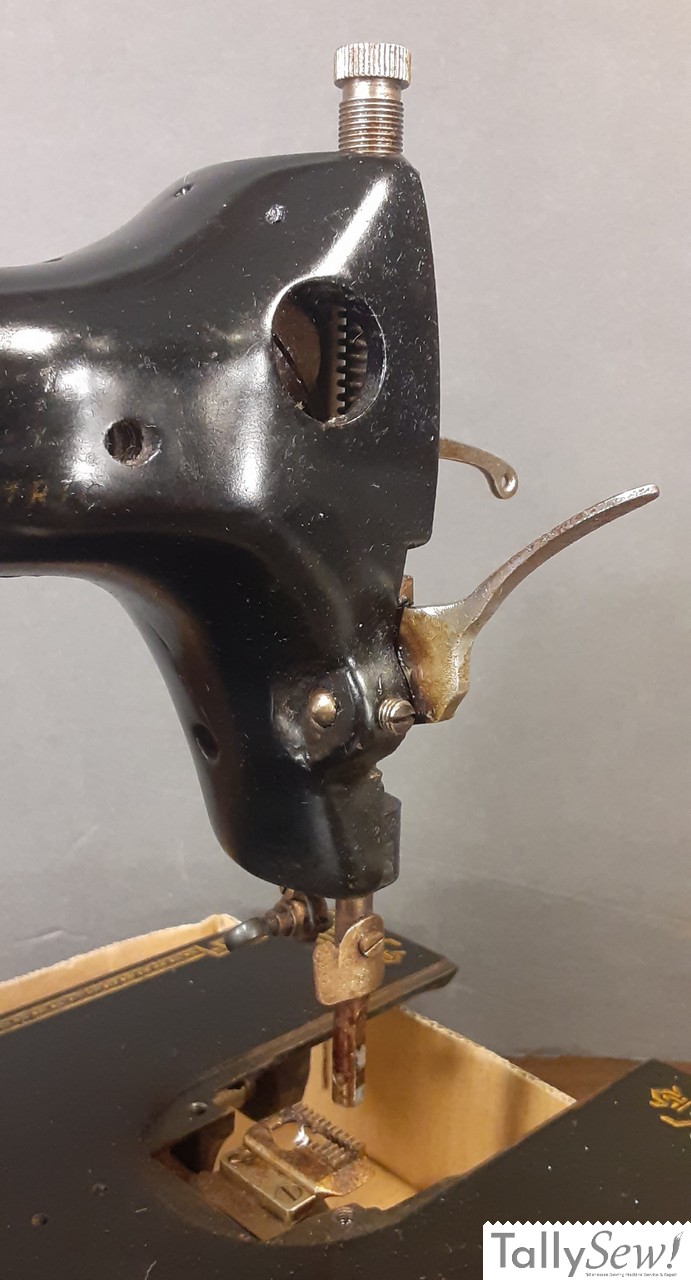
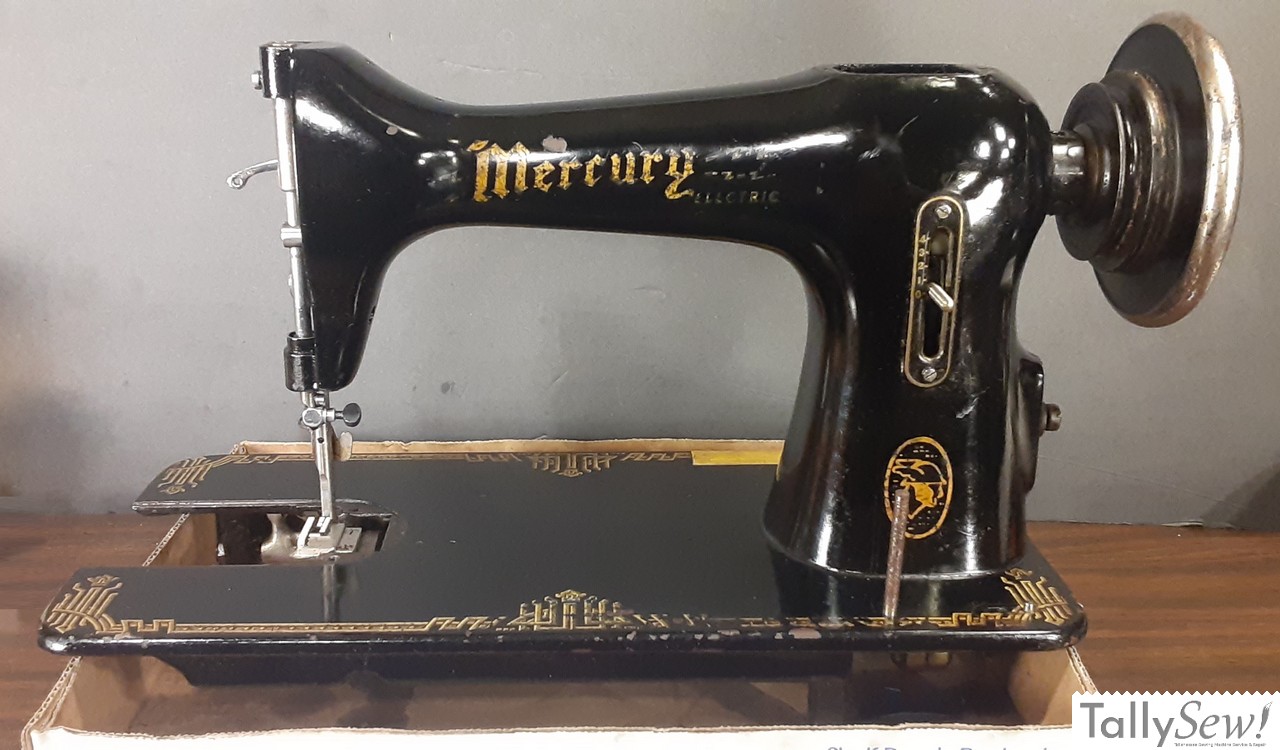
Post war, made in Japan, class 15, Mercury Electric sewing machine
Given the potential for methods that work well on one machine to inadvertently harm another, I prefer to provide specific examples rather than generalizations.
Allow me to illustrate with a recent arrival at my shop. This particular machine arrived in a deplorable state—covered in grime, completely frozen, with motor wires torn out. Remarkably, the only movable parts were the stitch length adjustment lever and the feed rock shaft. In fact, I could only detect movement in the feed rock shaft because it responds to adjustments made to the stitch length lever.
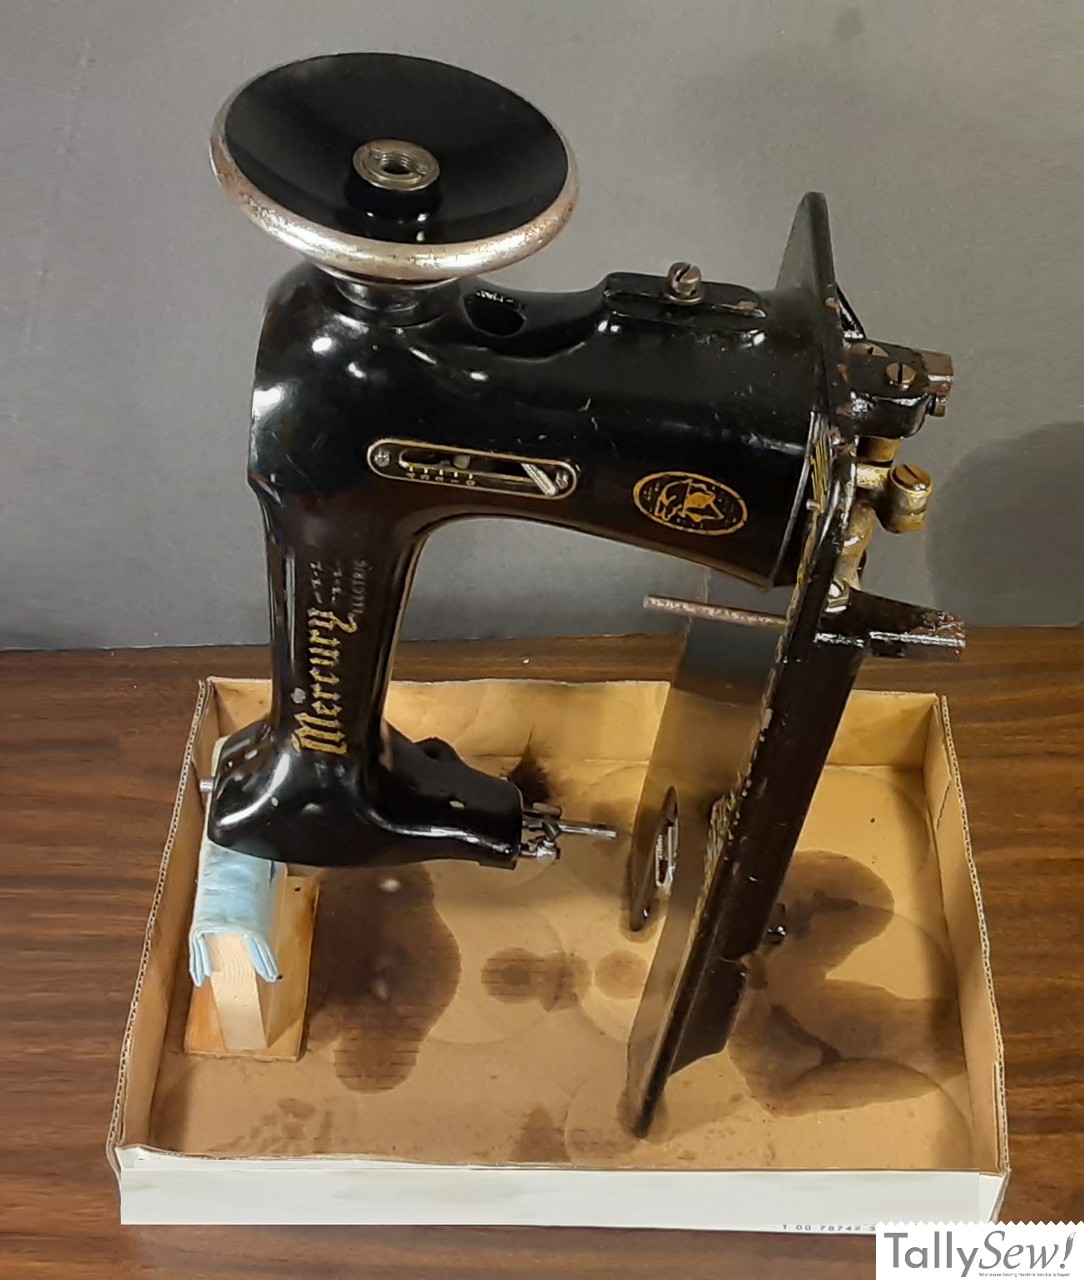
Brush out and examine the machine
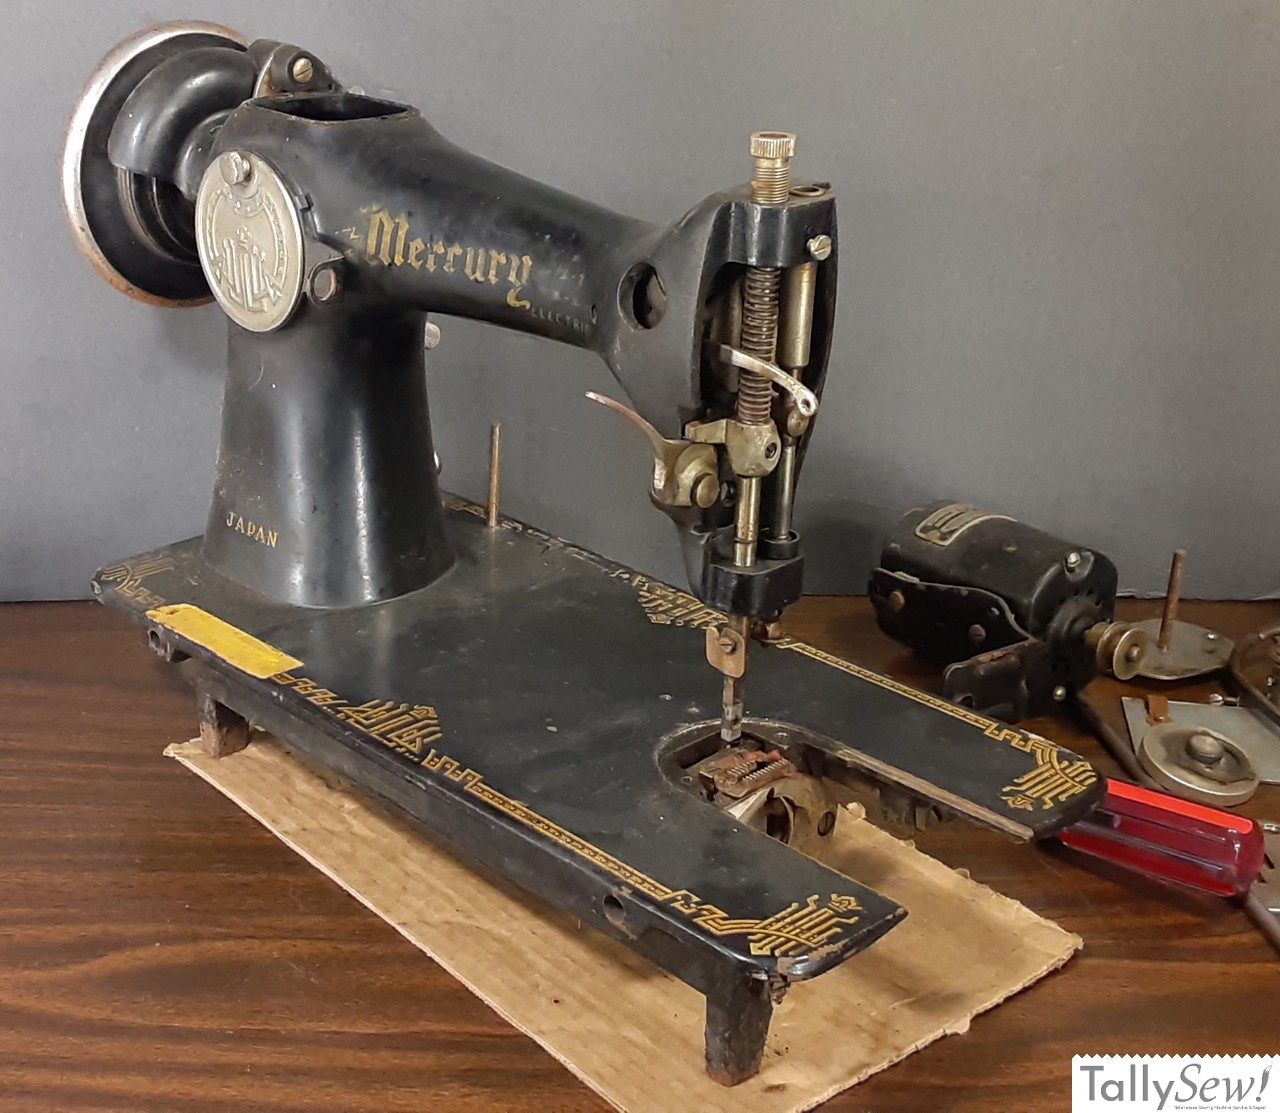
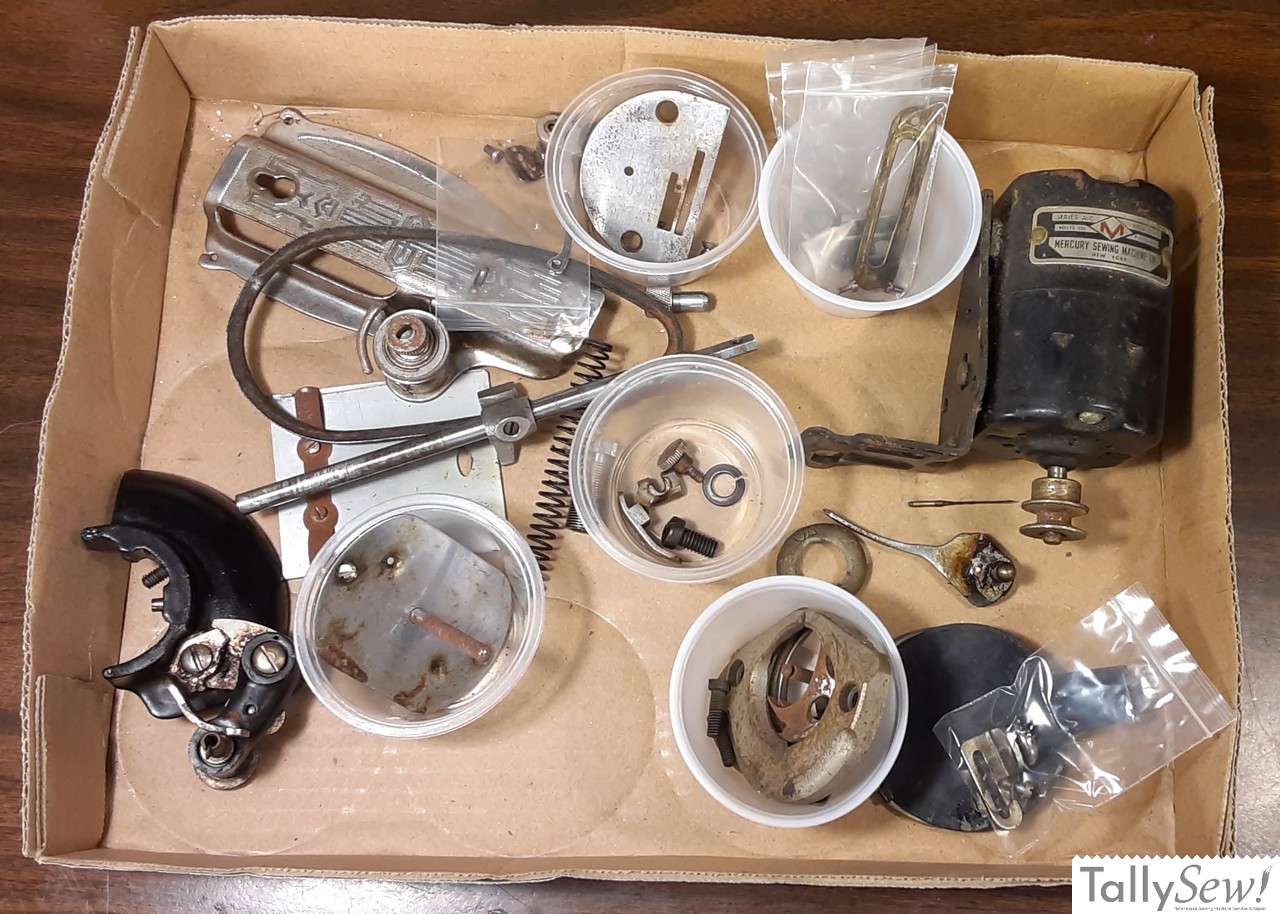
I started the cleaning process by employing a vacuum and chip brush to eliminate as much loose grime as possible. Following this initial step, I proceeded to remove the needle bar plate, back plate, throat plate, motor, stop motion screw, and hook race assembly. These components were thoroughly brushed and vacuumed, including the underside of the machine.
Afterward, I meticulously inspected the machine for any signs of breakage or damage. Fortunately, aside from the rusted hook and the absence of a bobbin case requiring replacement, no other issues were detected. With this assessment complete, I transitioned to the crucial task of oiling the machine, a task that had likely been neglected for many years.
First oil in a very long time
Typically, it’s advised not to over-oil any sewing machine. Excessive oil can lead to messiness, attracting lint and grime, eventually forming a thick paste. However, considering this machine’s condition—both frozen and bone dry—a more robust oiling approach is necessary. Nevertheless, it’s important to note that the excess oil will require cleaning before the job is considered complete.
I applied oil to all the points where metal parts interacted, ensuring smooth movement. Afterward, I wiped the machine down with a light coat of sewing machine oil and allowed it to sit overnight.

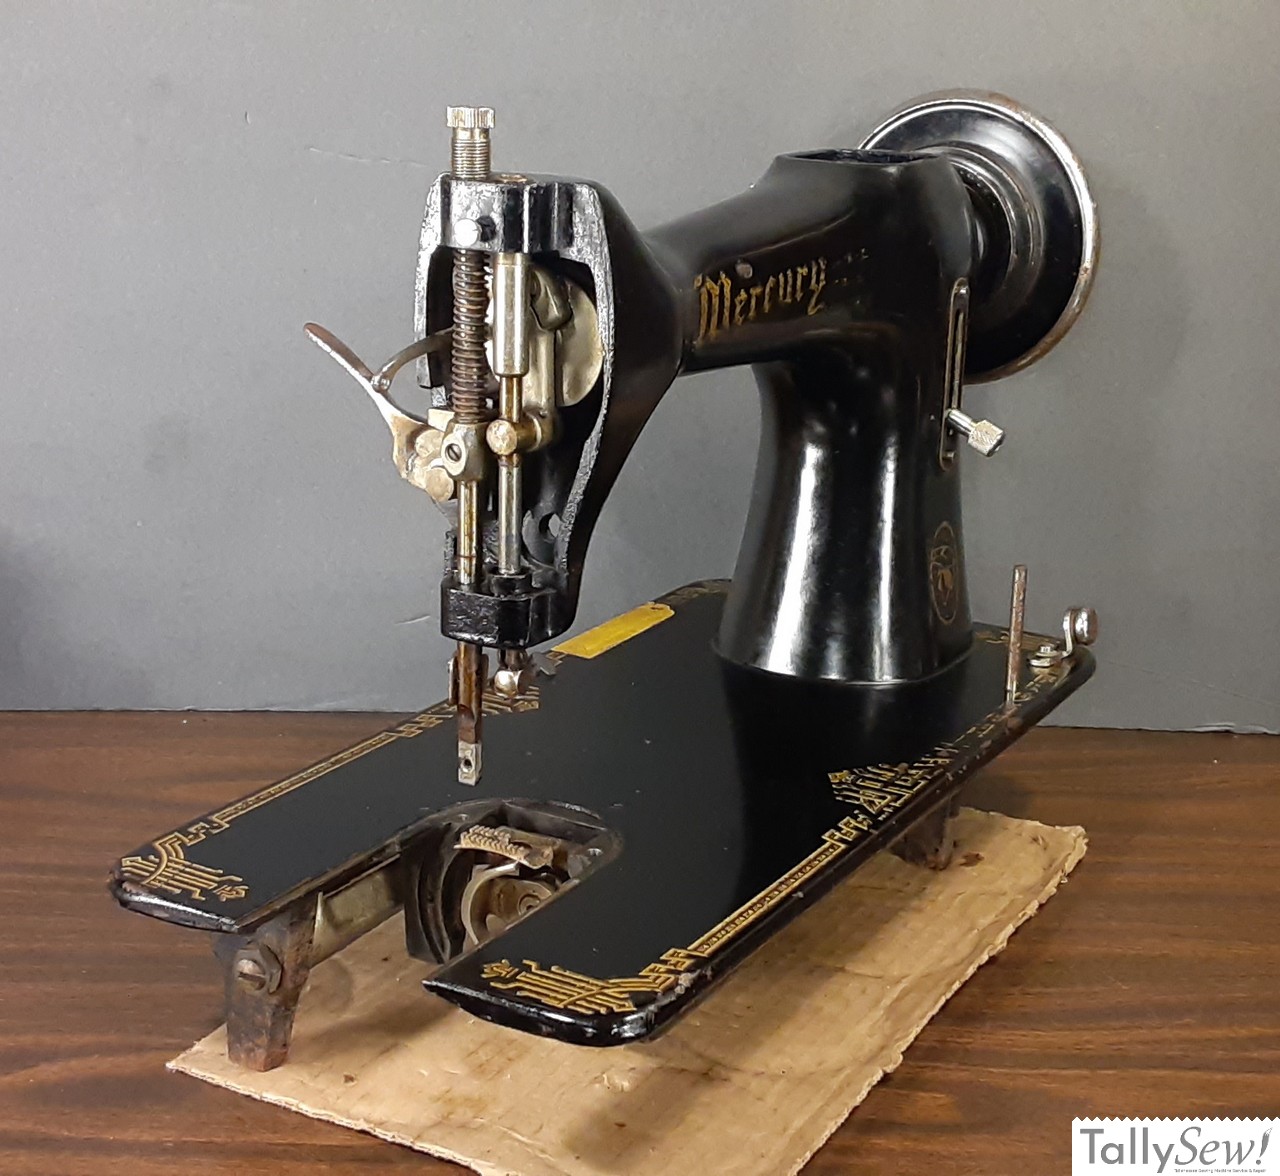
Unsurprisingly the machine was still frozen in the morning, but it did look a whole lot better than when I started.
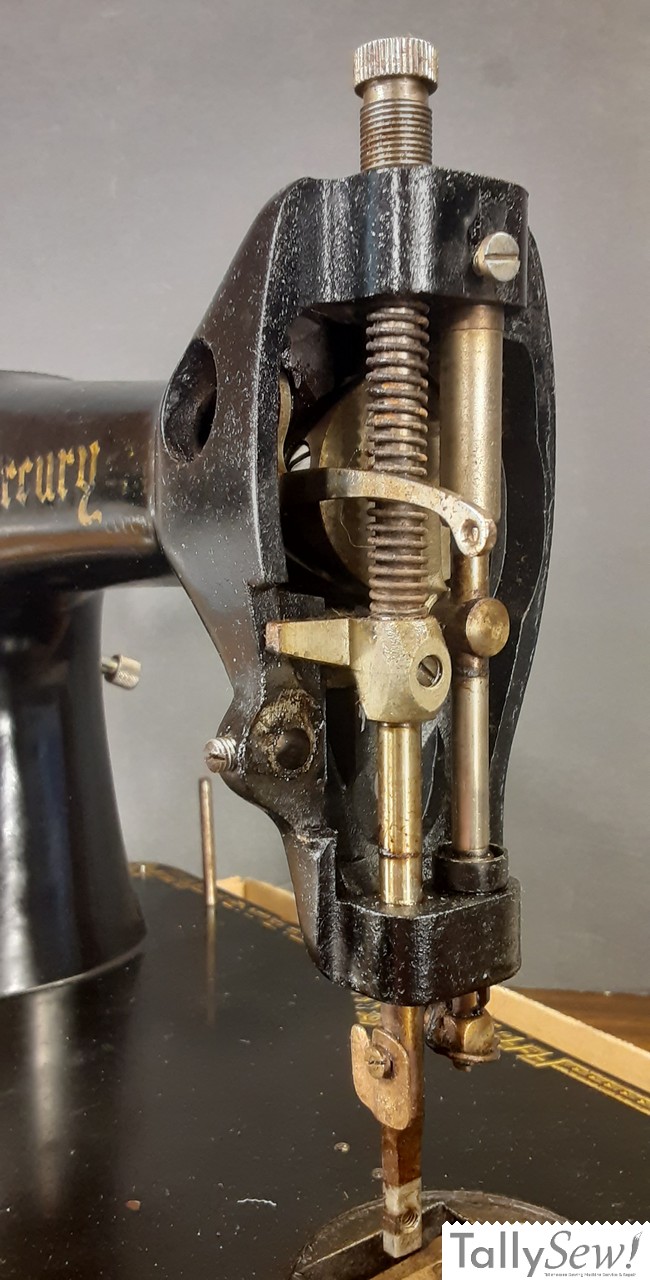
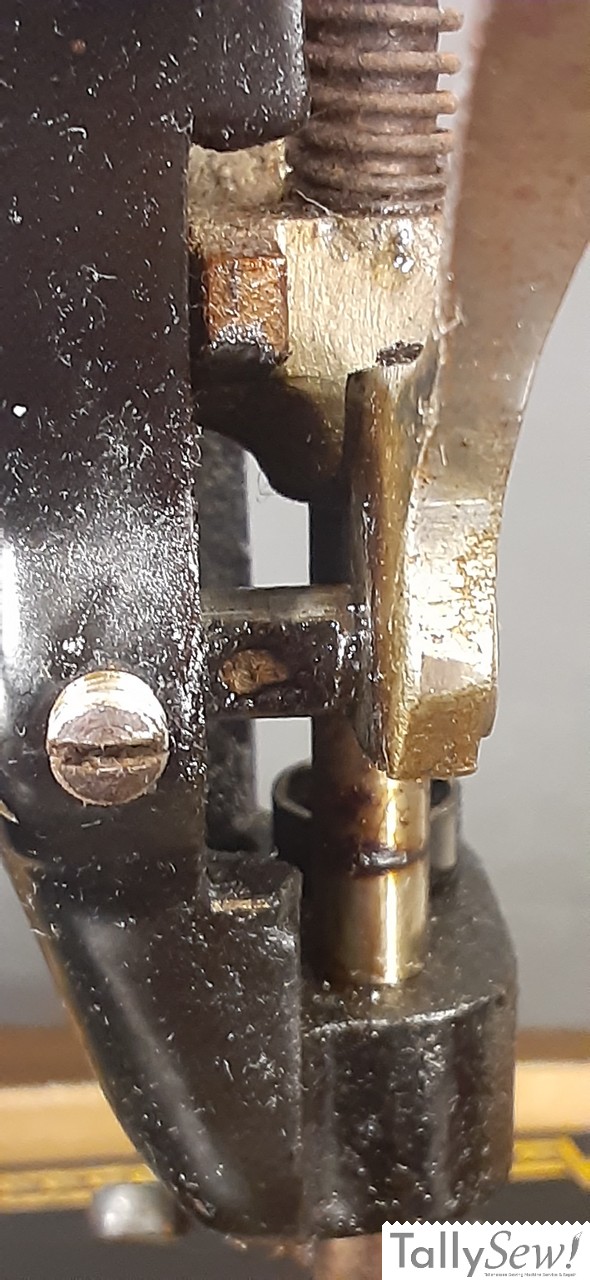
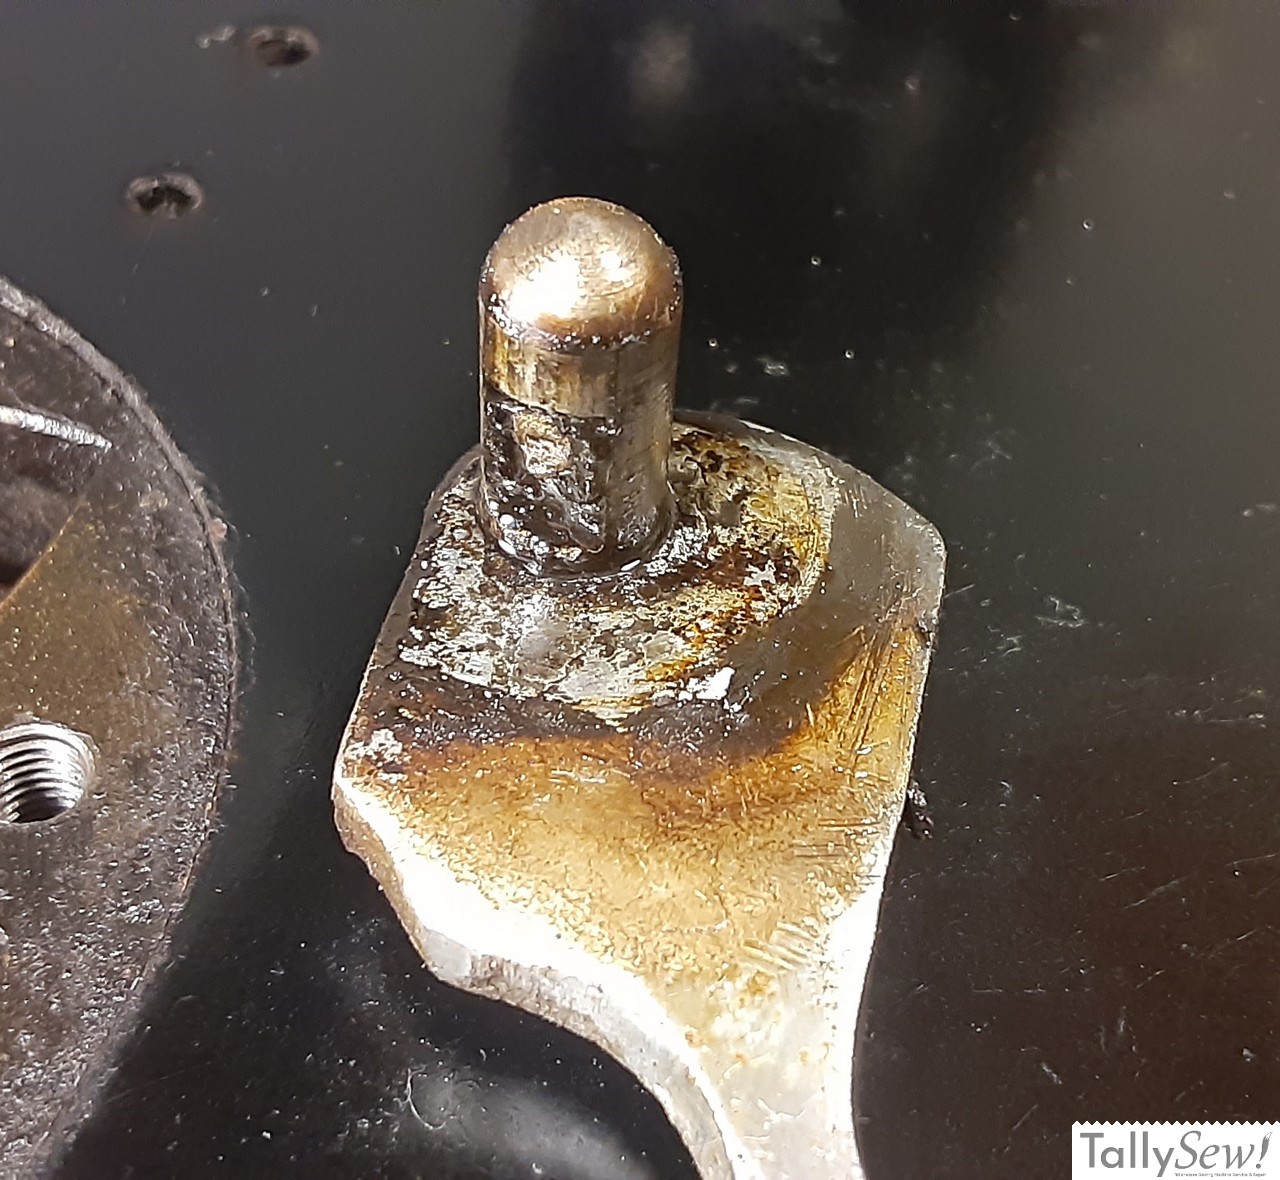
To investigate further, I removed the presser bar lifting arm by loosening the set screw securing the presser bar lifting arm pivot pin and then gently tapping the pin out from the back with a punch. This confirmed my suspicion that the machine was frozen due to varnished parts being stuck together.
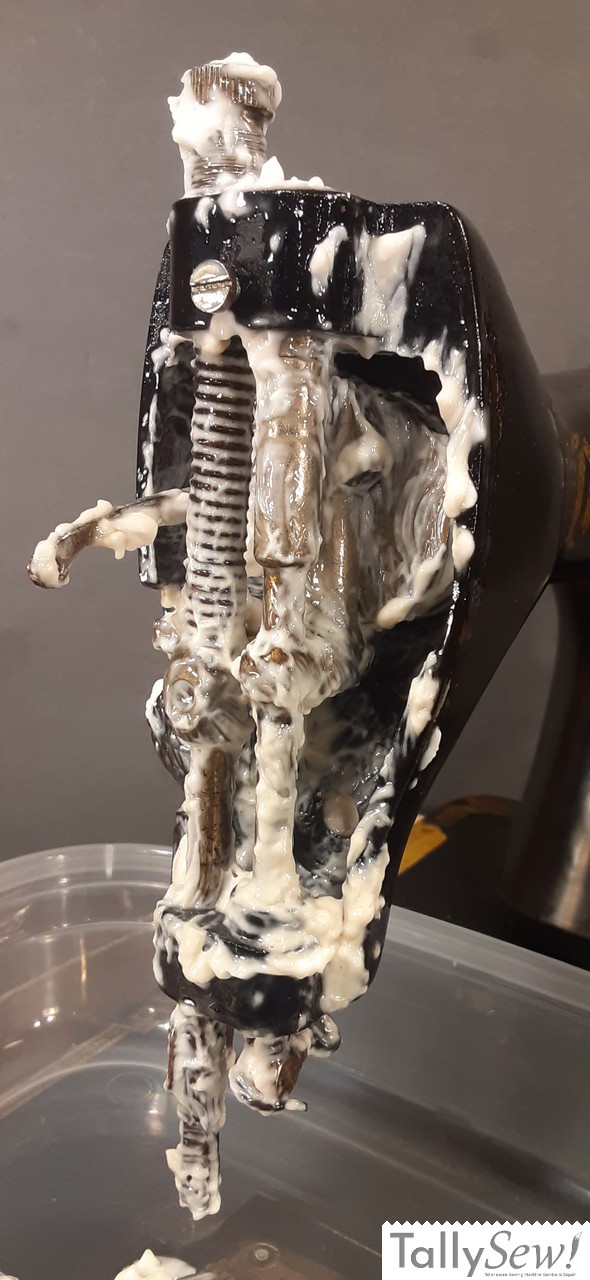
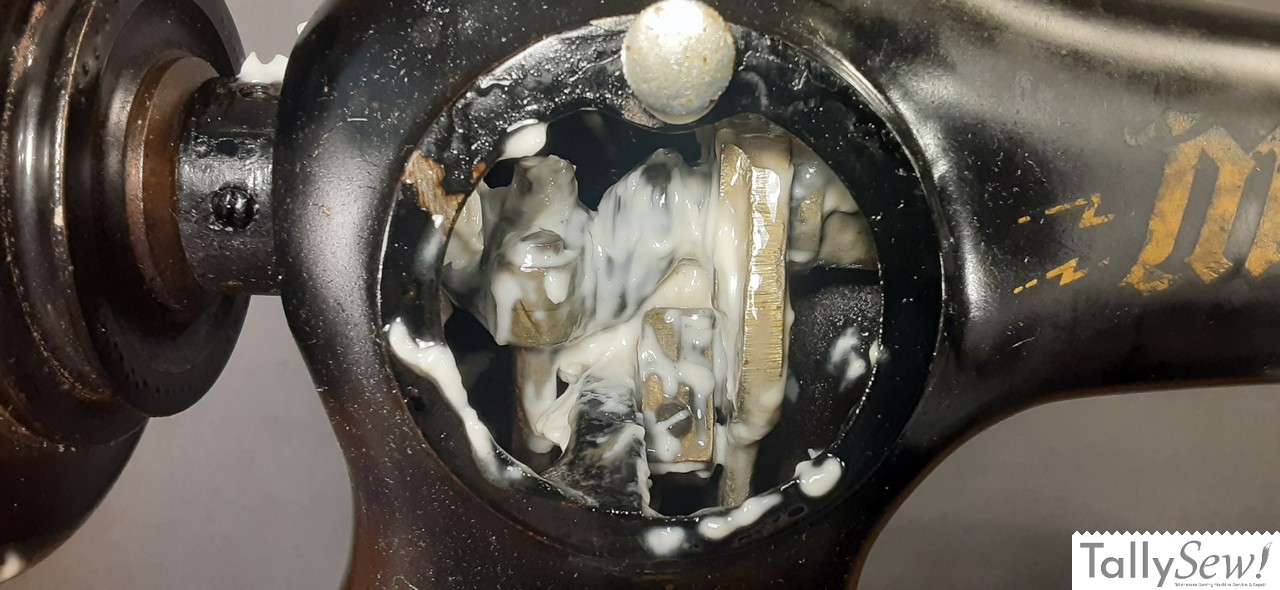
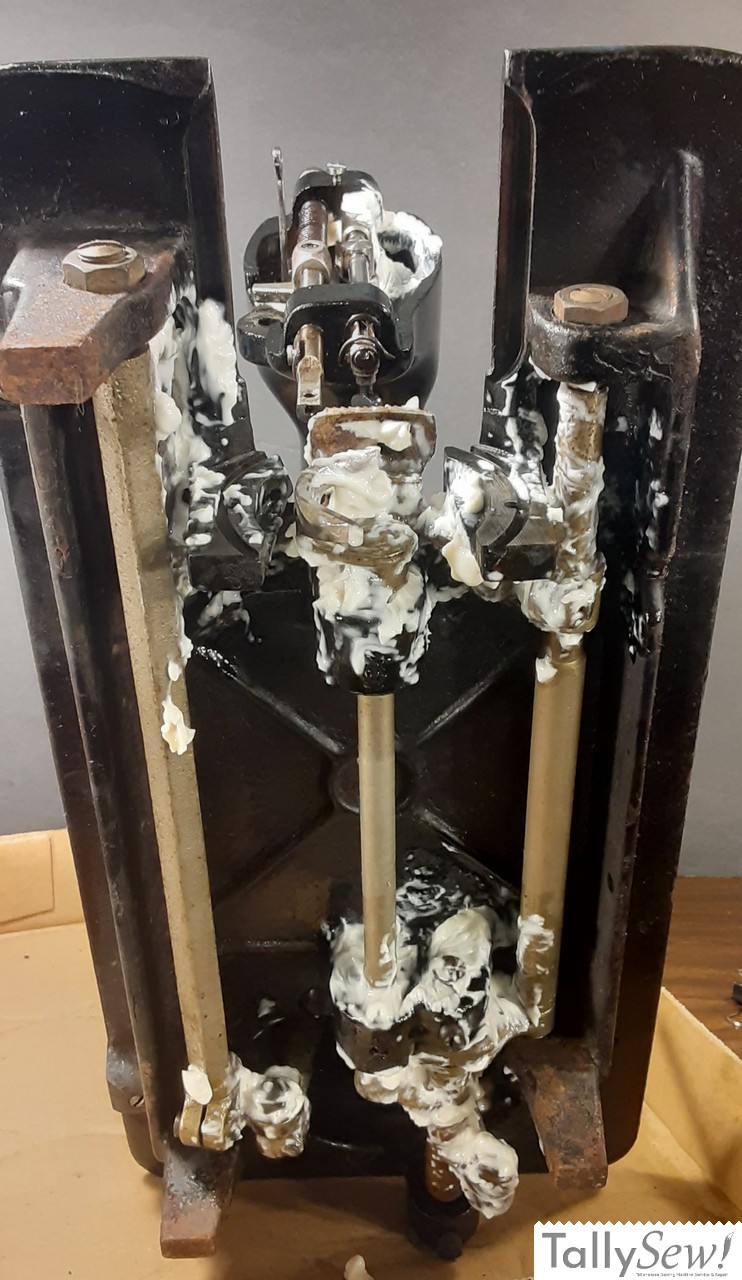
Using mechanics hand cleaner on the moving parts
I painted the moving parts with non-pumice mechanics hand cleaner and worked it into all of the crevices with a small brush.
Note: Keep the non-pumice mechanics hand cleaner off the decals since it will often damage them.
After allowing the cleaner to soak in for a few hours, I checked for any signs of movement in the handwheel, but it remained stubbornly immobile. However, I did succeed in removing the presser bar tension screw and spring, enabling me to free up the presser bar.
Although I’m confident this machine can be restored to working condition, I’ve decided to set it aside for a few days and focus on other projects.
A couple of days later…
Returning to the machine after its brief hiatus, I reattached the handwheel and attempted to give it a gentle turn, yet it remained unyielding. To assess further, I tried rocking the handwheel while observing the needle bar and hook driver for any signs of movement, but found none.
Recognizing that a frozen machine may be seized in multiple places, I suspected the main shaft might be the culprit, especially considering the lack of movement in both the hook driver and needle bar. To address this, I applied oil to the main shaft bushing at the handwheel end and then heated it with a hairdryer for five minutes. Gradually, I began to detect some movement as I rocked the handwheel.
Moving on to the needle bar end, I heated both the upper and lower needle bar bushings as well as the left end of the main shaft. After another five minutes of heating and intermittent rocking of the handwheel, I observed slight movement in the needle bar. Continuing this process back and forth between the two ends, after a total of ten minutes, I finally achieved smooth rotation of the machine.
There’s a lot of work left to restore the machine, but that’s the end of this post.